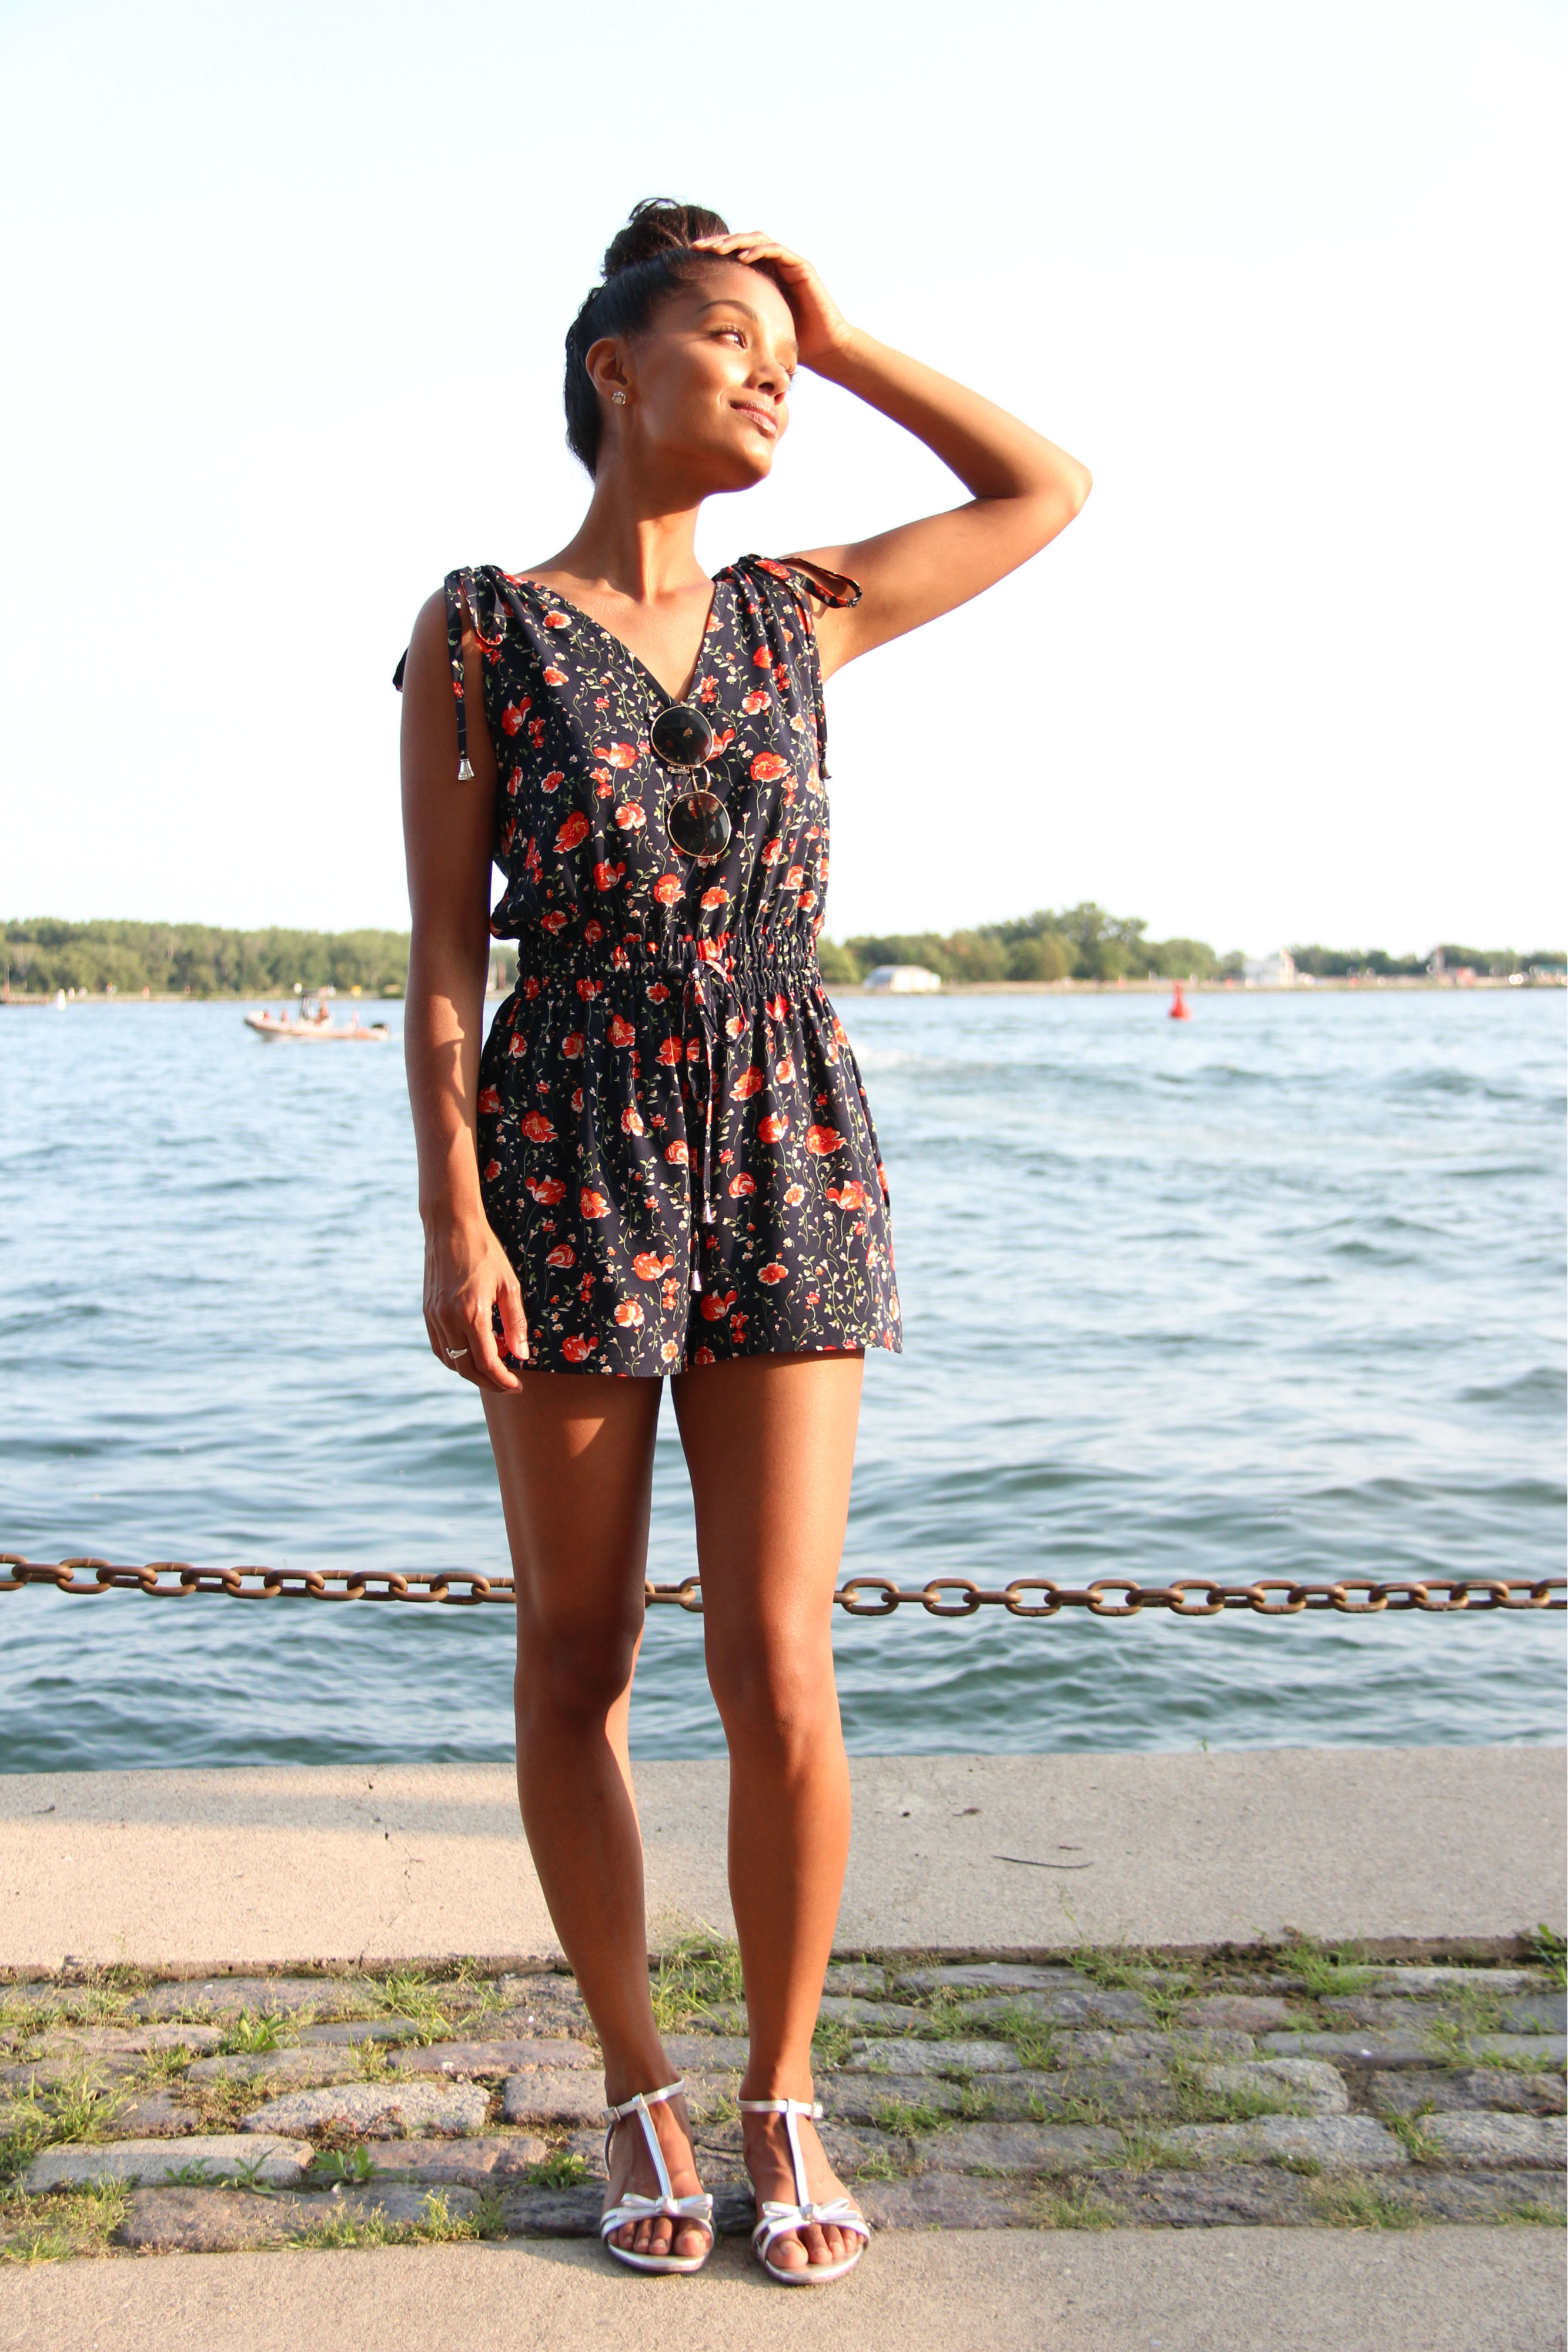
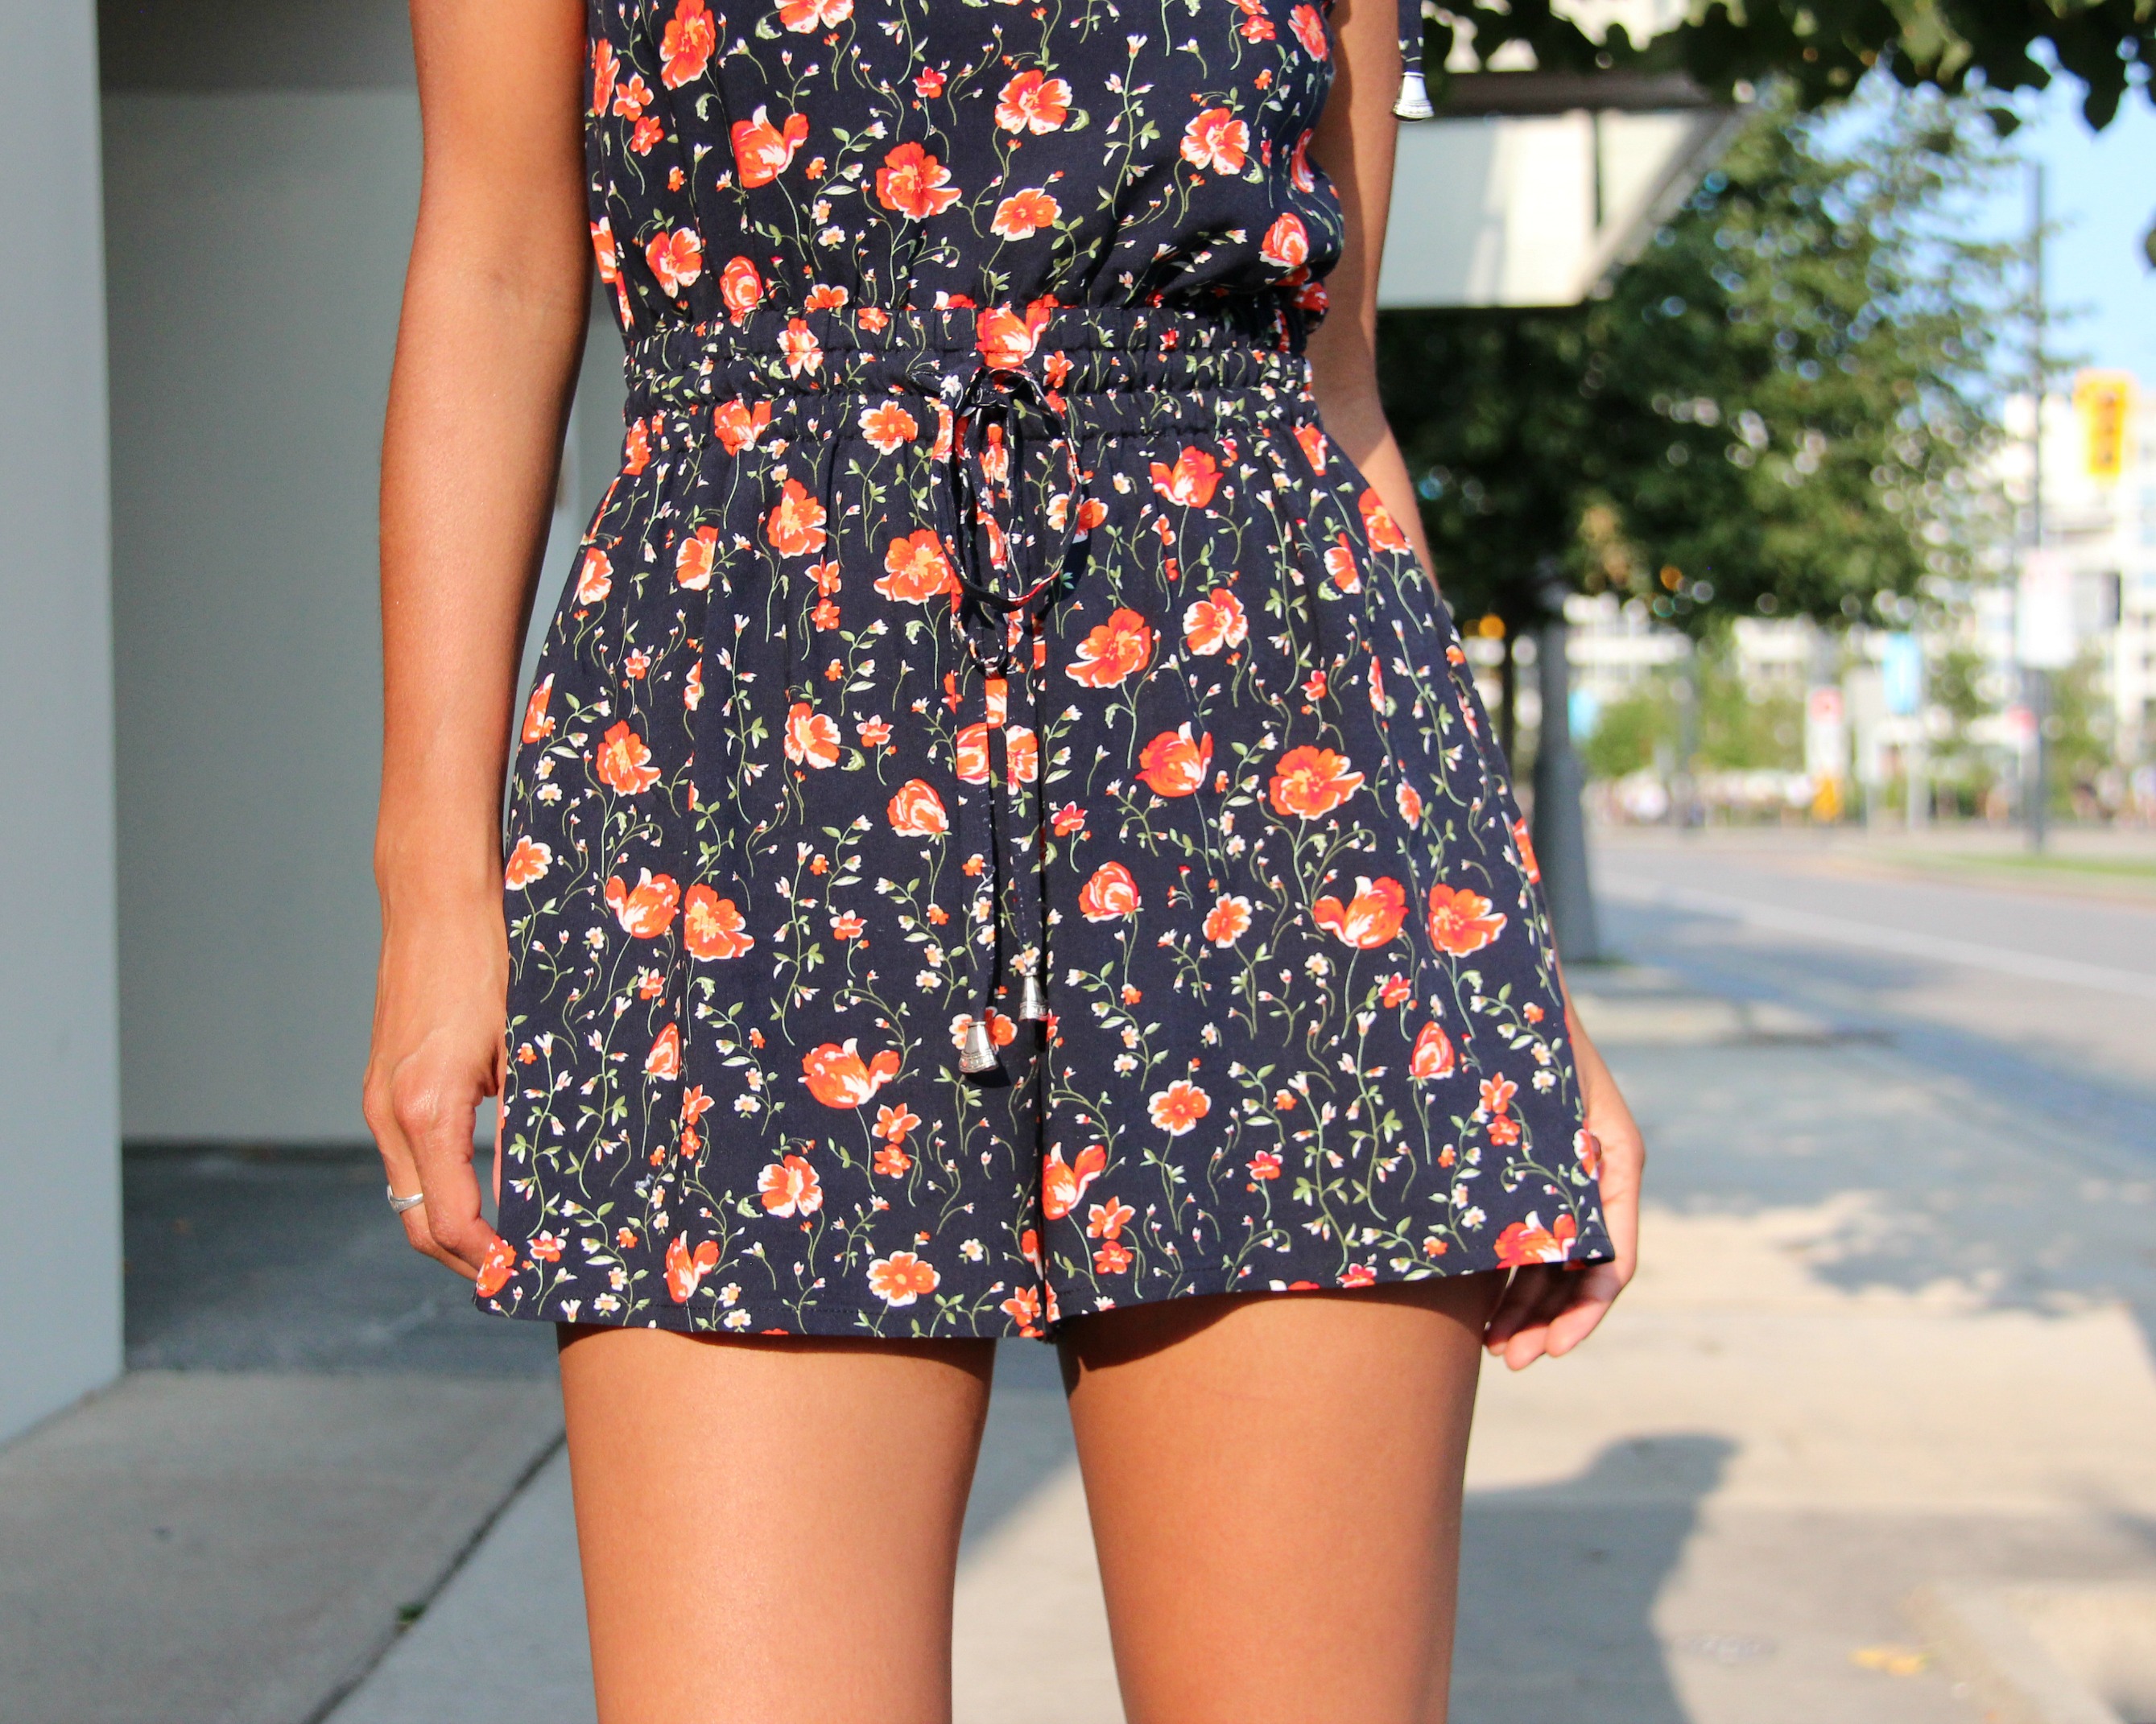
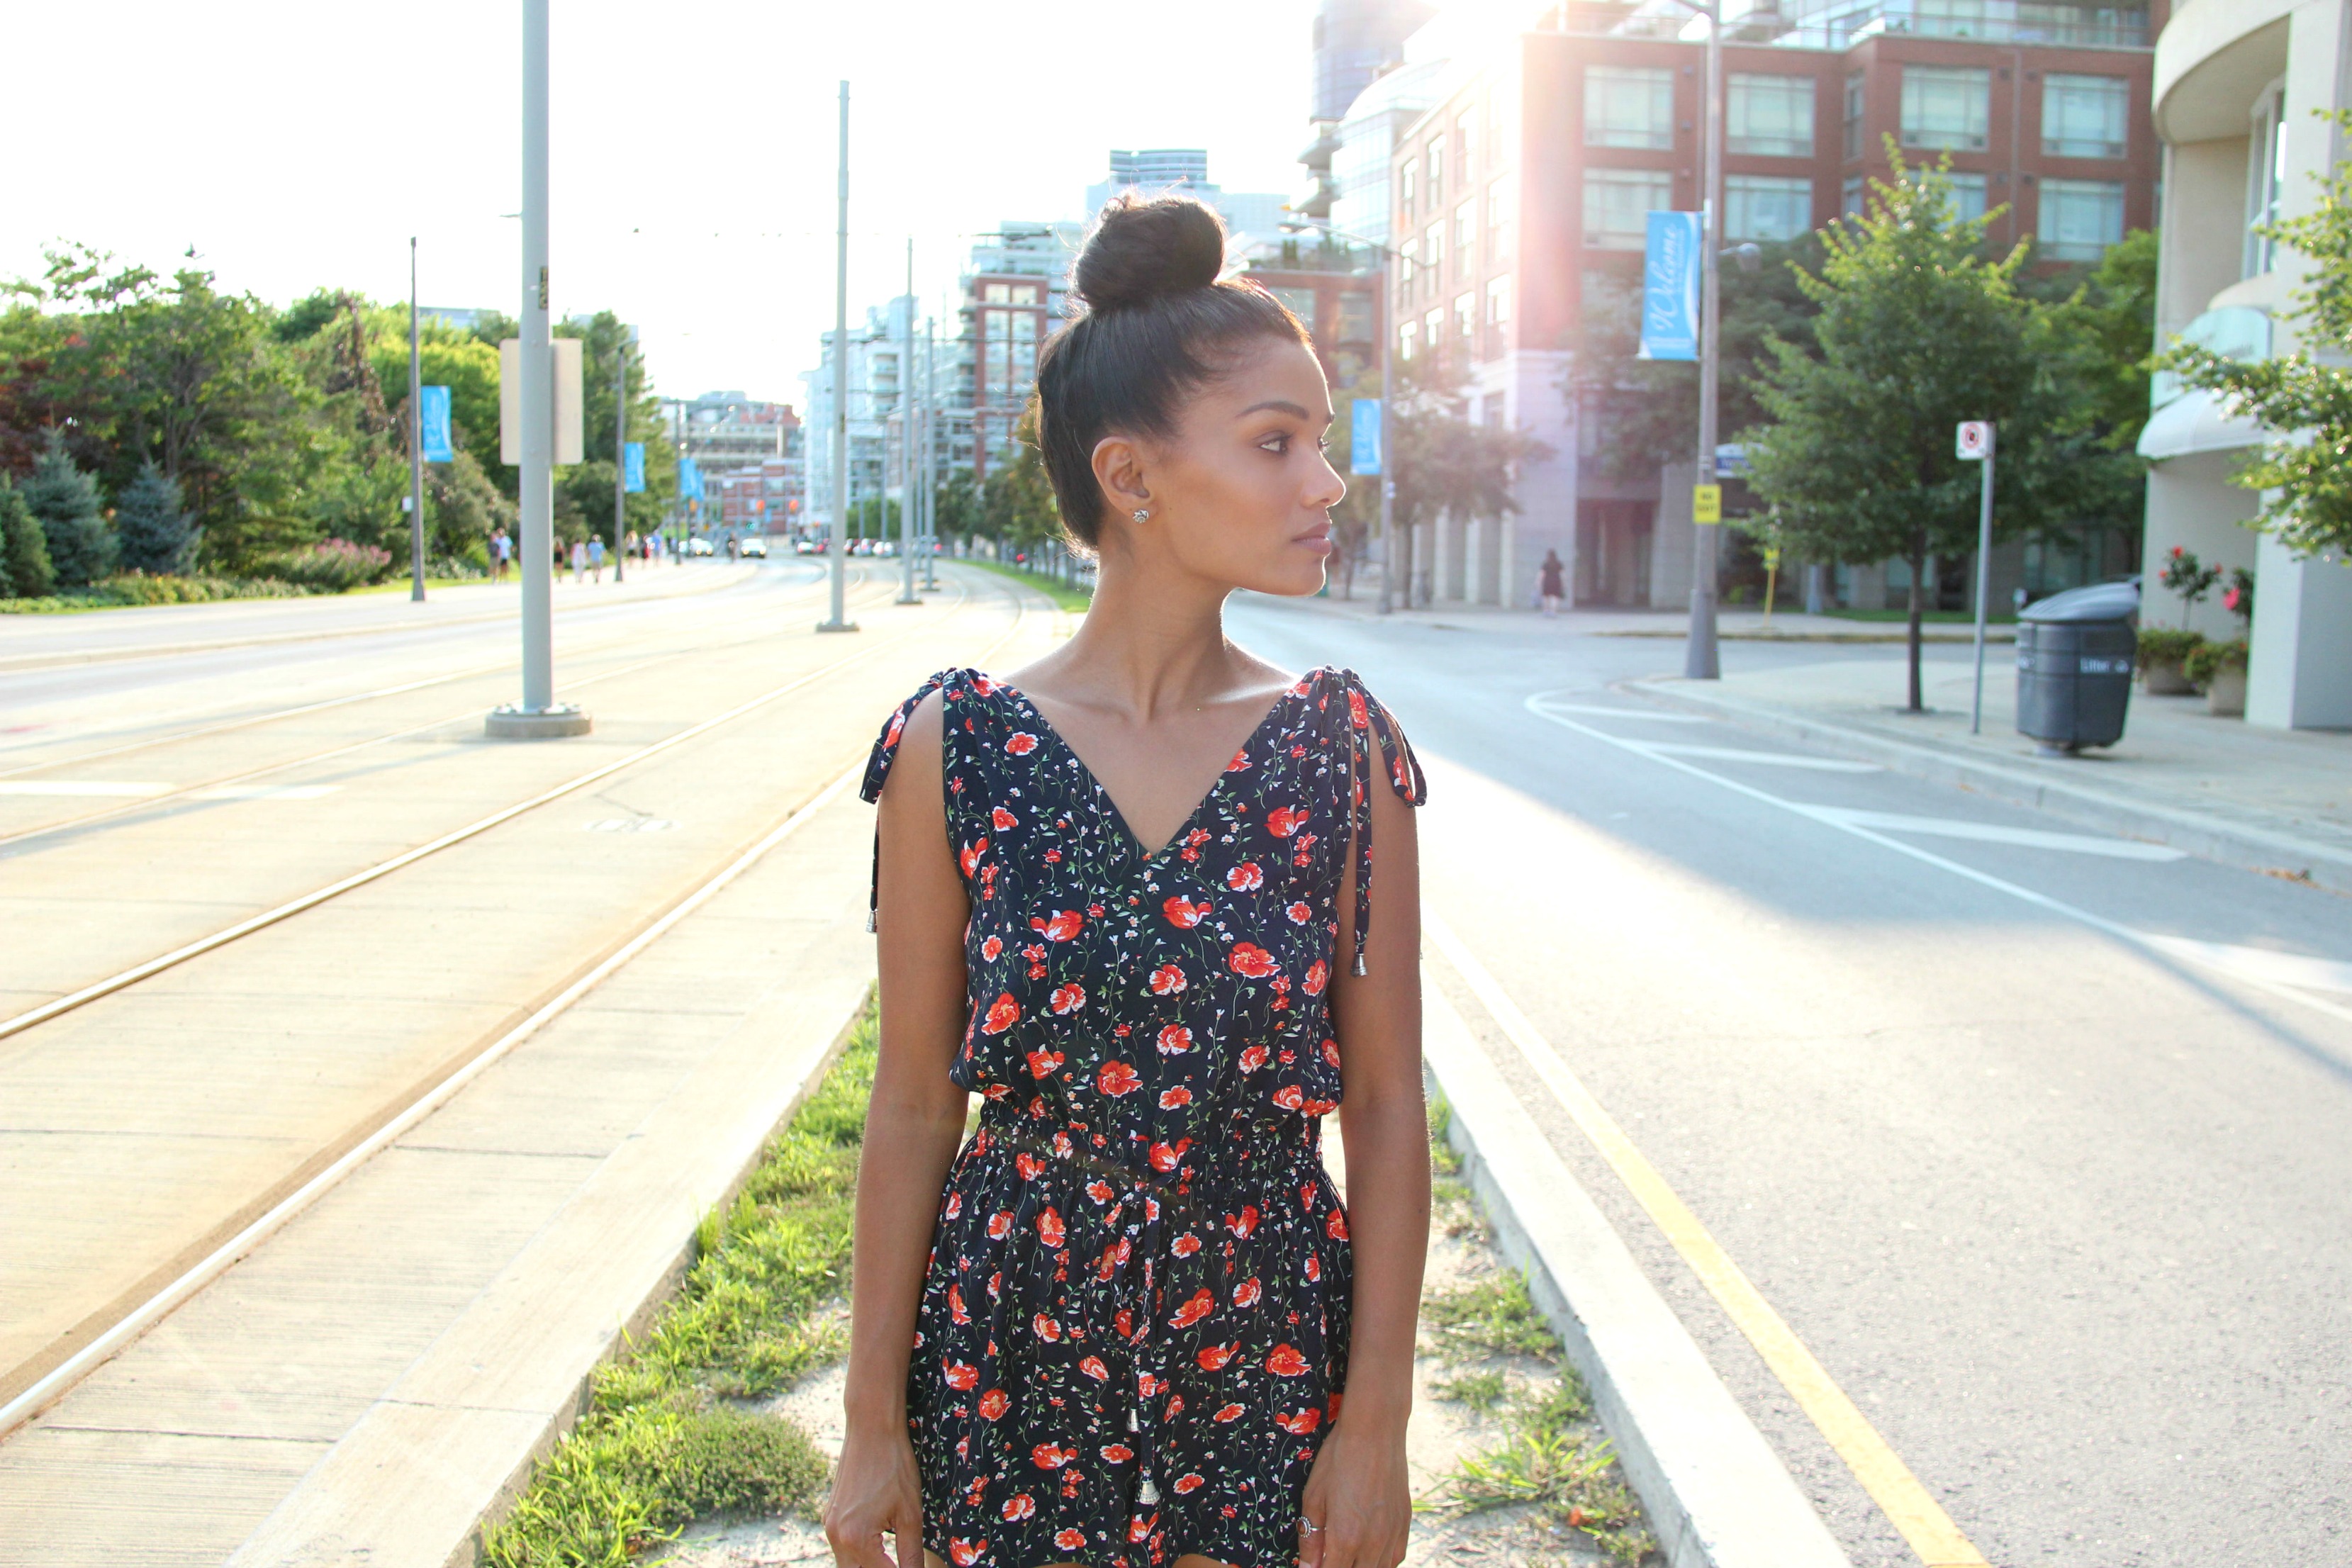
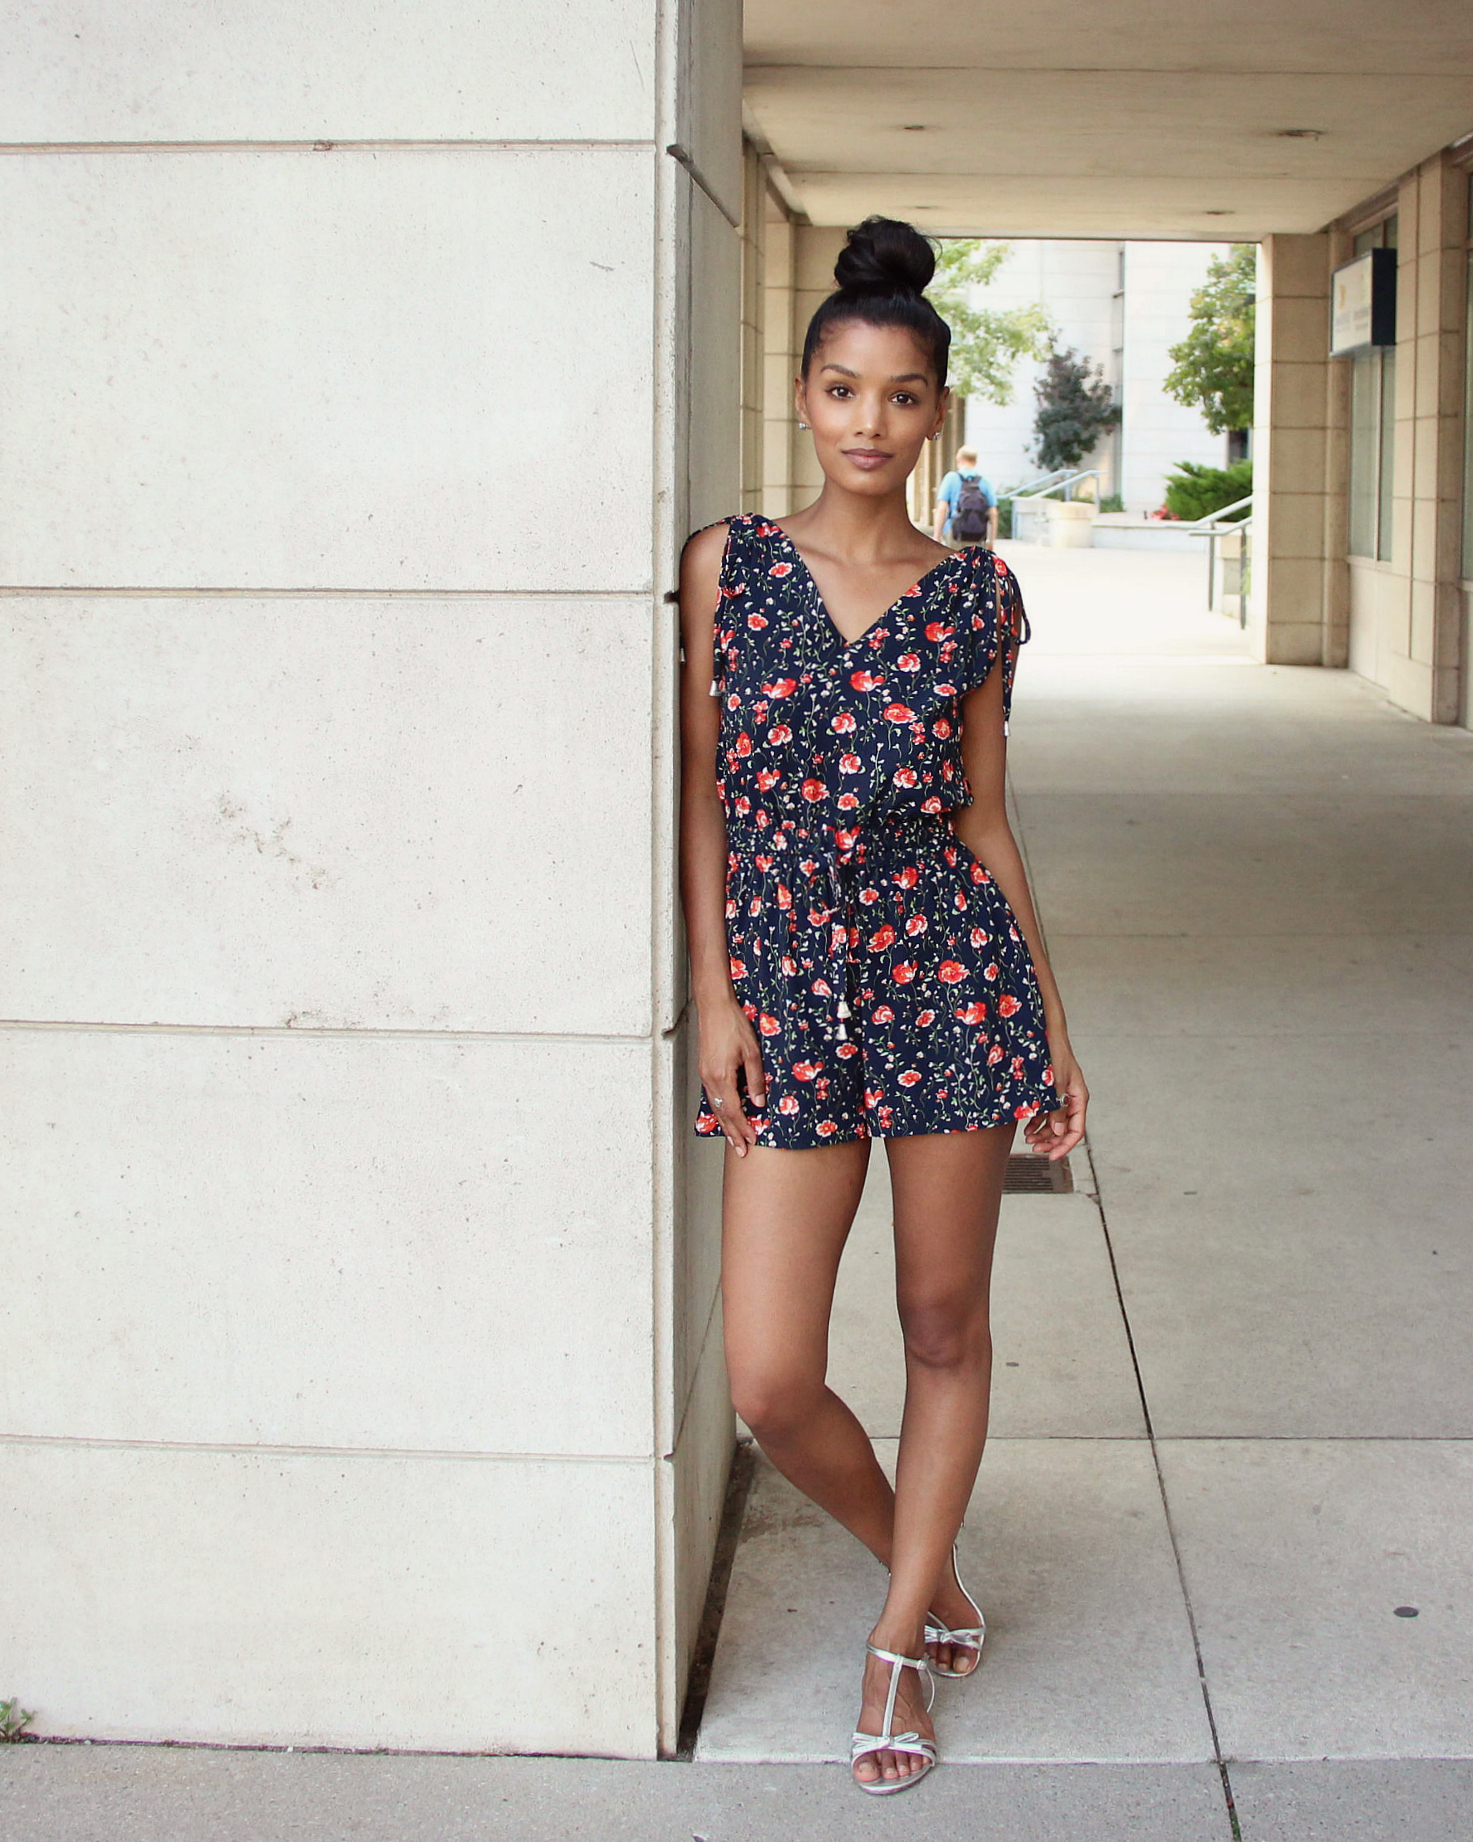
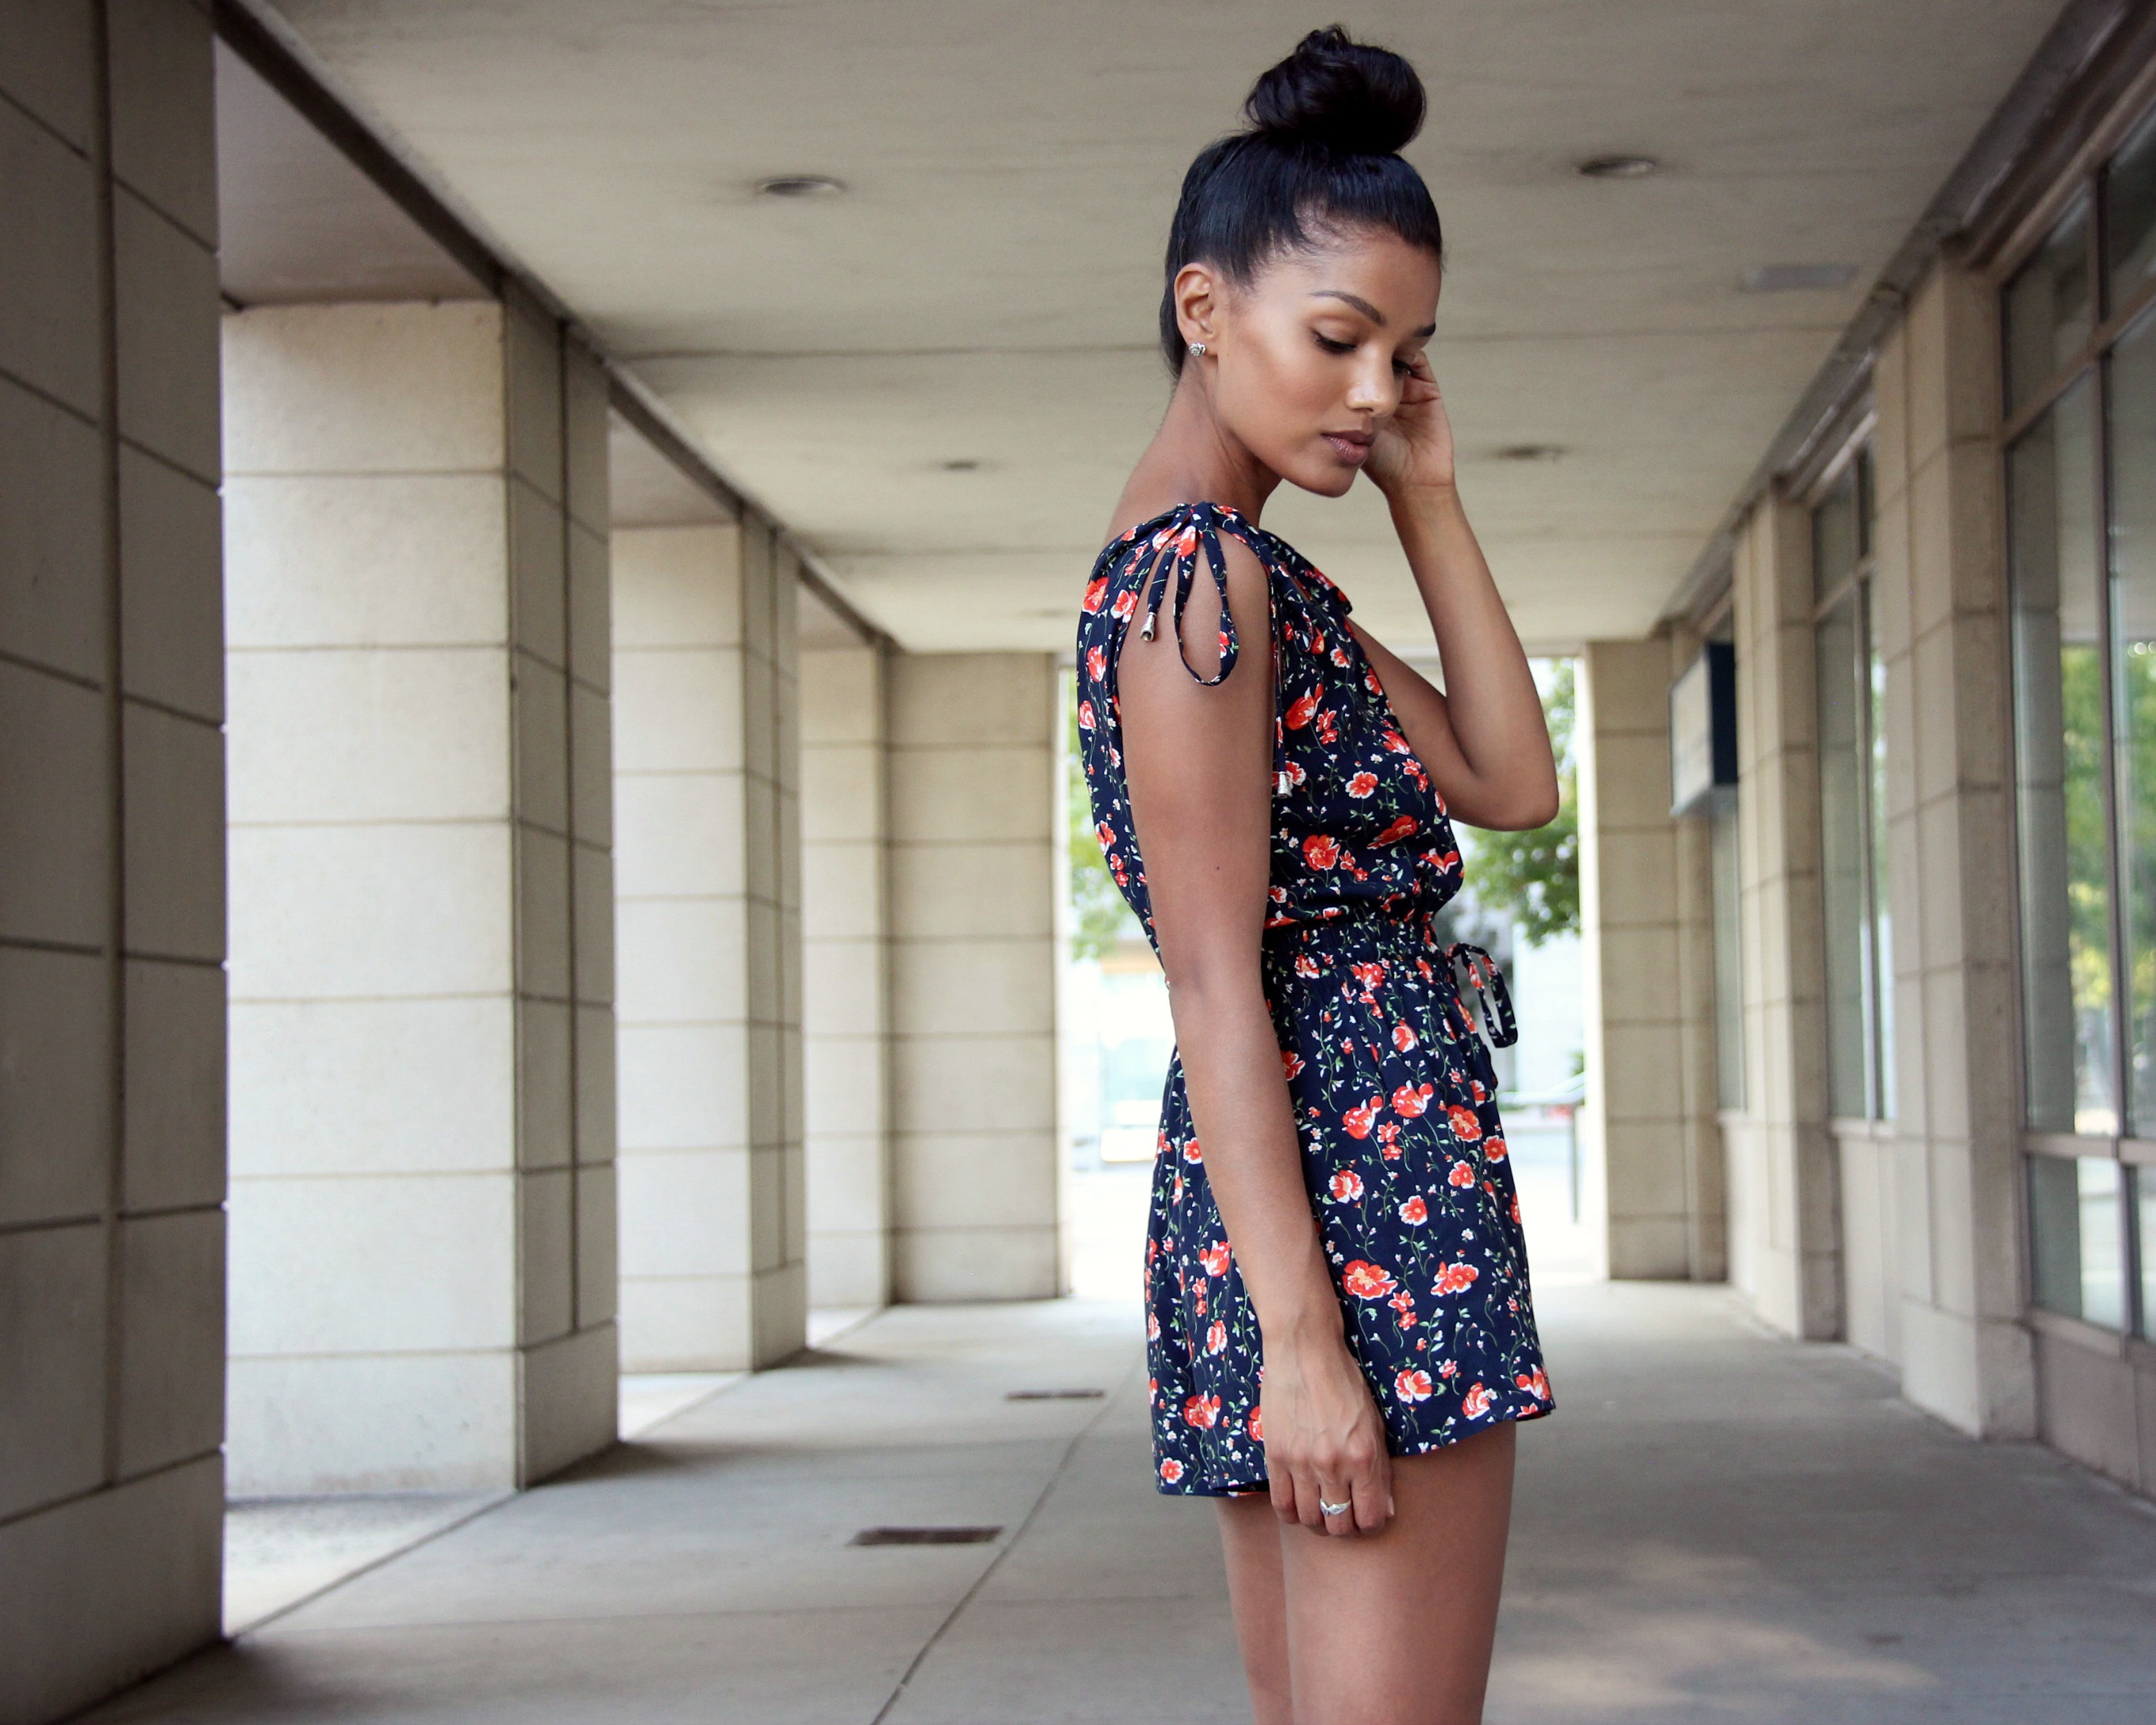
I could be wrong, but I’m feeling like everyone’s about to whip out their fall patterns right about now just because it’s mid-august! Maybe I’m just holding on to all that’s left of the summer months, but girl let me tell you how I’m here for this drawstring romper from BurdaStyle right about now!
girl let me tell you how I’m here for this drawstring romper!
Drawstring Romper Pattern:
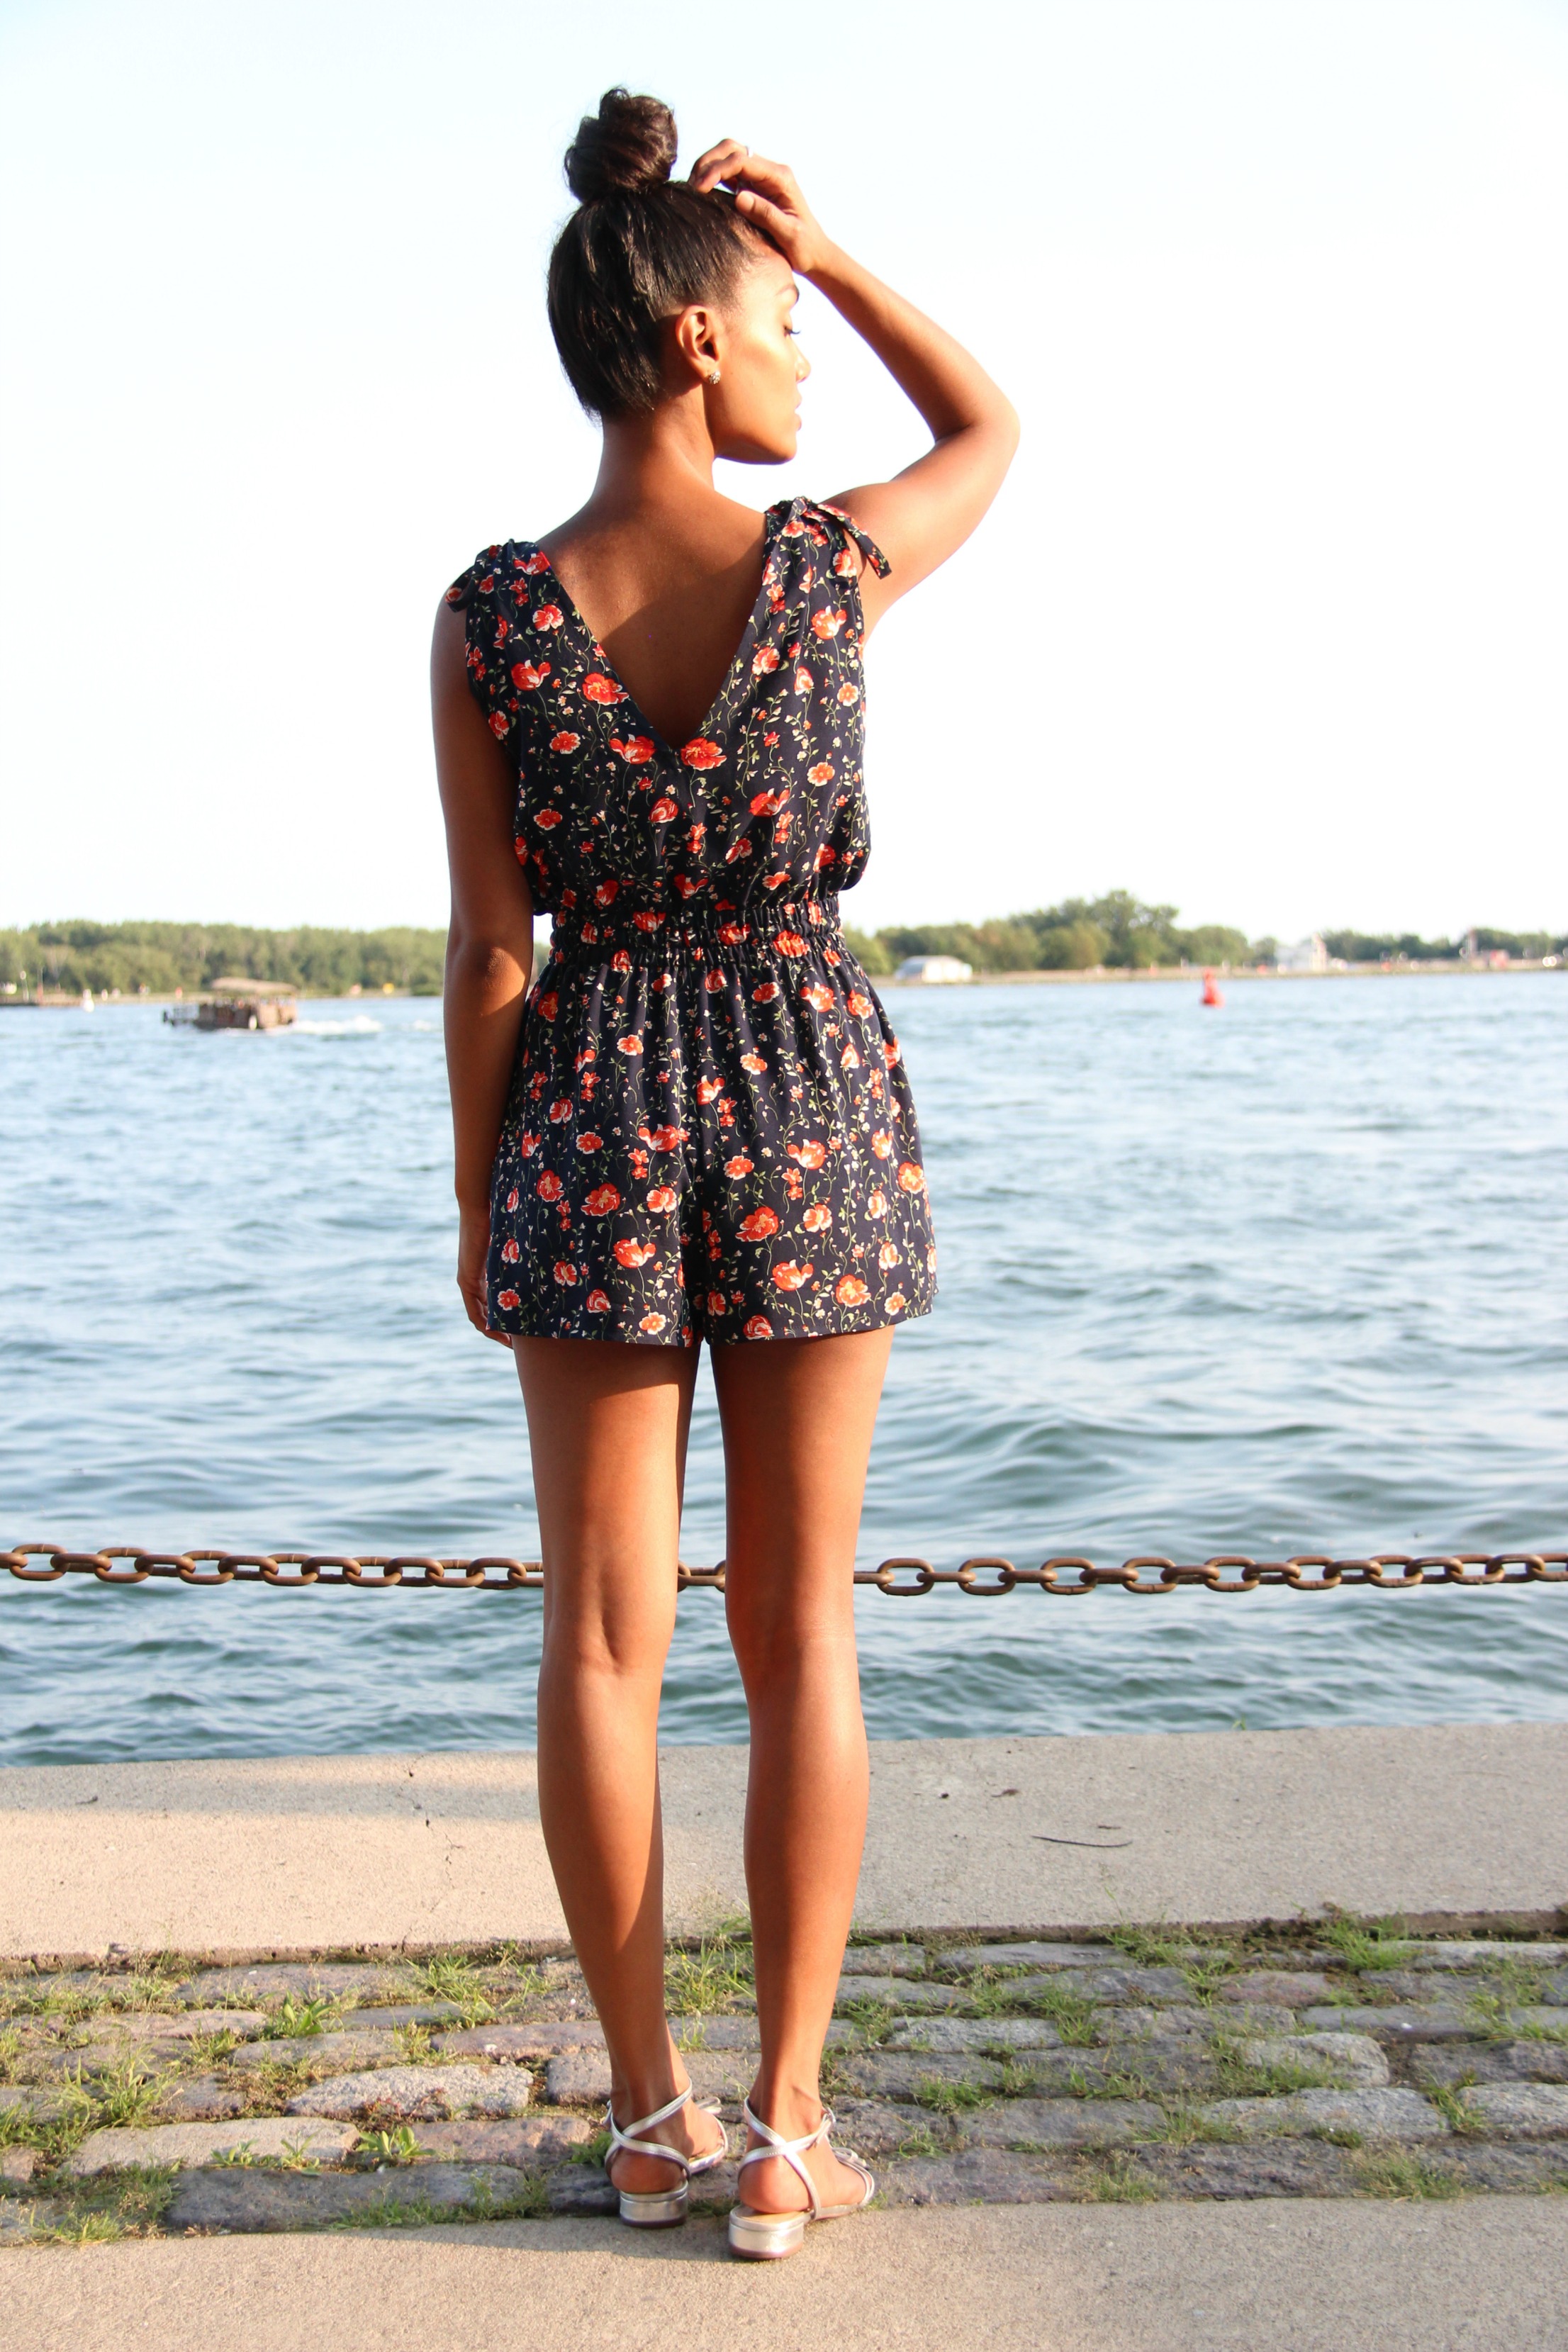
To make this romper, I used pattern 07/2017 #102. It caught my eye months ago, but I wasn’t sold on it enough to actually get it. Truthfully, it looked a little frumpy: the neckline was a bit high, the shorts were long; etc. I understood the idea of this romper, but it took a lot of visualization to really see the cuteness of it. Not to mention, everyone I showed it to didn’t like it! In the end though, I’m glad I tried this pattern out because I’m very happy with how it turned out.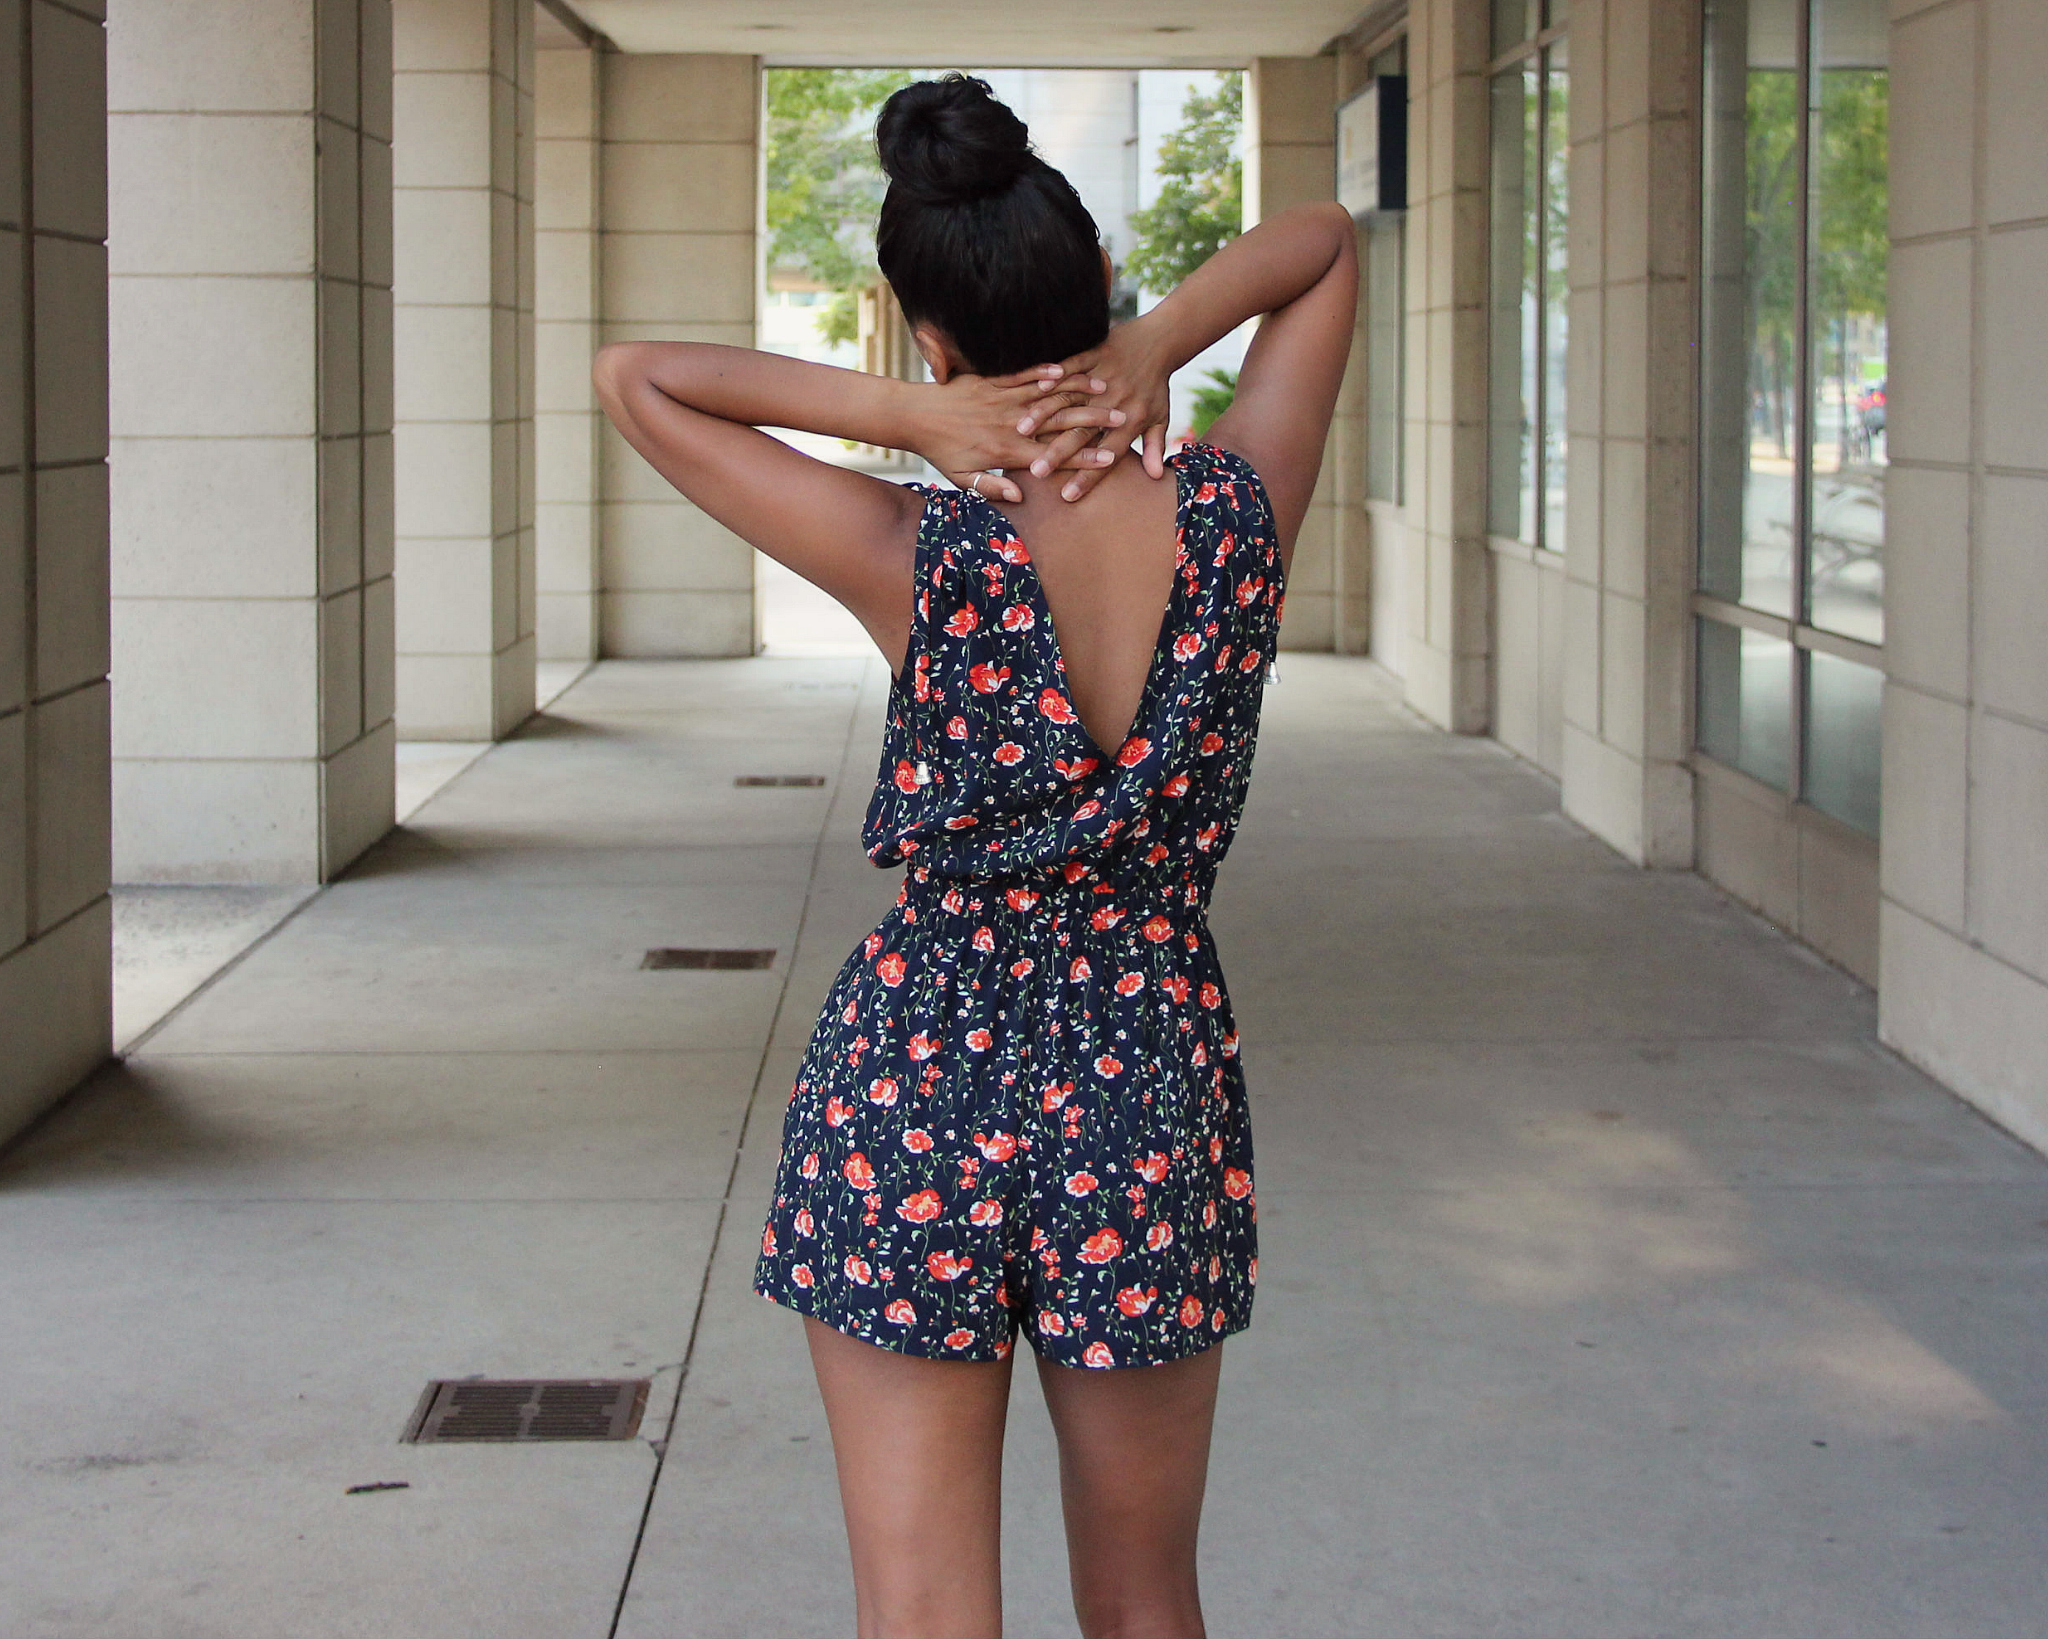
And here’s a bonus! We all know that Burda patterns don’t have the easiest instructions to understand, but this one comes with an online sewing lesson, complete with diagrams! It simplified the construction process by 1000%, to the point where I didn’t really even need to read anything – I was able to figure it all out just by looking at the drawings!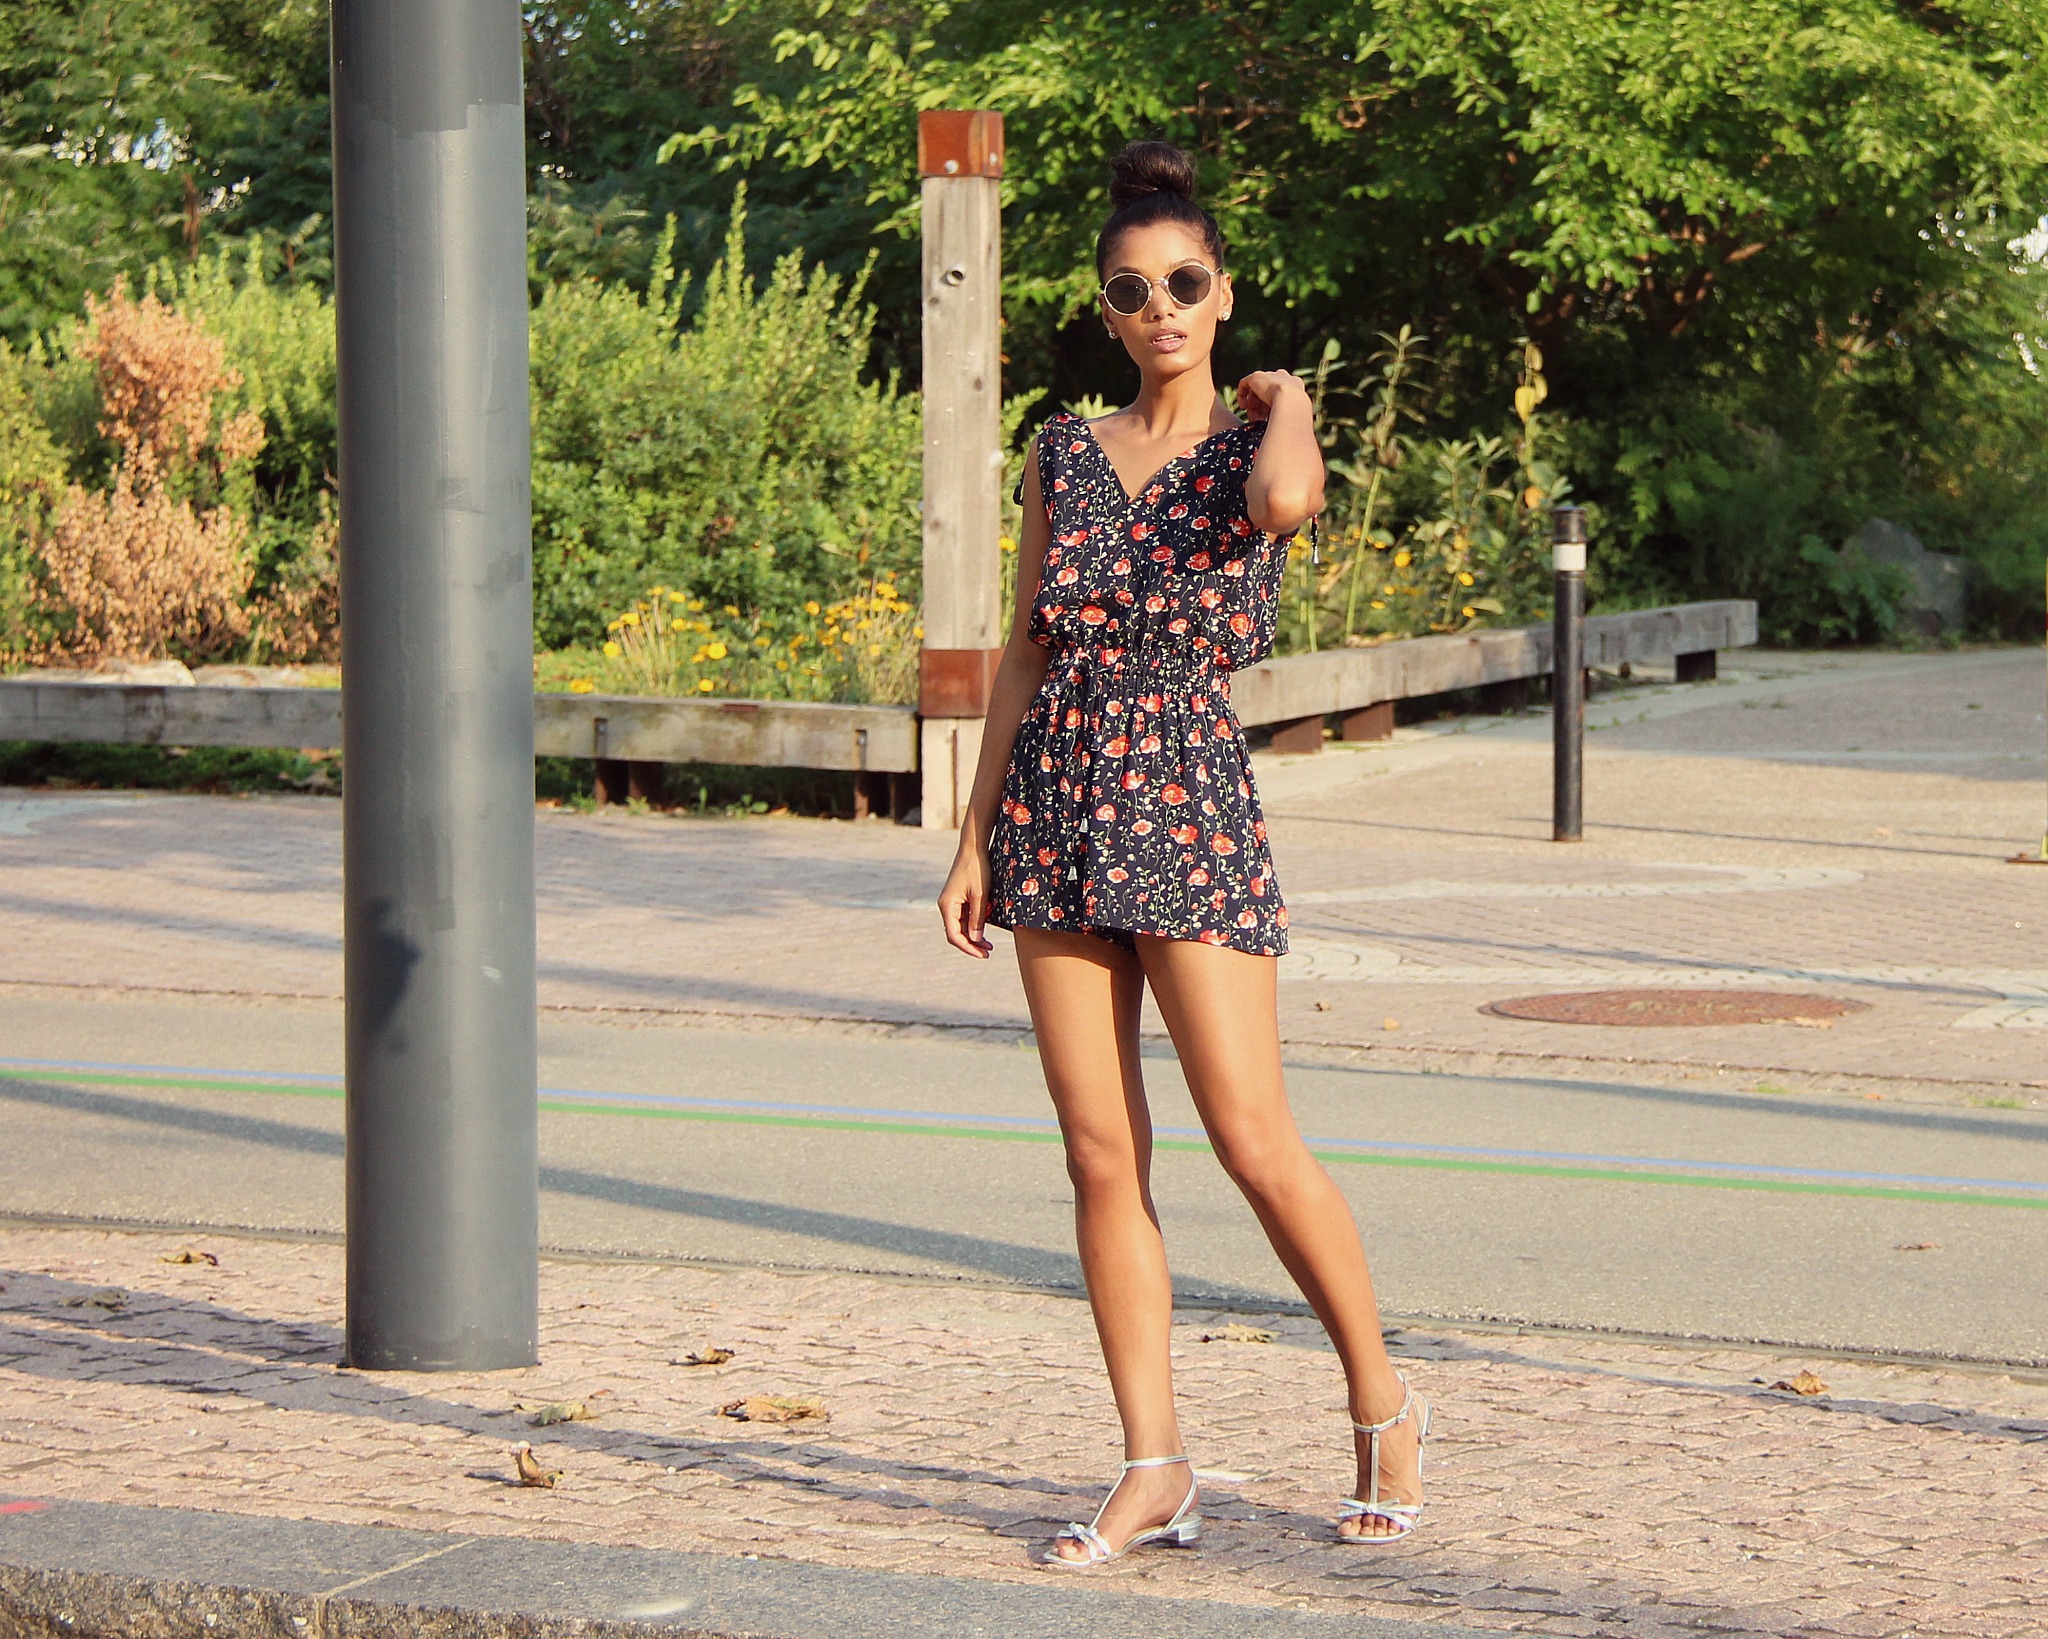
Construction:
While 07/2017 #102 is an easy make, I was surprised at how much hemming and pressing I had to do. I would definitely say that it took me longer to press and hem everything than it did to actually construct the garment itself. Anywho, here are my notes:
- The pattern mentions a size 34, but it’s not there, so I cut the 36.
- Didn’t add any seam allowances.
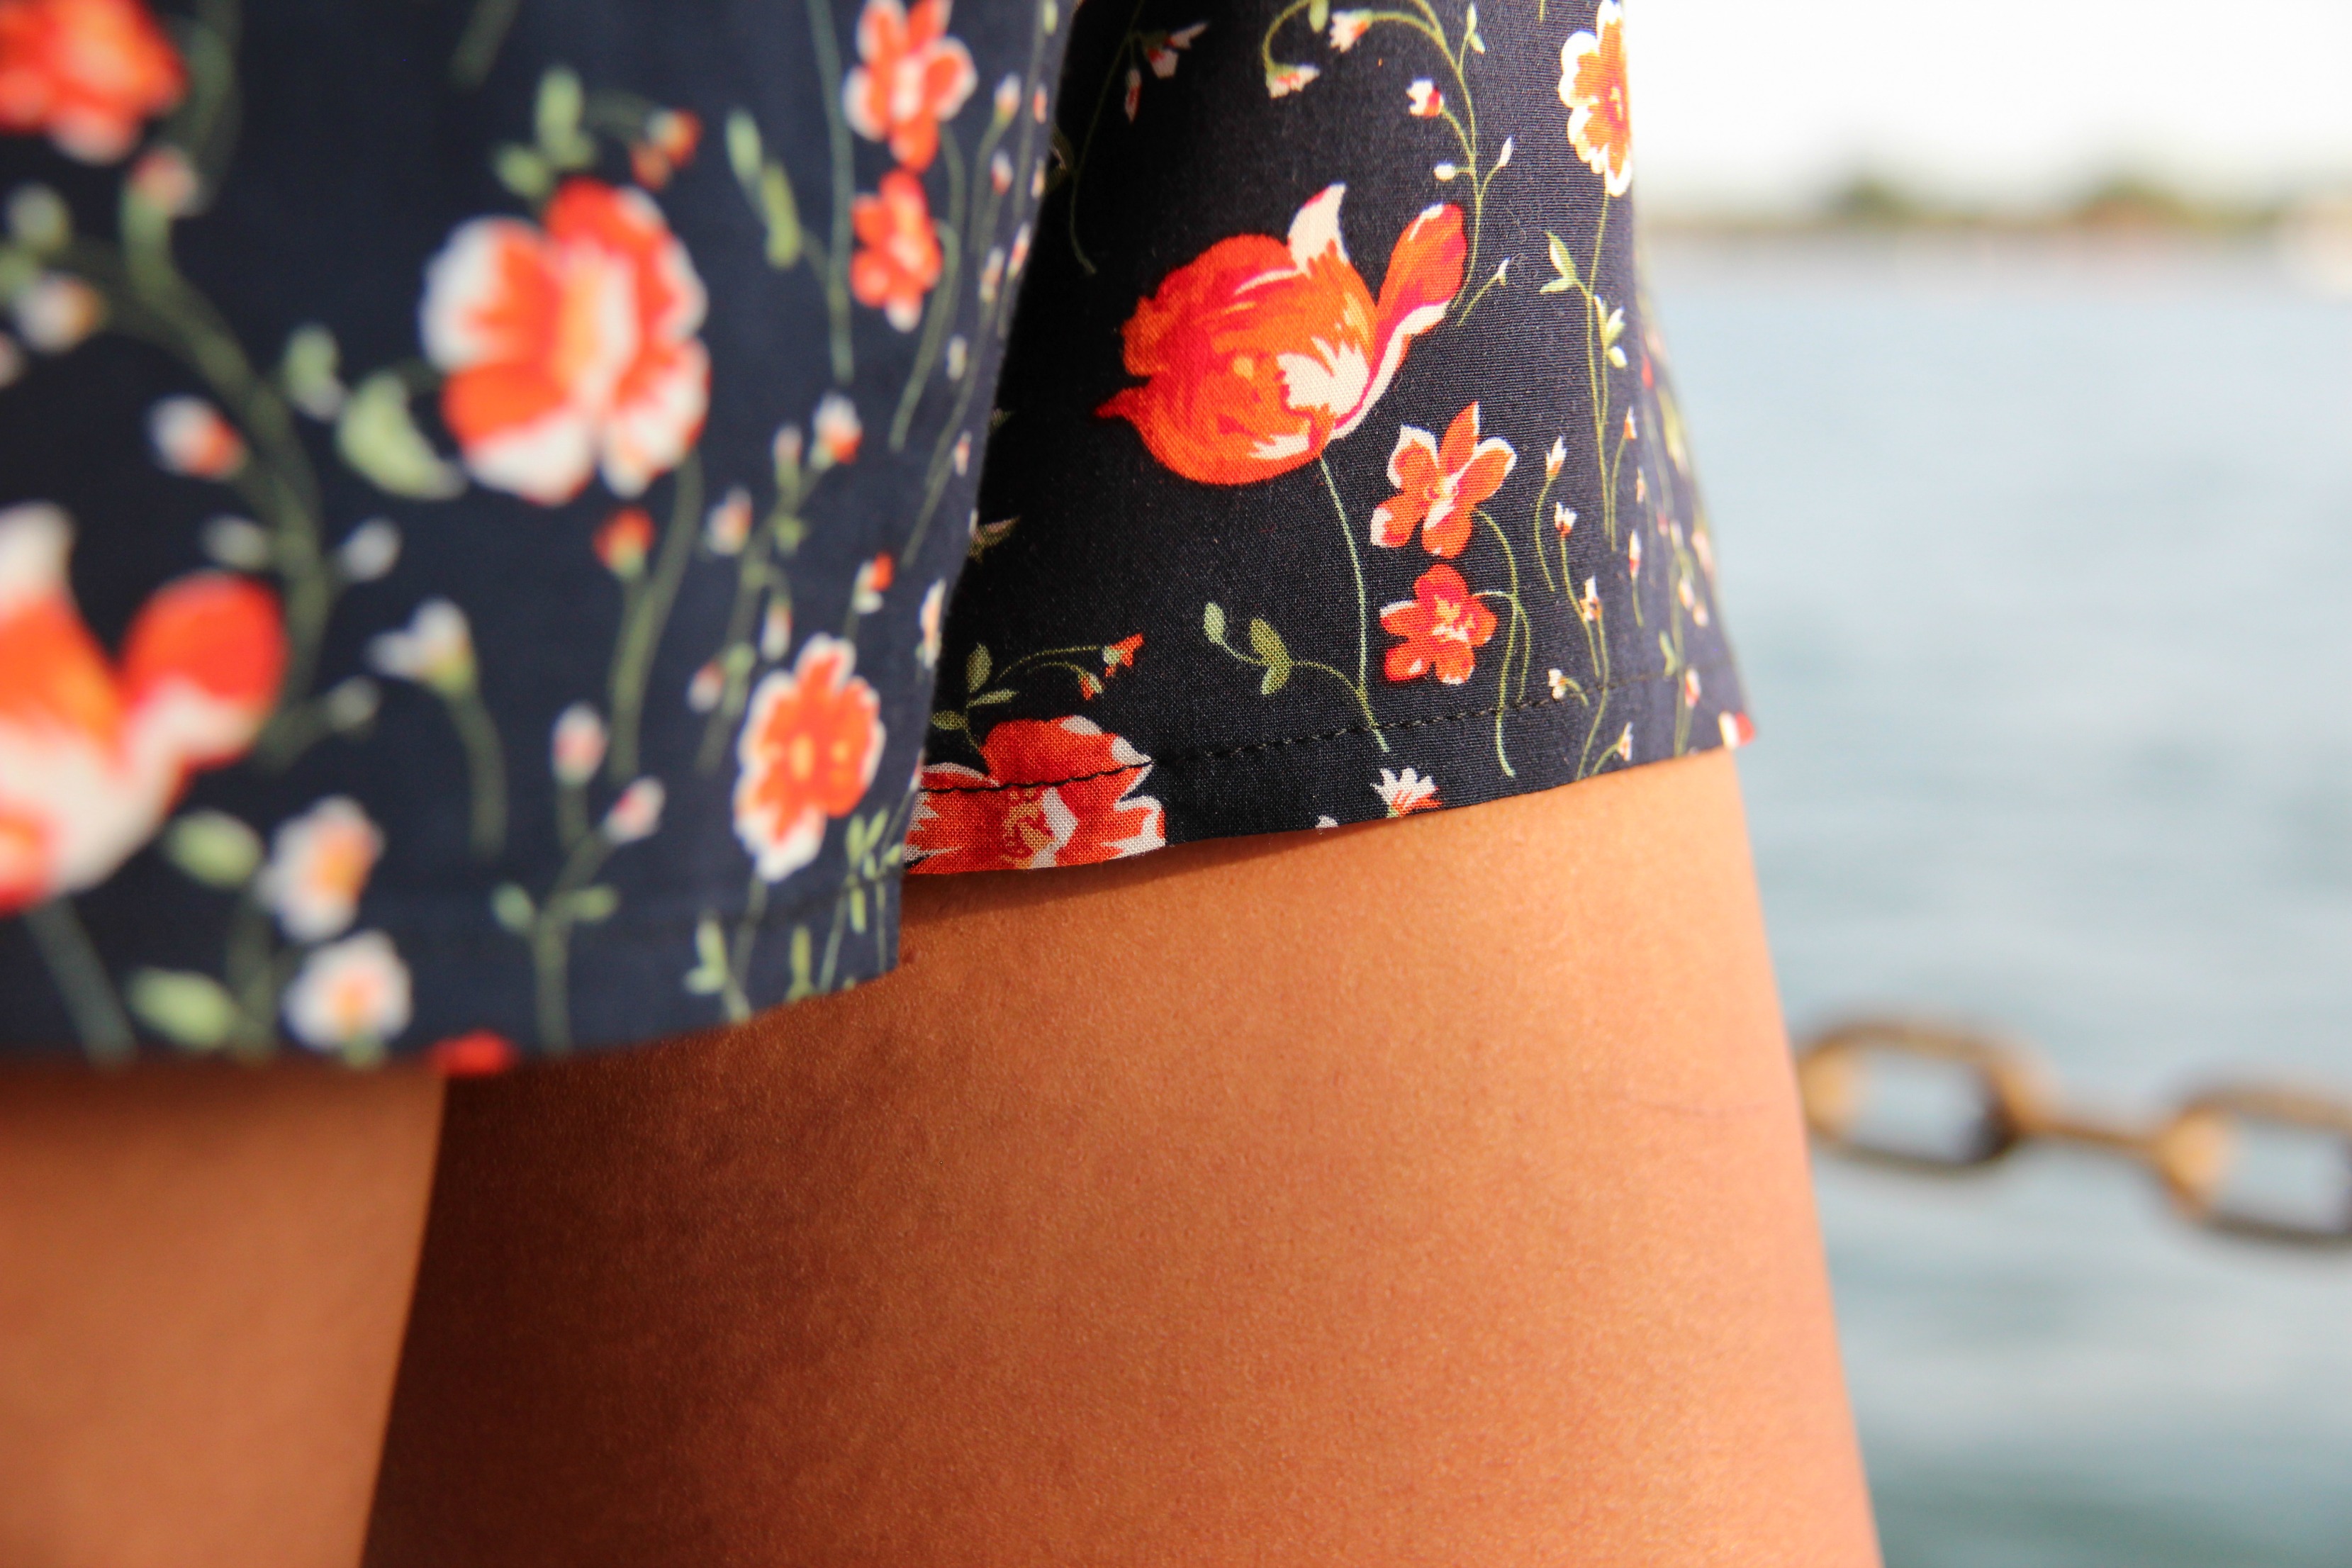
- Shortened the shorts to the 103 mod line, which is a difference of just over 3”.
- Cut both the front and back bodice pieces on the fold.
- Deepened the front V-neck by 1”
- Left off the ruffles from the shorts.
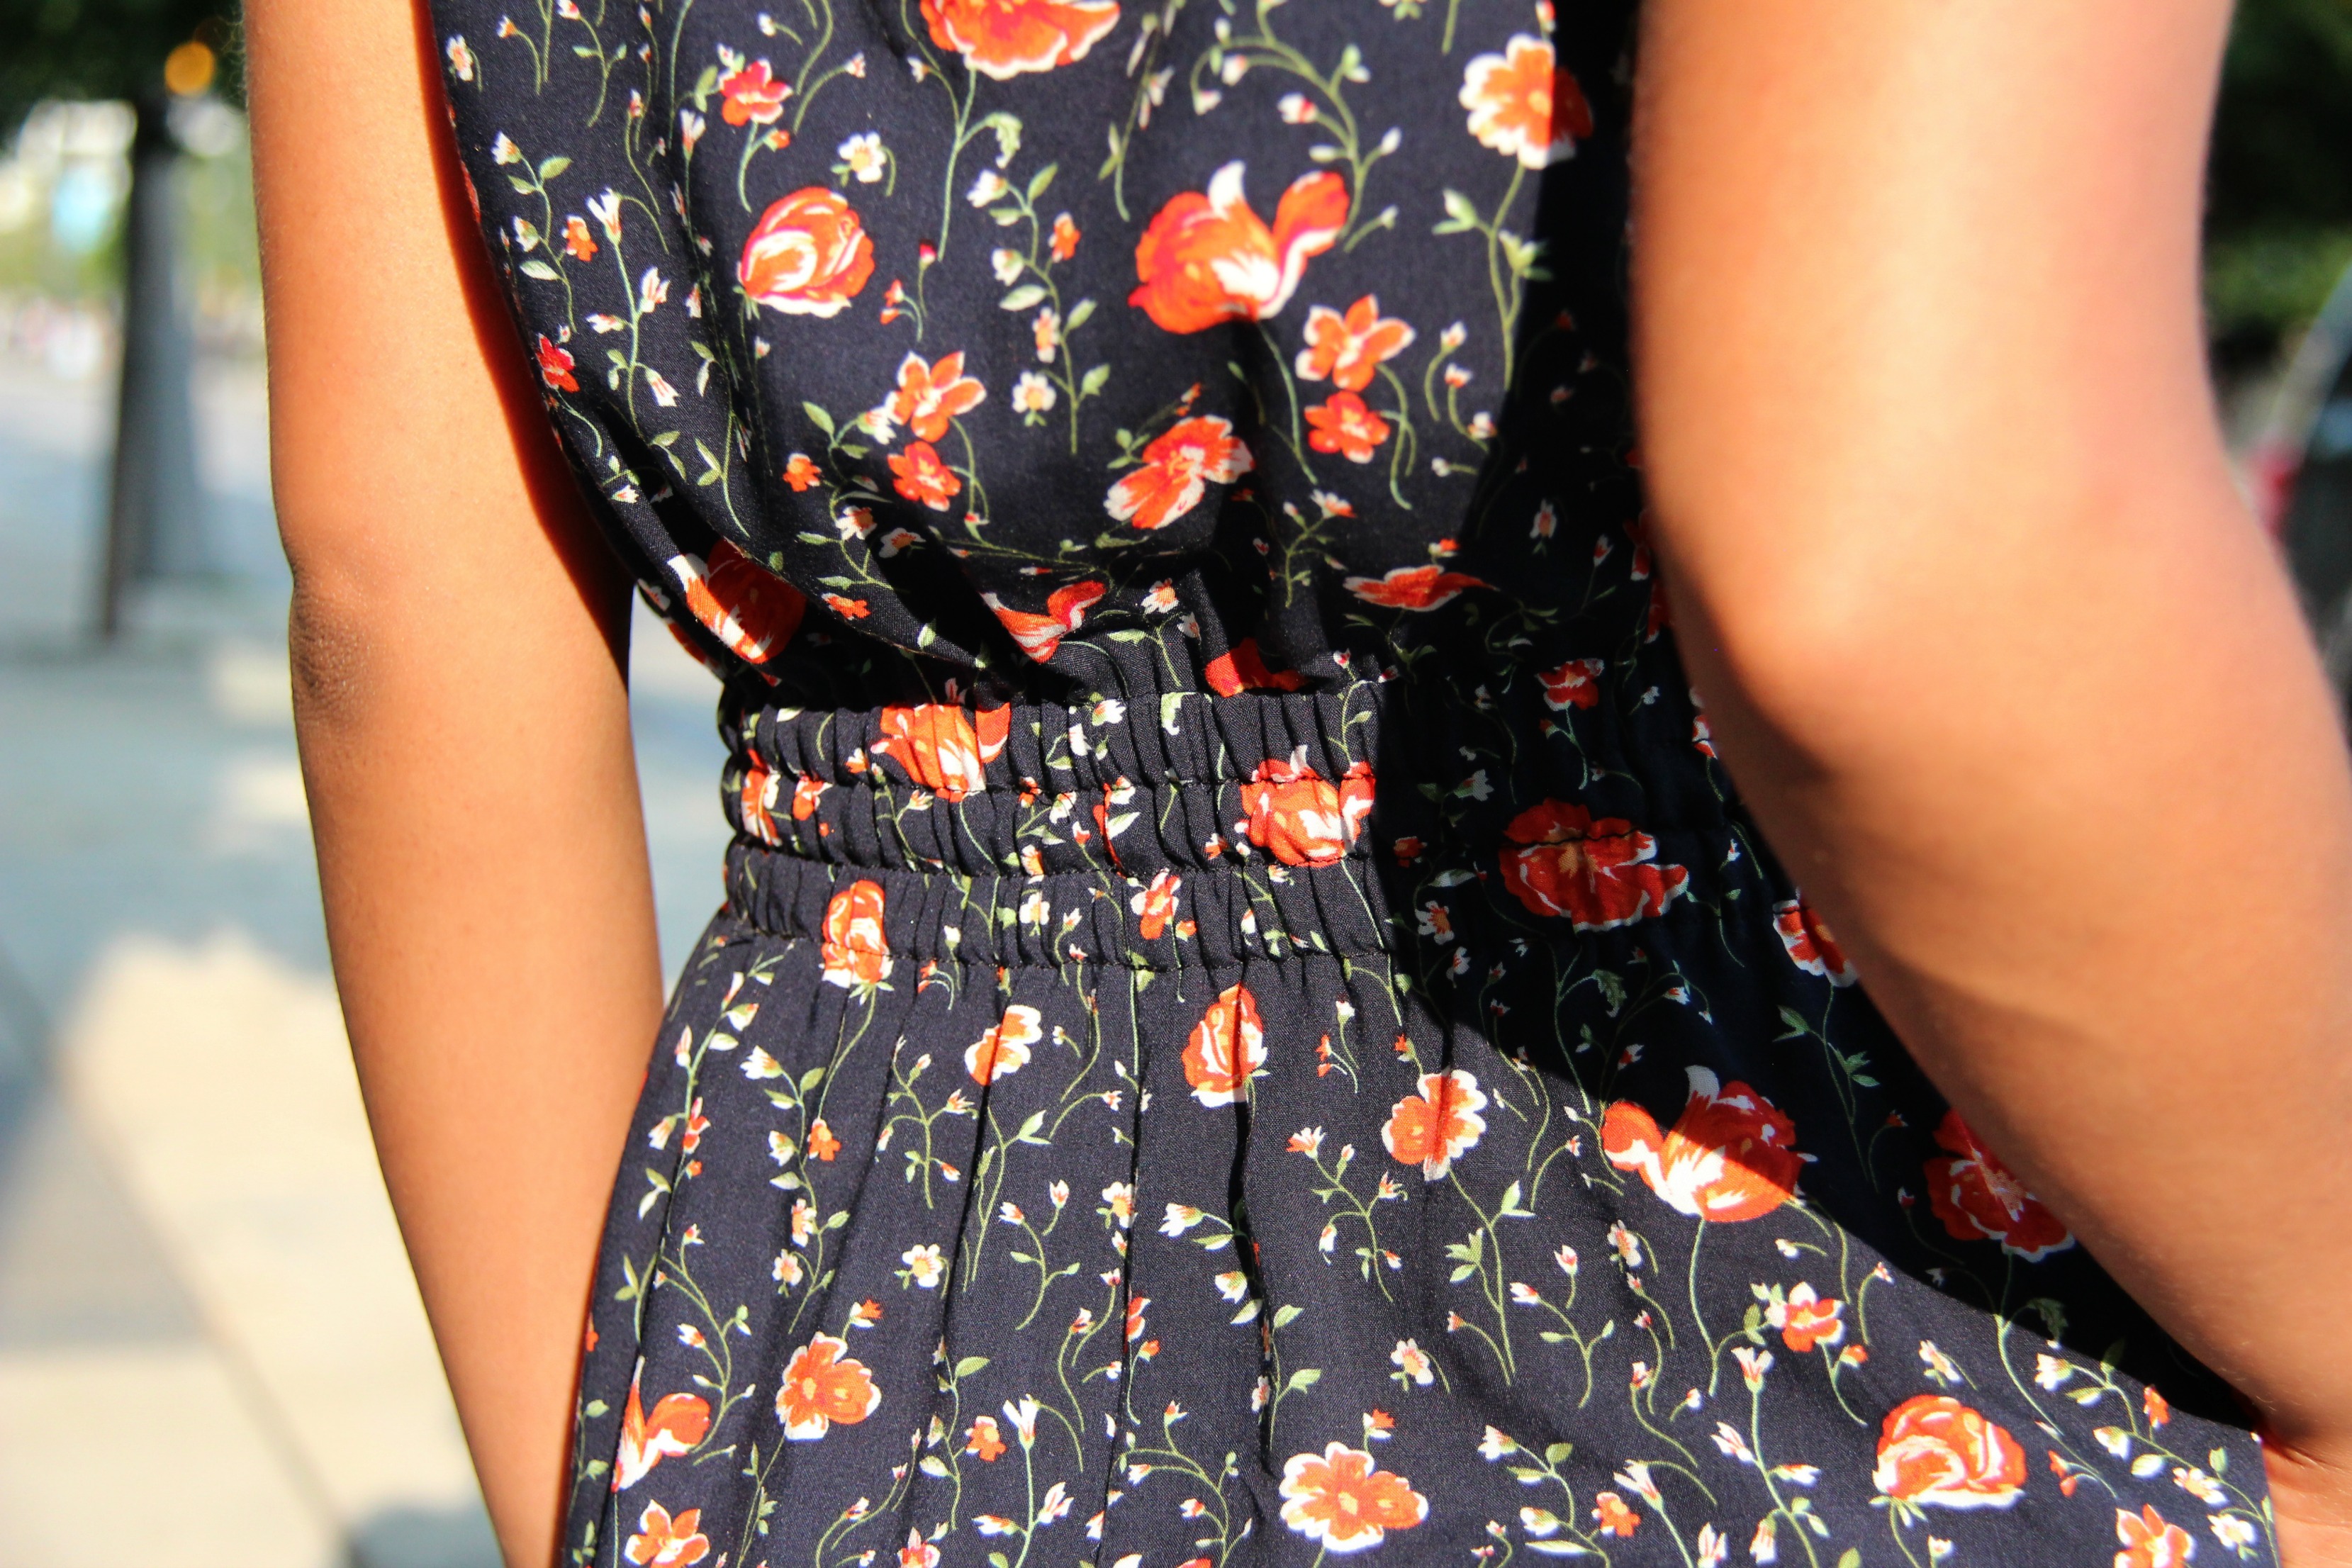
- French seamed the entire inside.
Fabric:
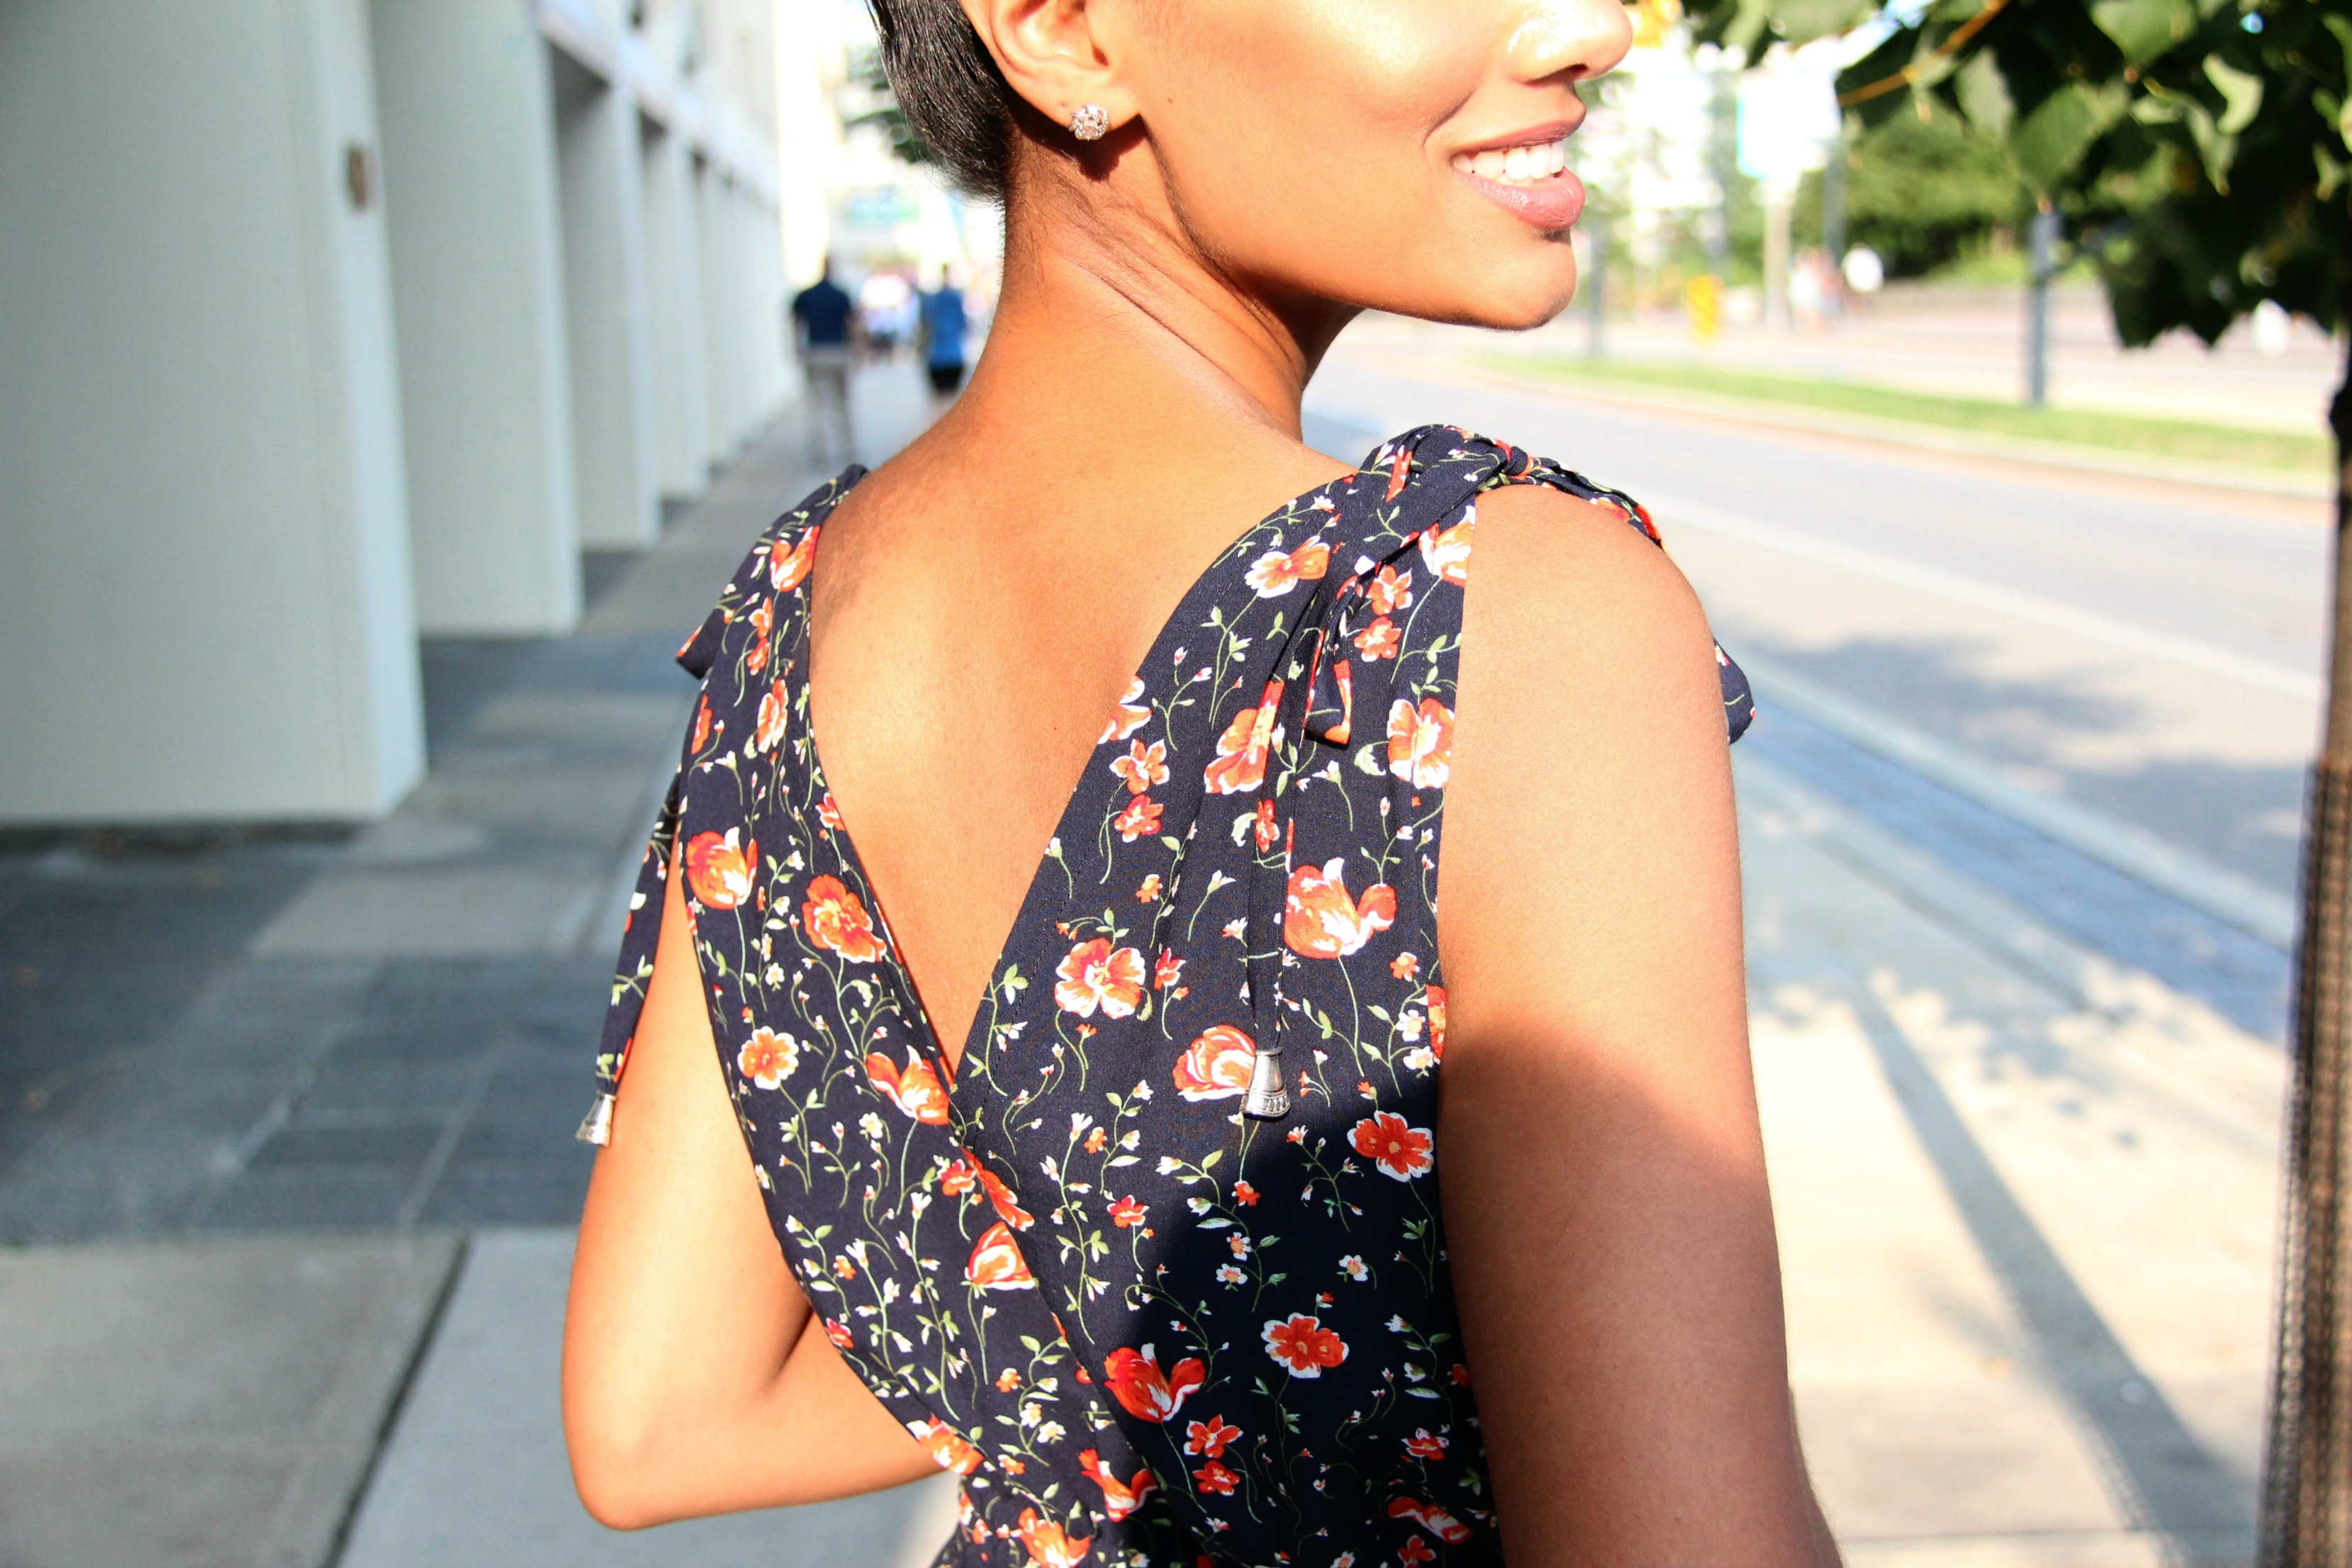
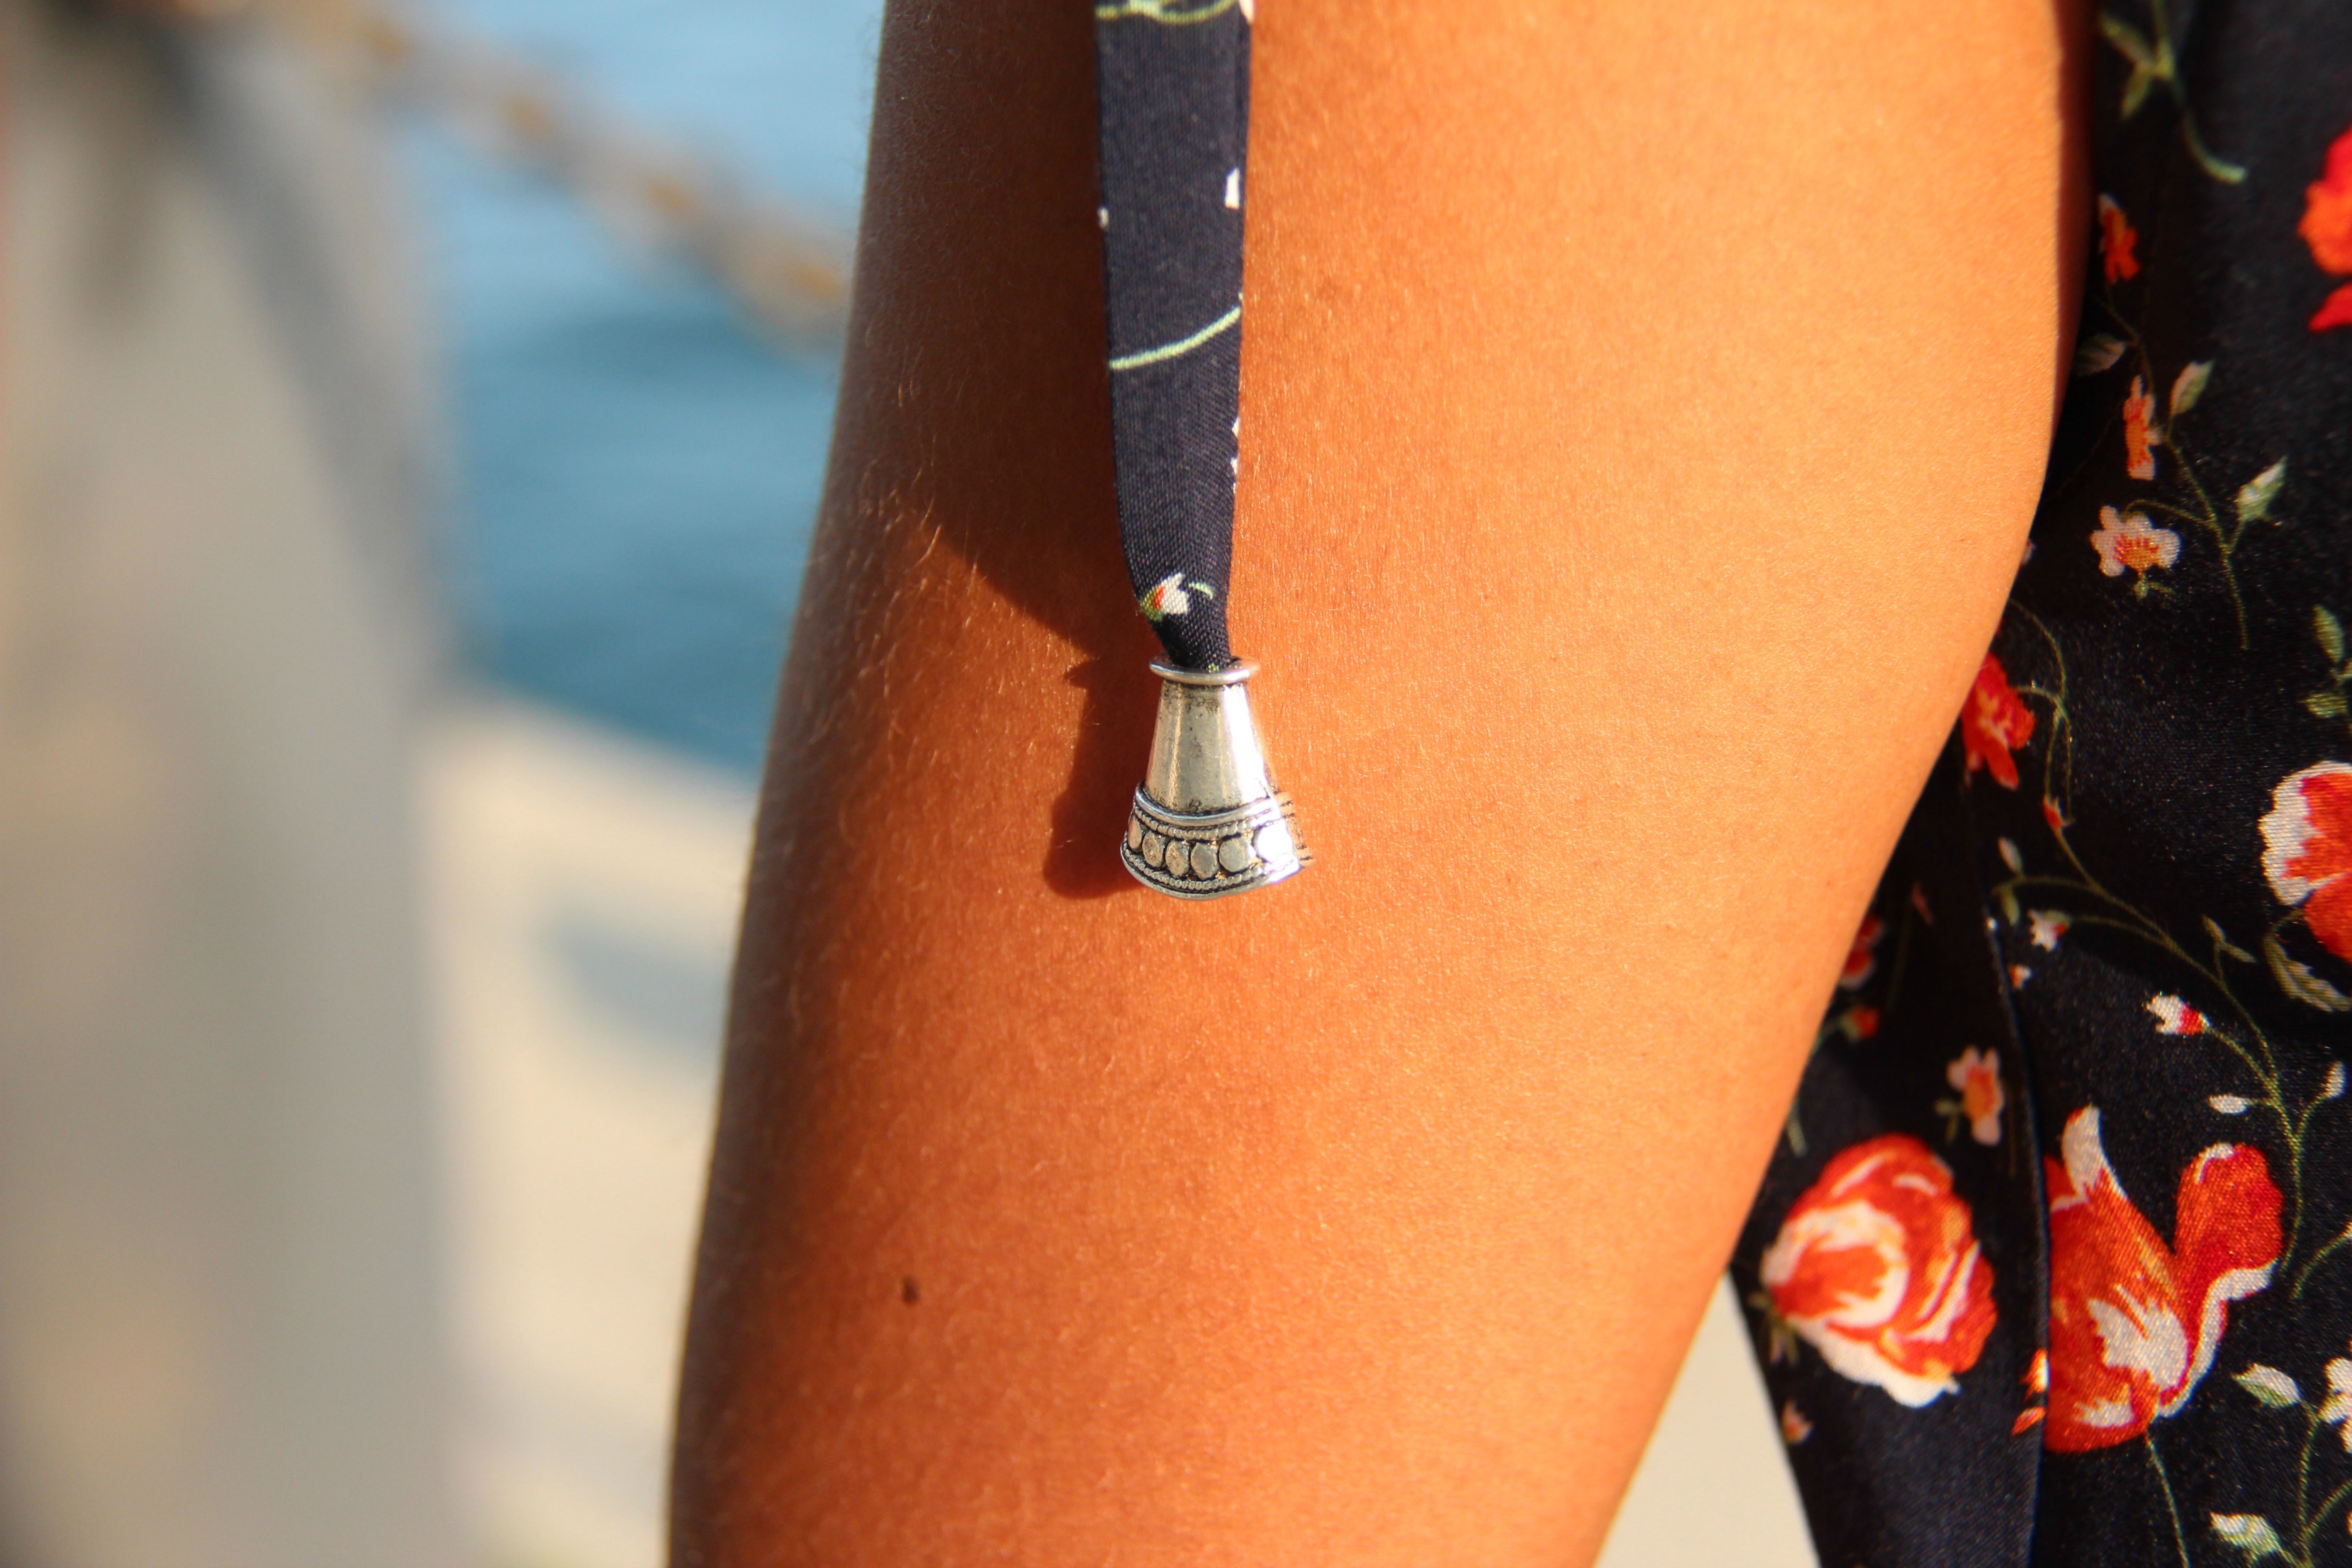
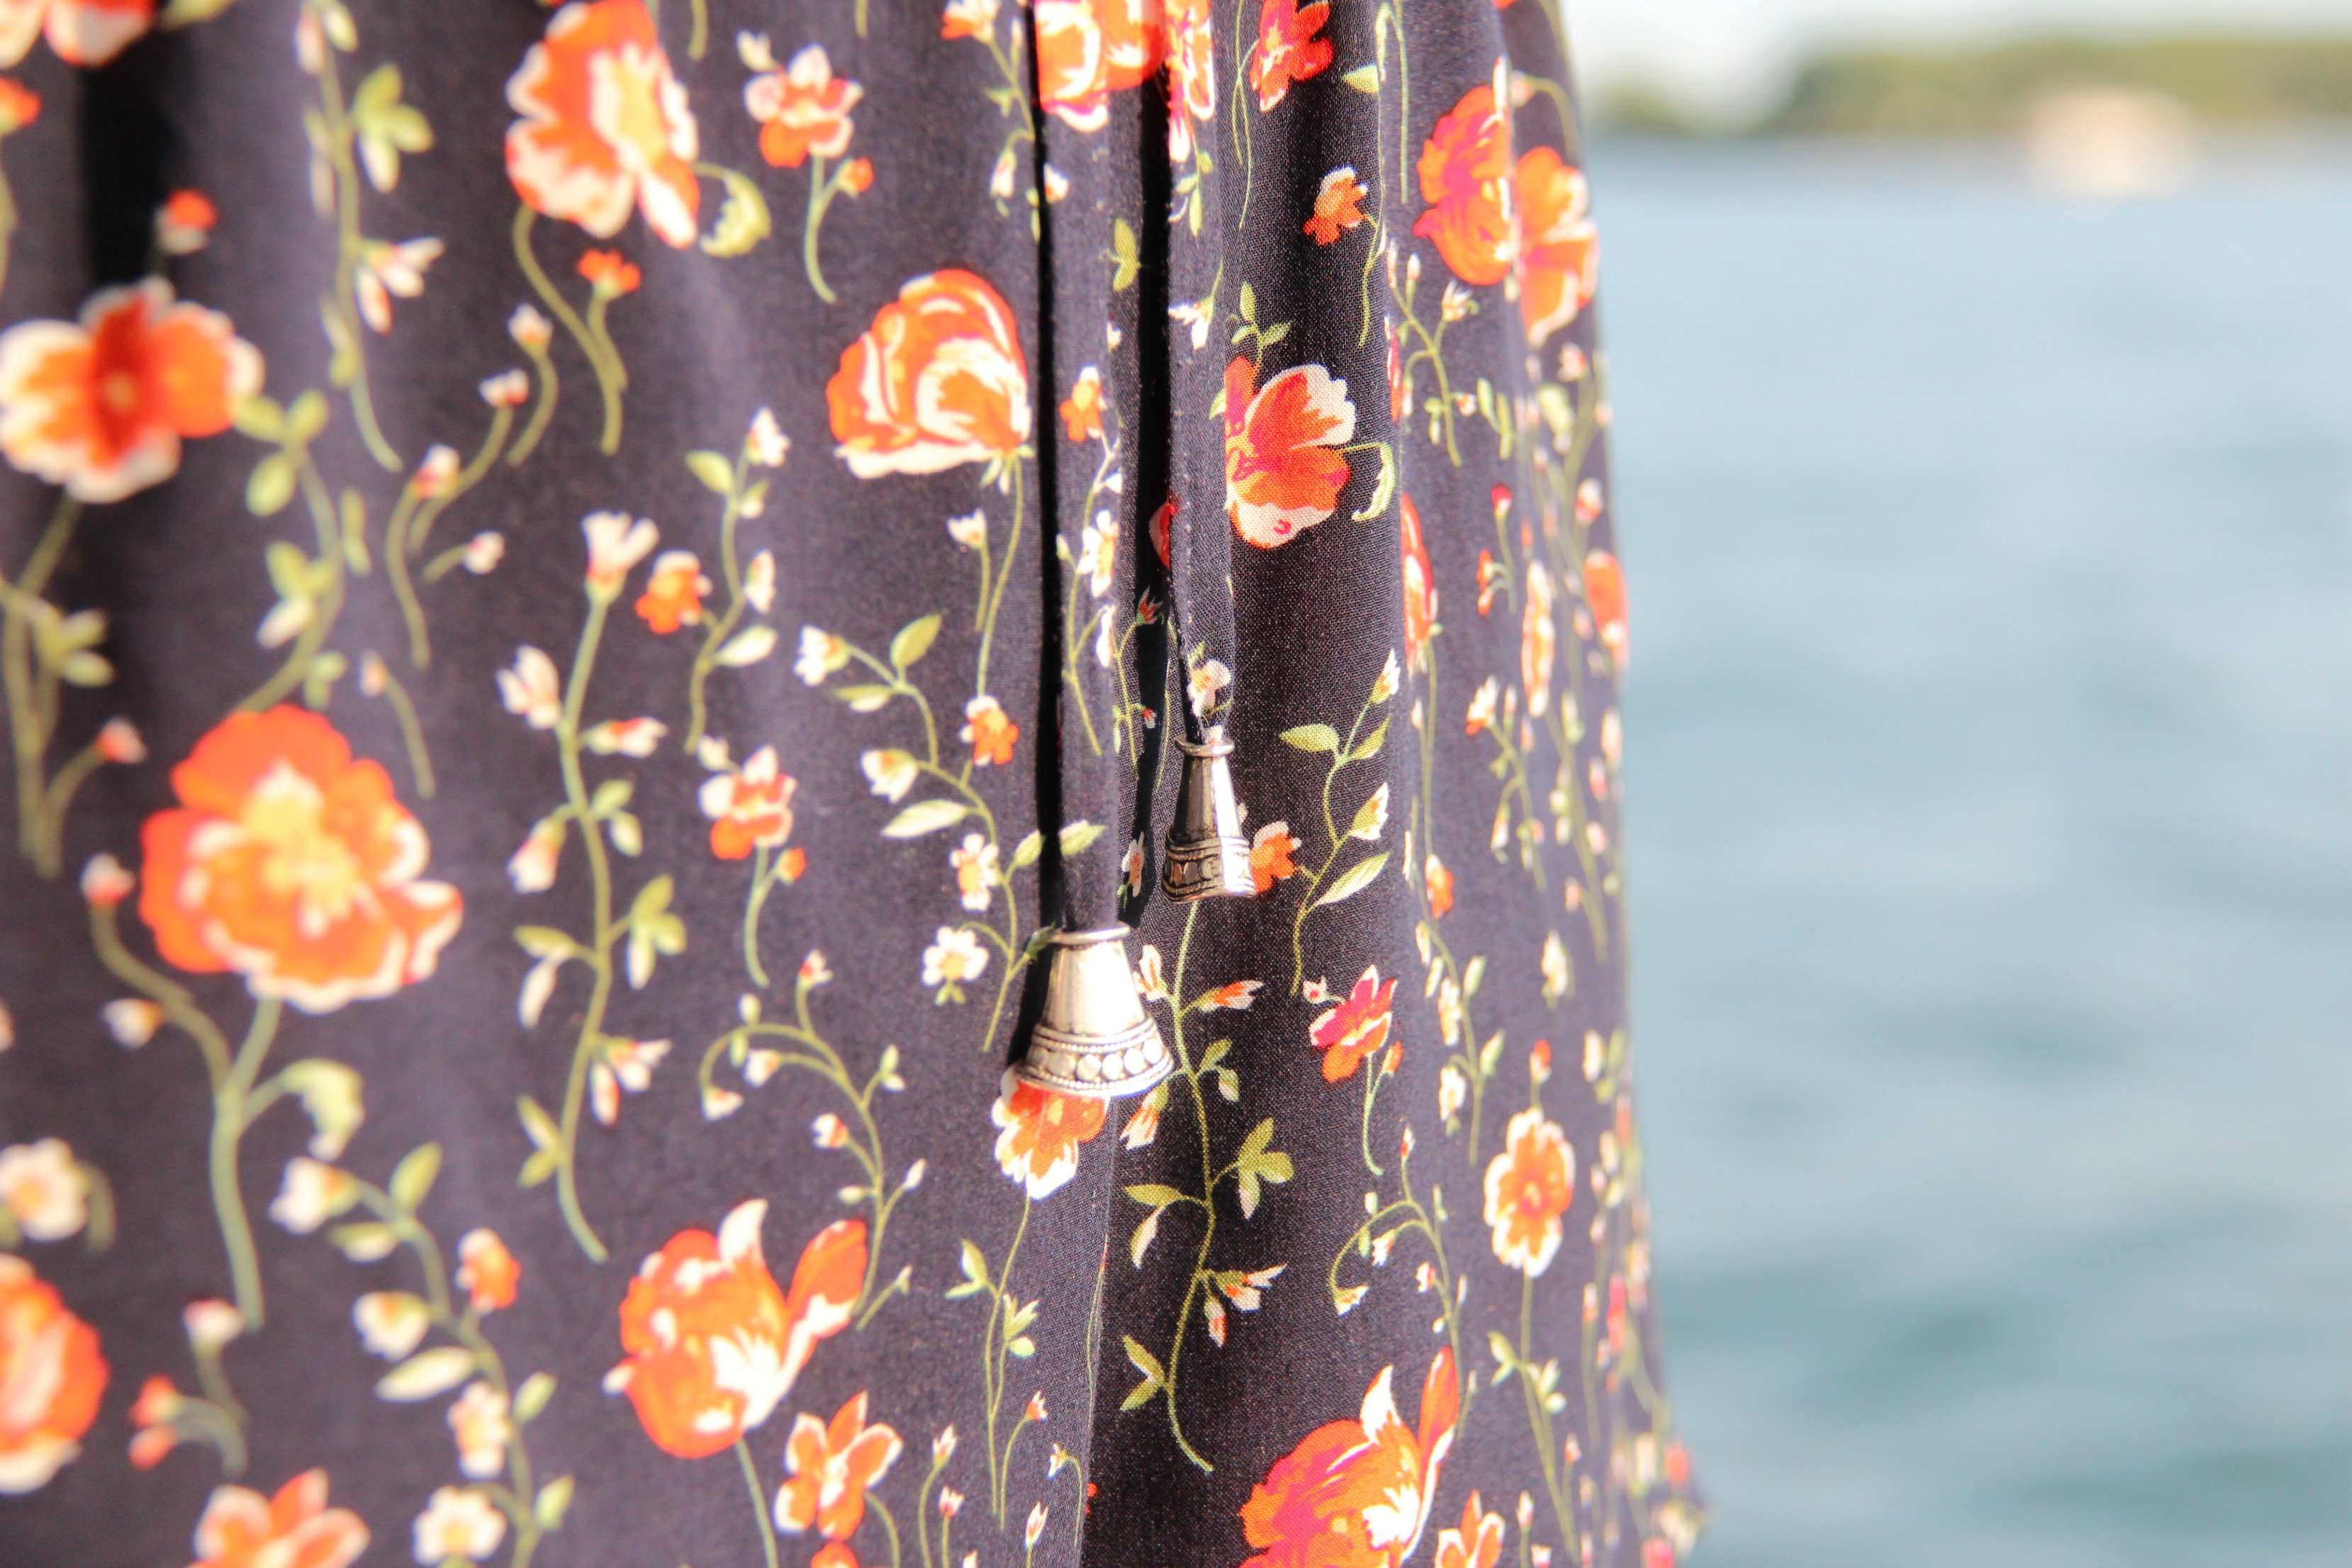
I used a rayon challis from Fabricland, that I got on sale for $4/m. The pattern calls for 2.6m of fabric, but I bought only 1.5m because I really thought there was no way this little thing would use up that much material! And I was right – even without shortening the length, I had some leftover! I was able to do this by cutting on a single layer of material, strategically placing the pattern pieces. Plus, the instructions say to cut the waist drawstring and shoulder drawstring on the bias; this wasn’t necessary so I cut them straight on the grain.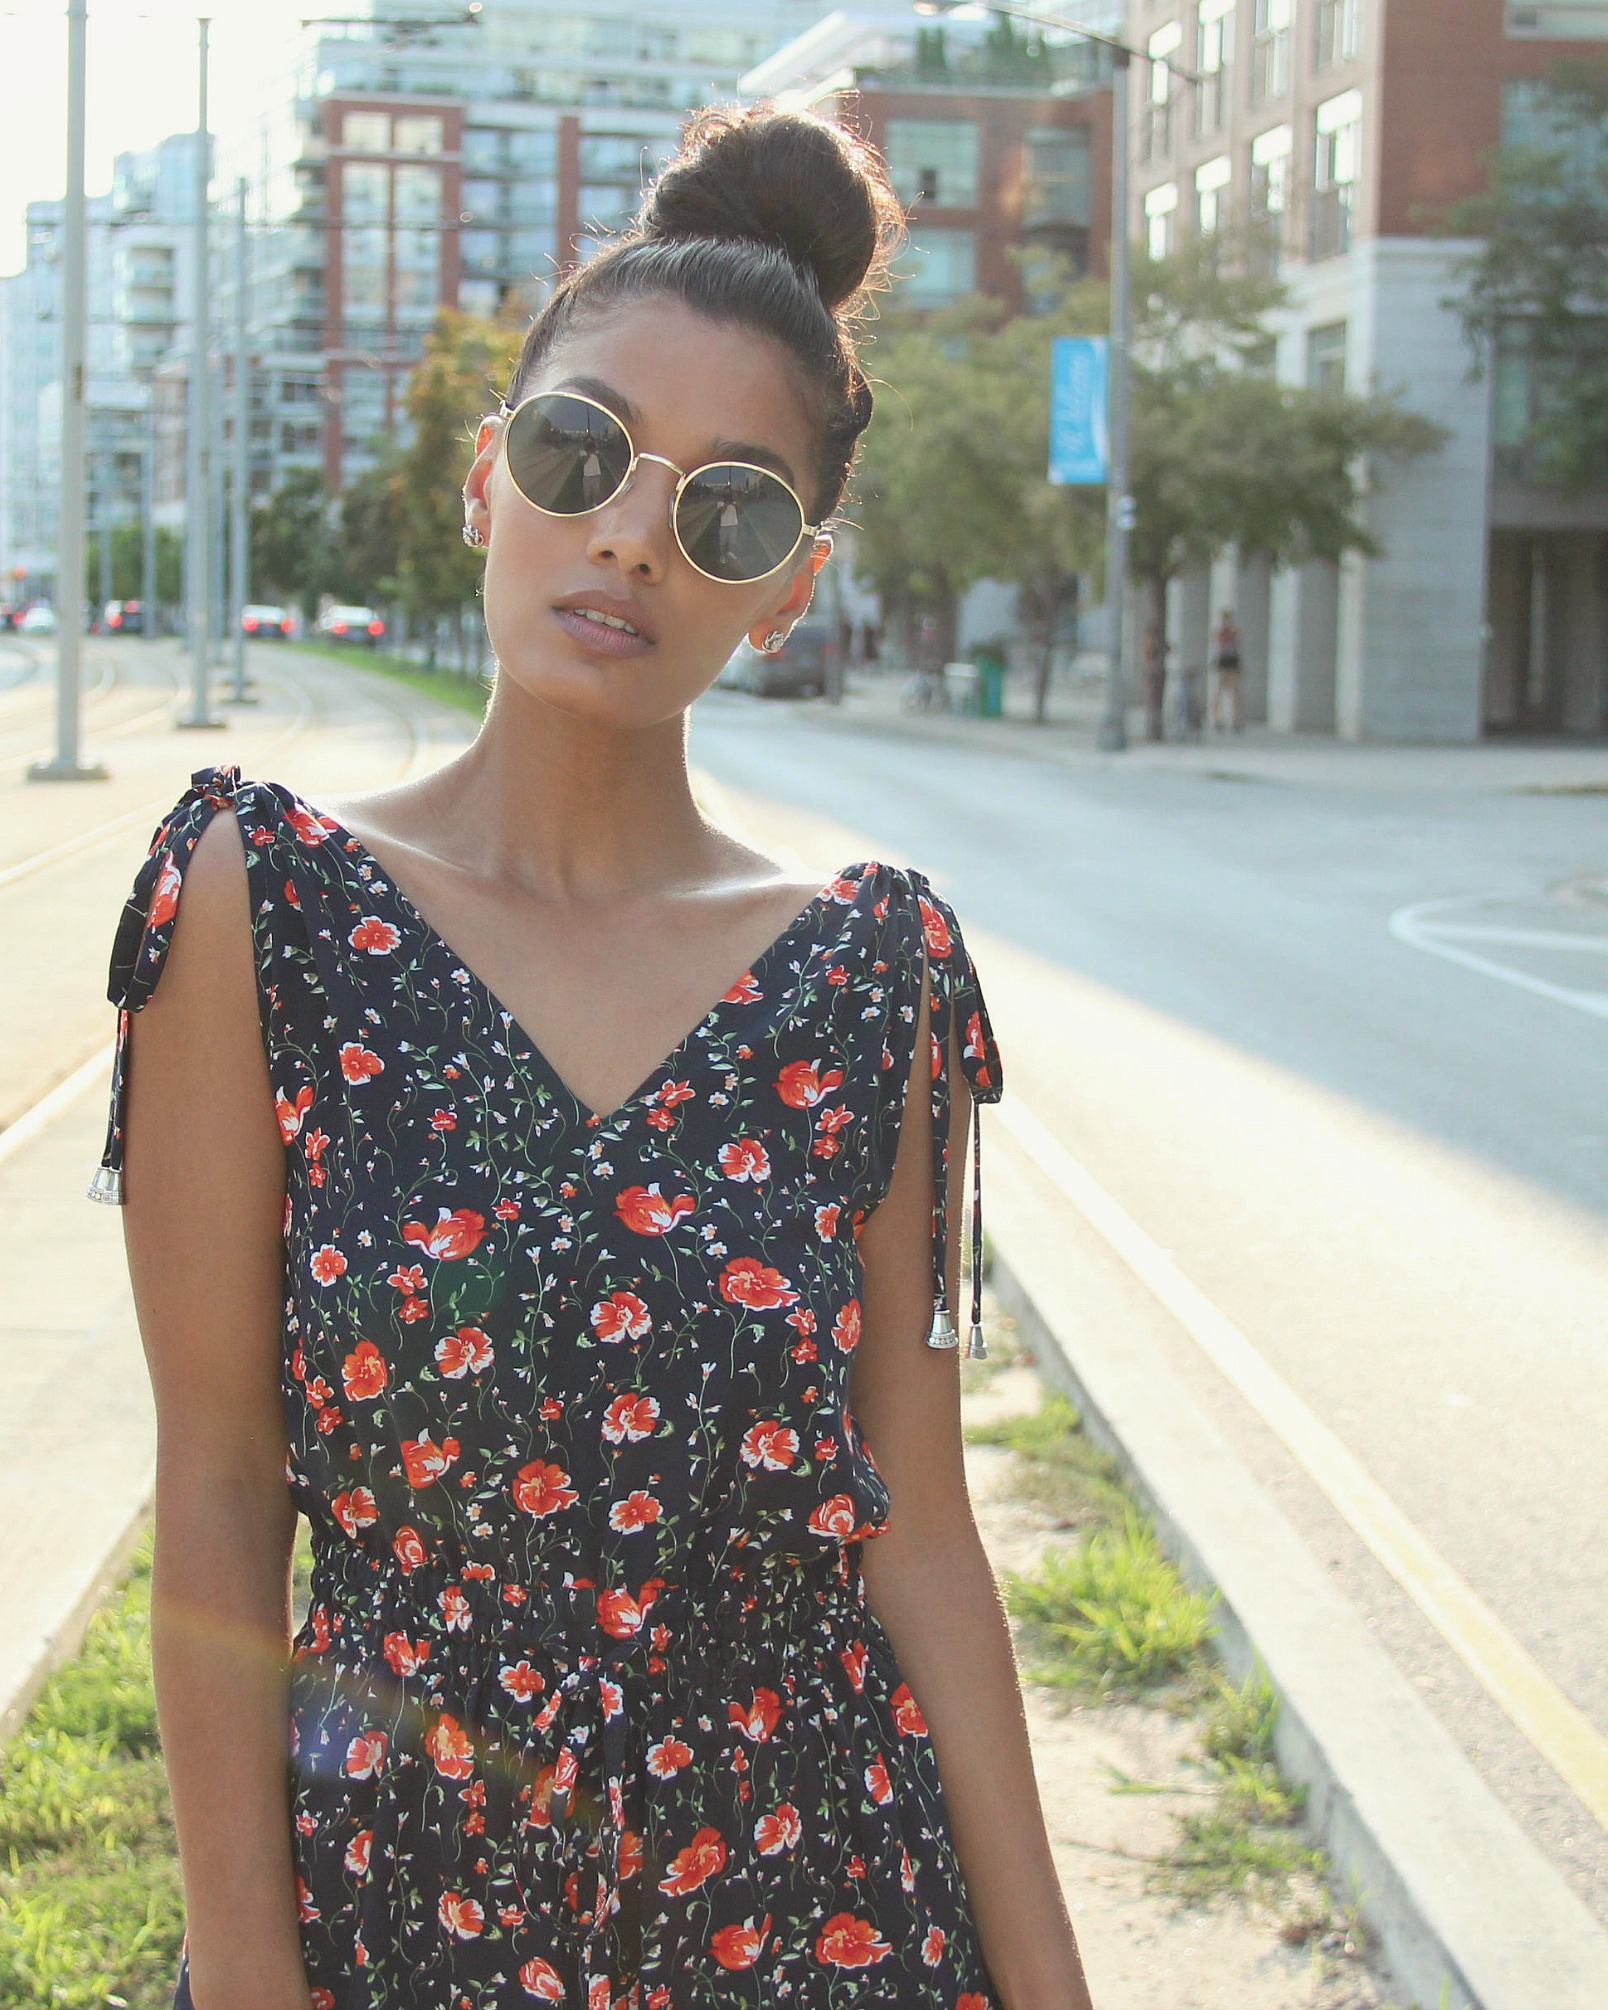
Final Thoughts:
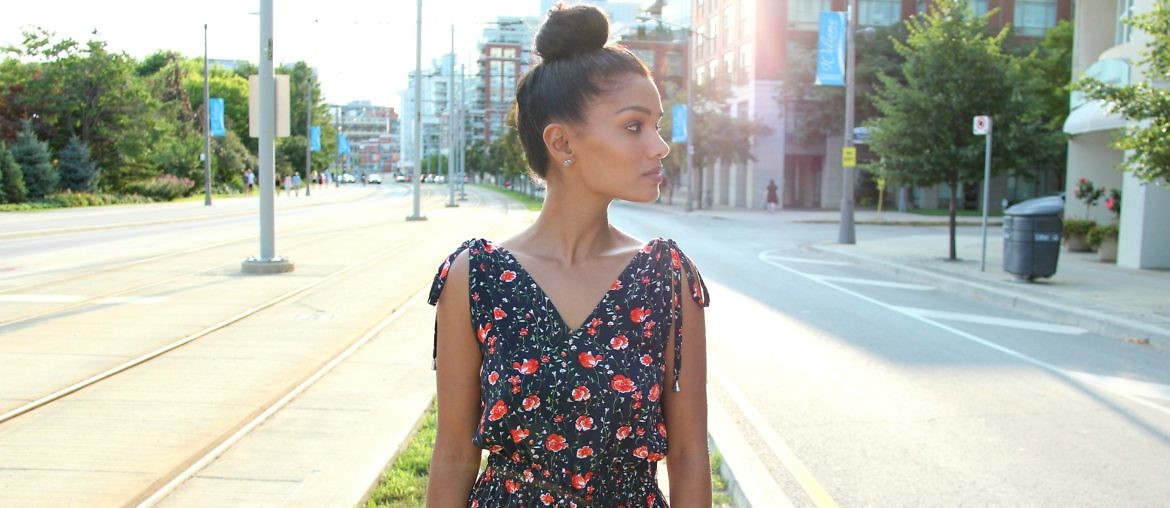
I’m tempted to make this again as a dress, or even lengthen the shorts into a pant. It really is perfect for a hot day, but I think with the right, pretty fabric, this could be altered into a beautiful dress. But…I have to be willing to spend time on it, now that I know how much time those damn drawstrings and hemlines take to press and sew!
xo!
Shard.






2 Comments
So talented!
Quick question.
Where do you get your notions? We both know that fabricland as very little to offer… 🙁
Do you get online at ALIEXPRESS? Or do you have a secret source you would like to share? LOL
Your fellow GTA’r
Frenchy-C
NEVERENS!! It’s the BEST spot in town…a crammed closet type of shop, but has everything. It’s at the Queen and Spadina, Toronto. I haven’t bought from aliexpress before…would you recommend?