
If you’ve been following me on Instagram, you know that I struggled big time while making this shirtdress… and really, it was all my own doing. Seriously, it was as if I forgot how to sew or something. I’ll get to that a bit later, but for now, I’m just super happy that after all the fuss I went through, the end result turned out lovely!
Pattern & Construction:
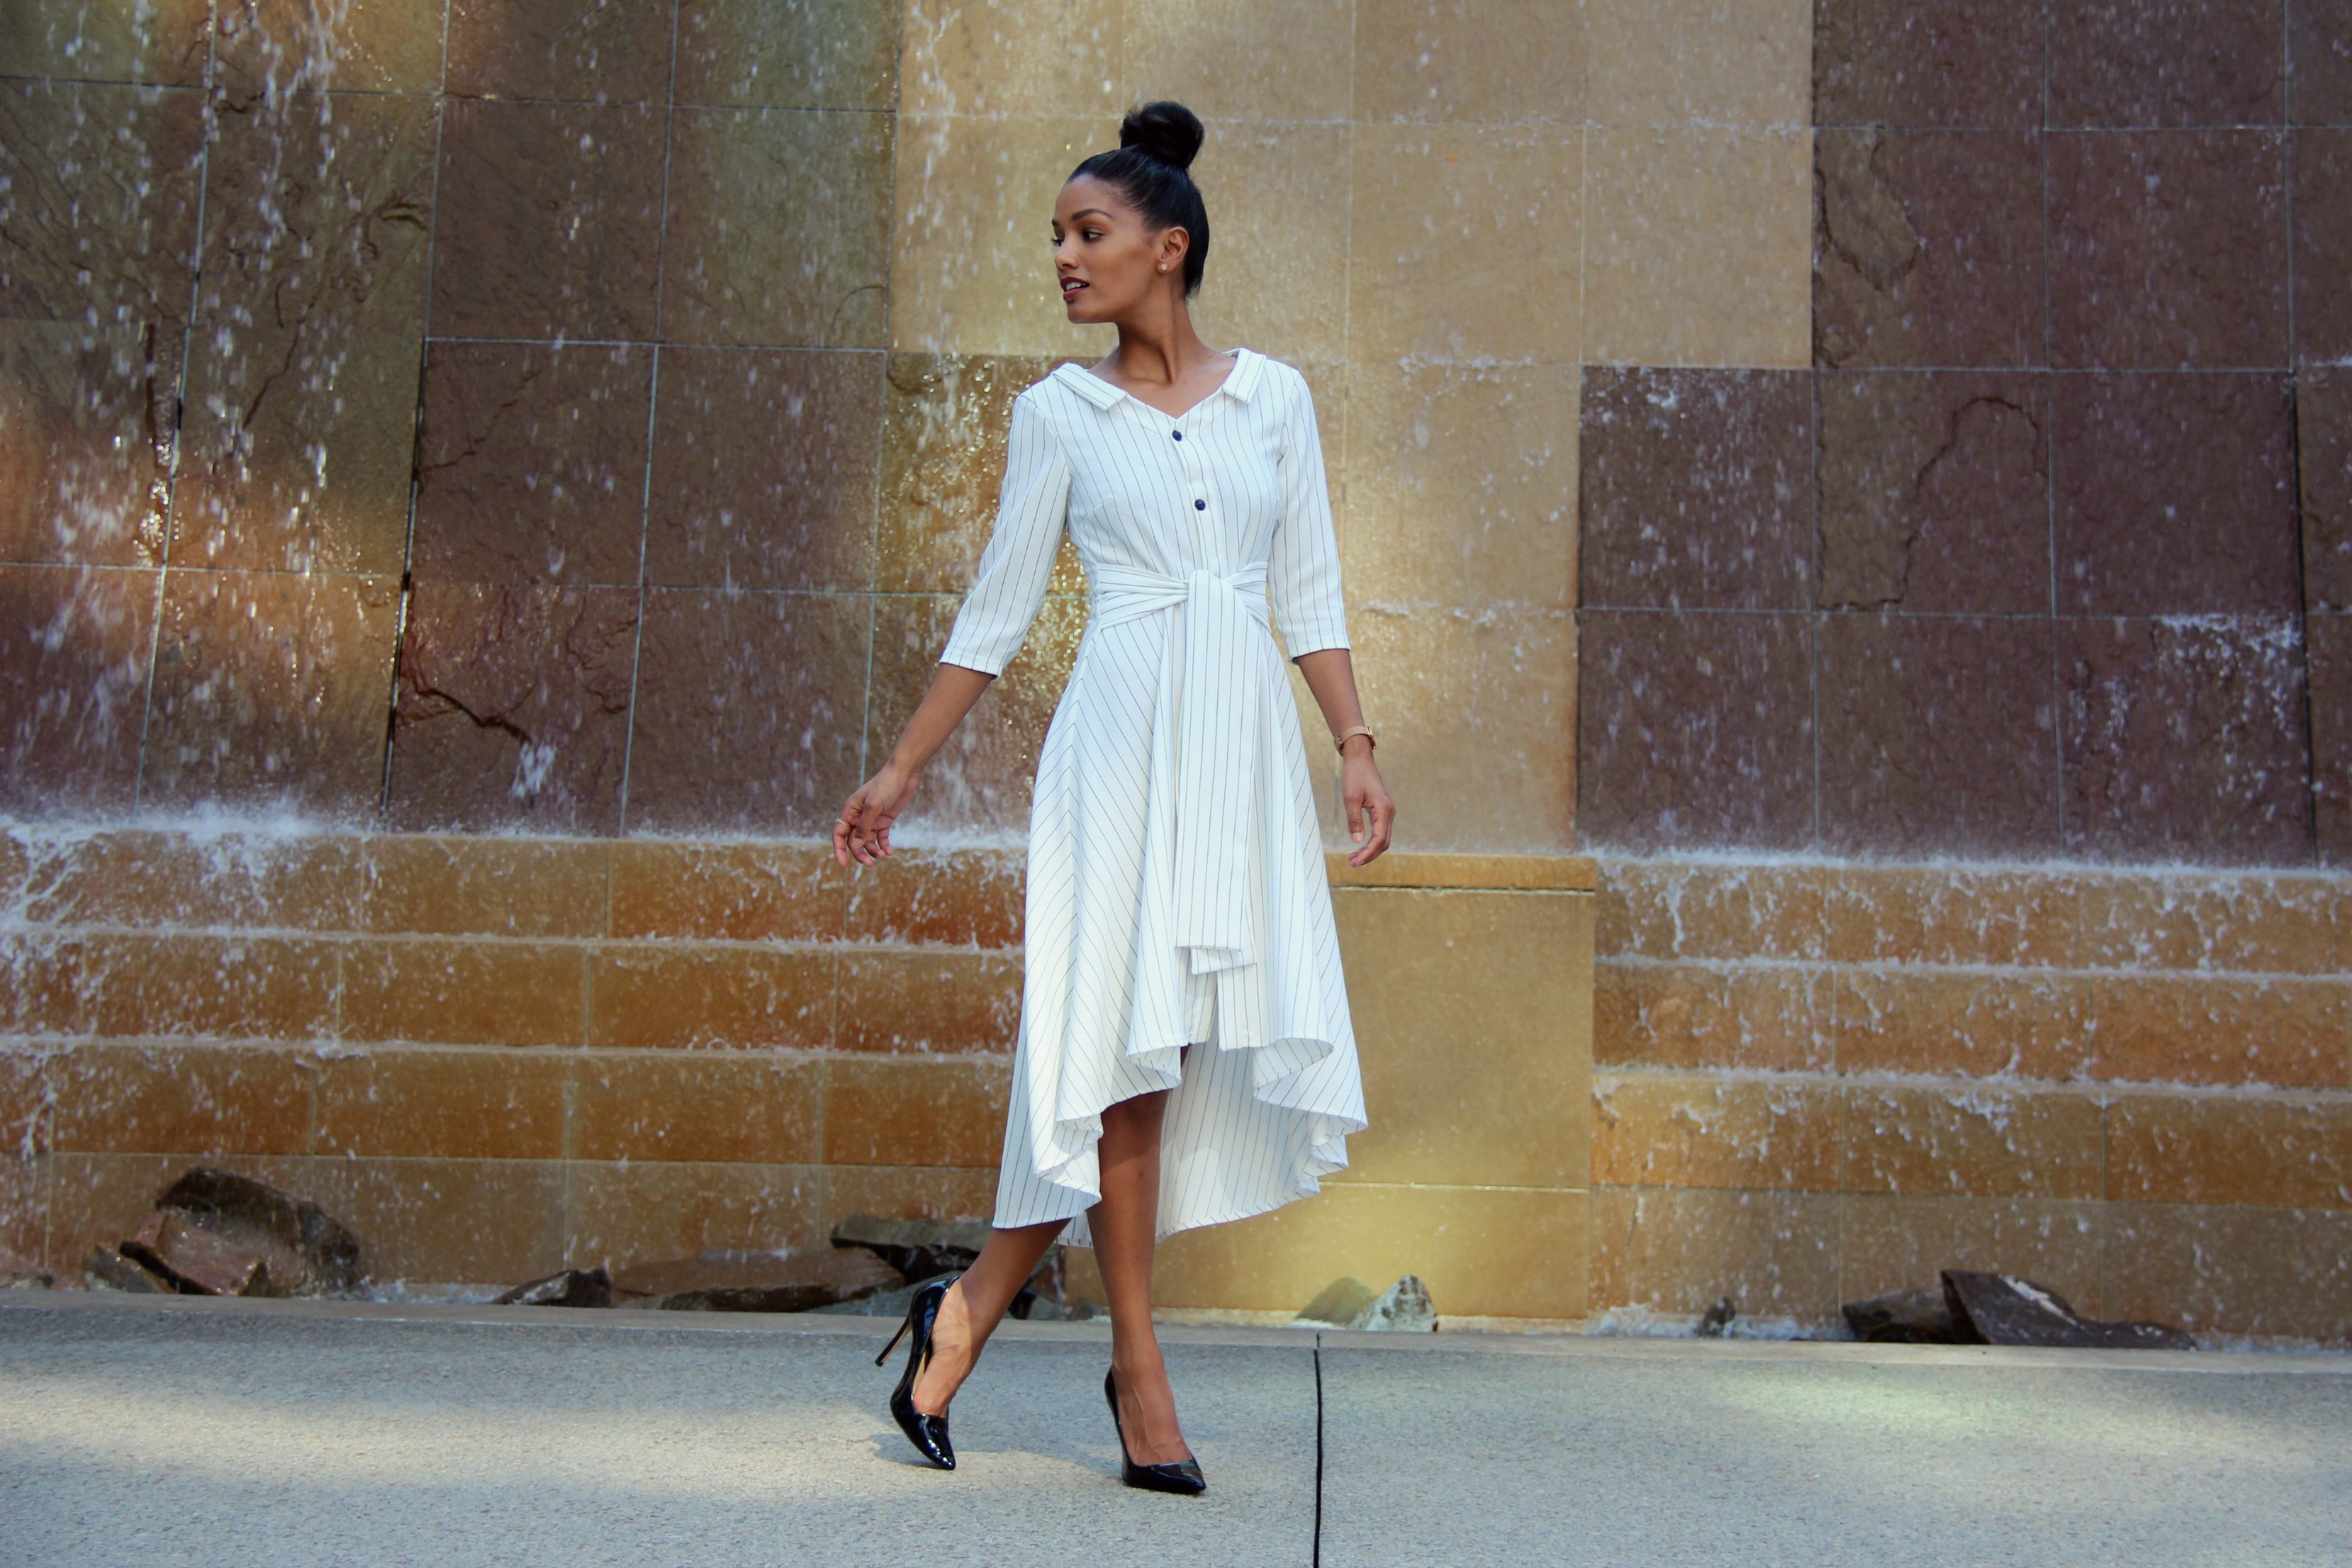
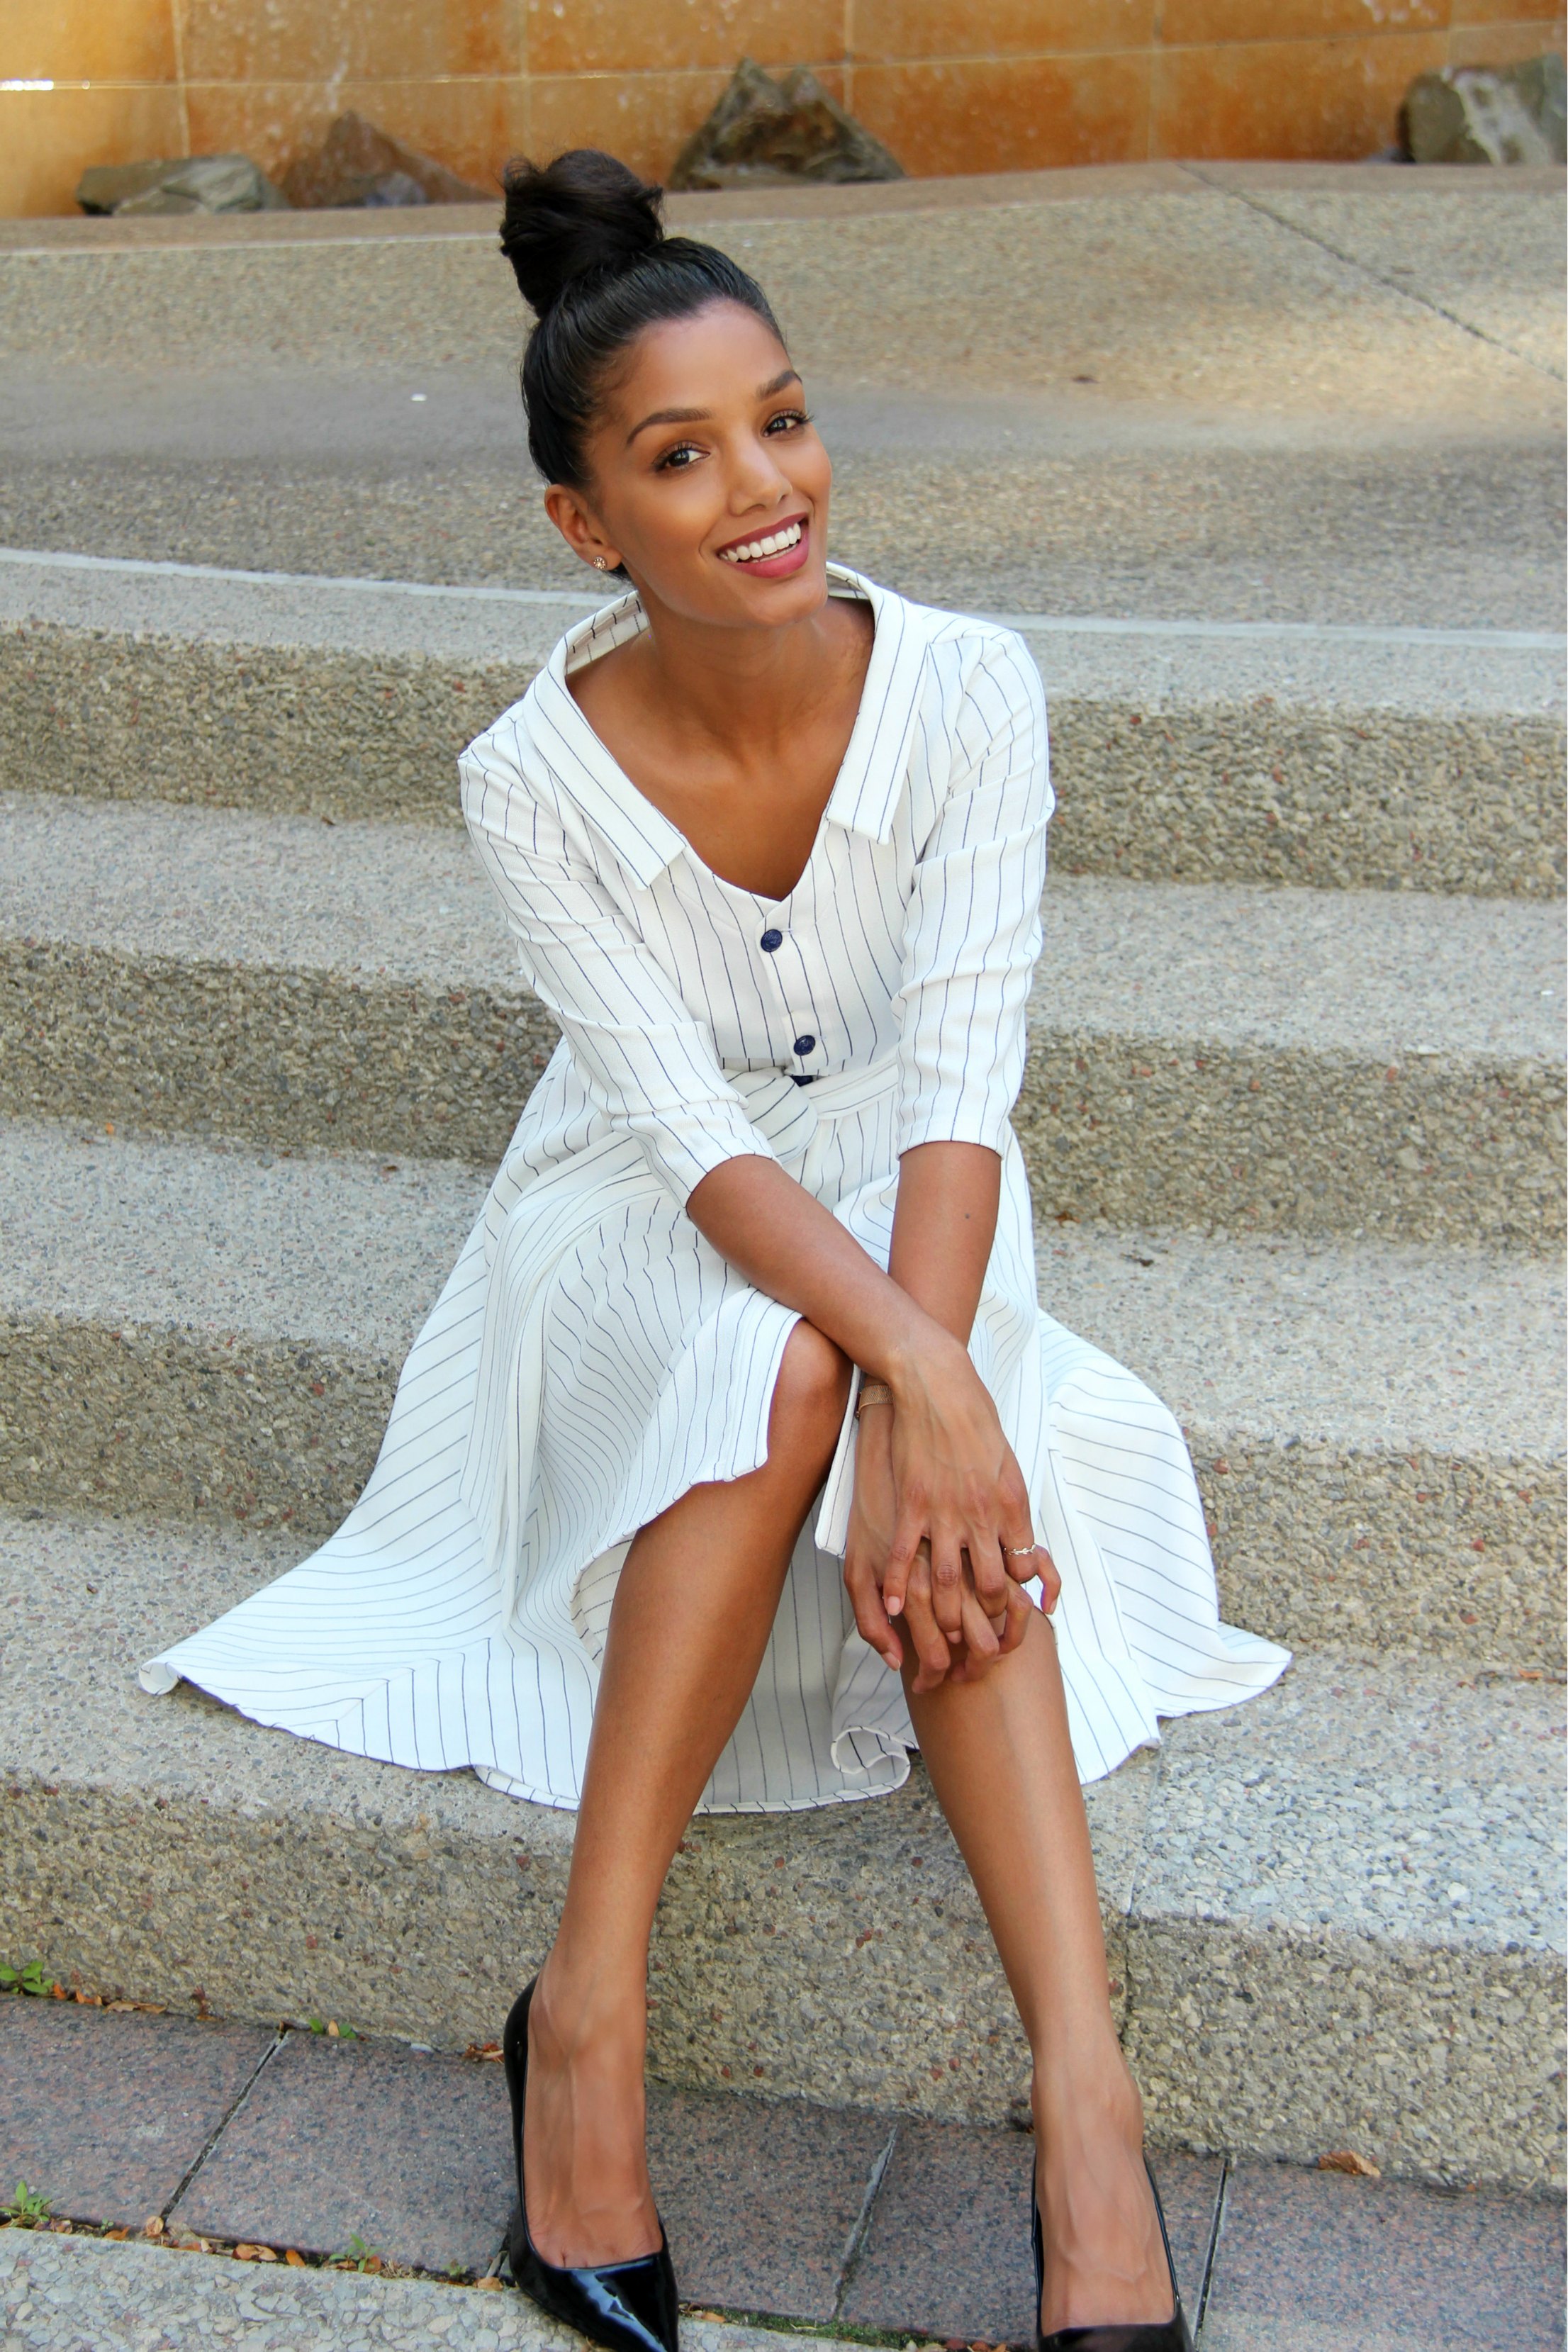
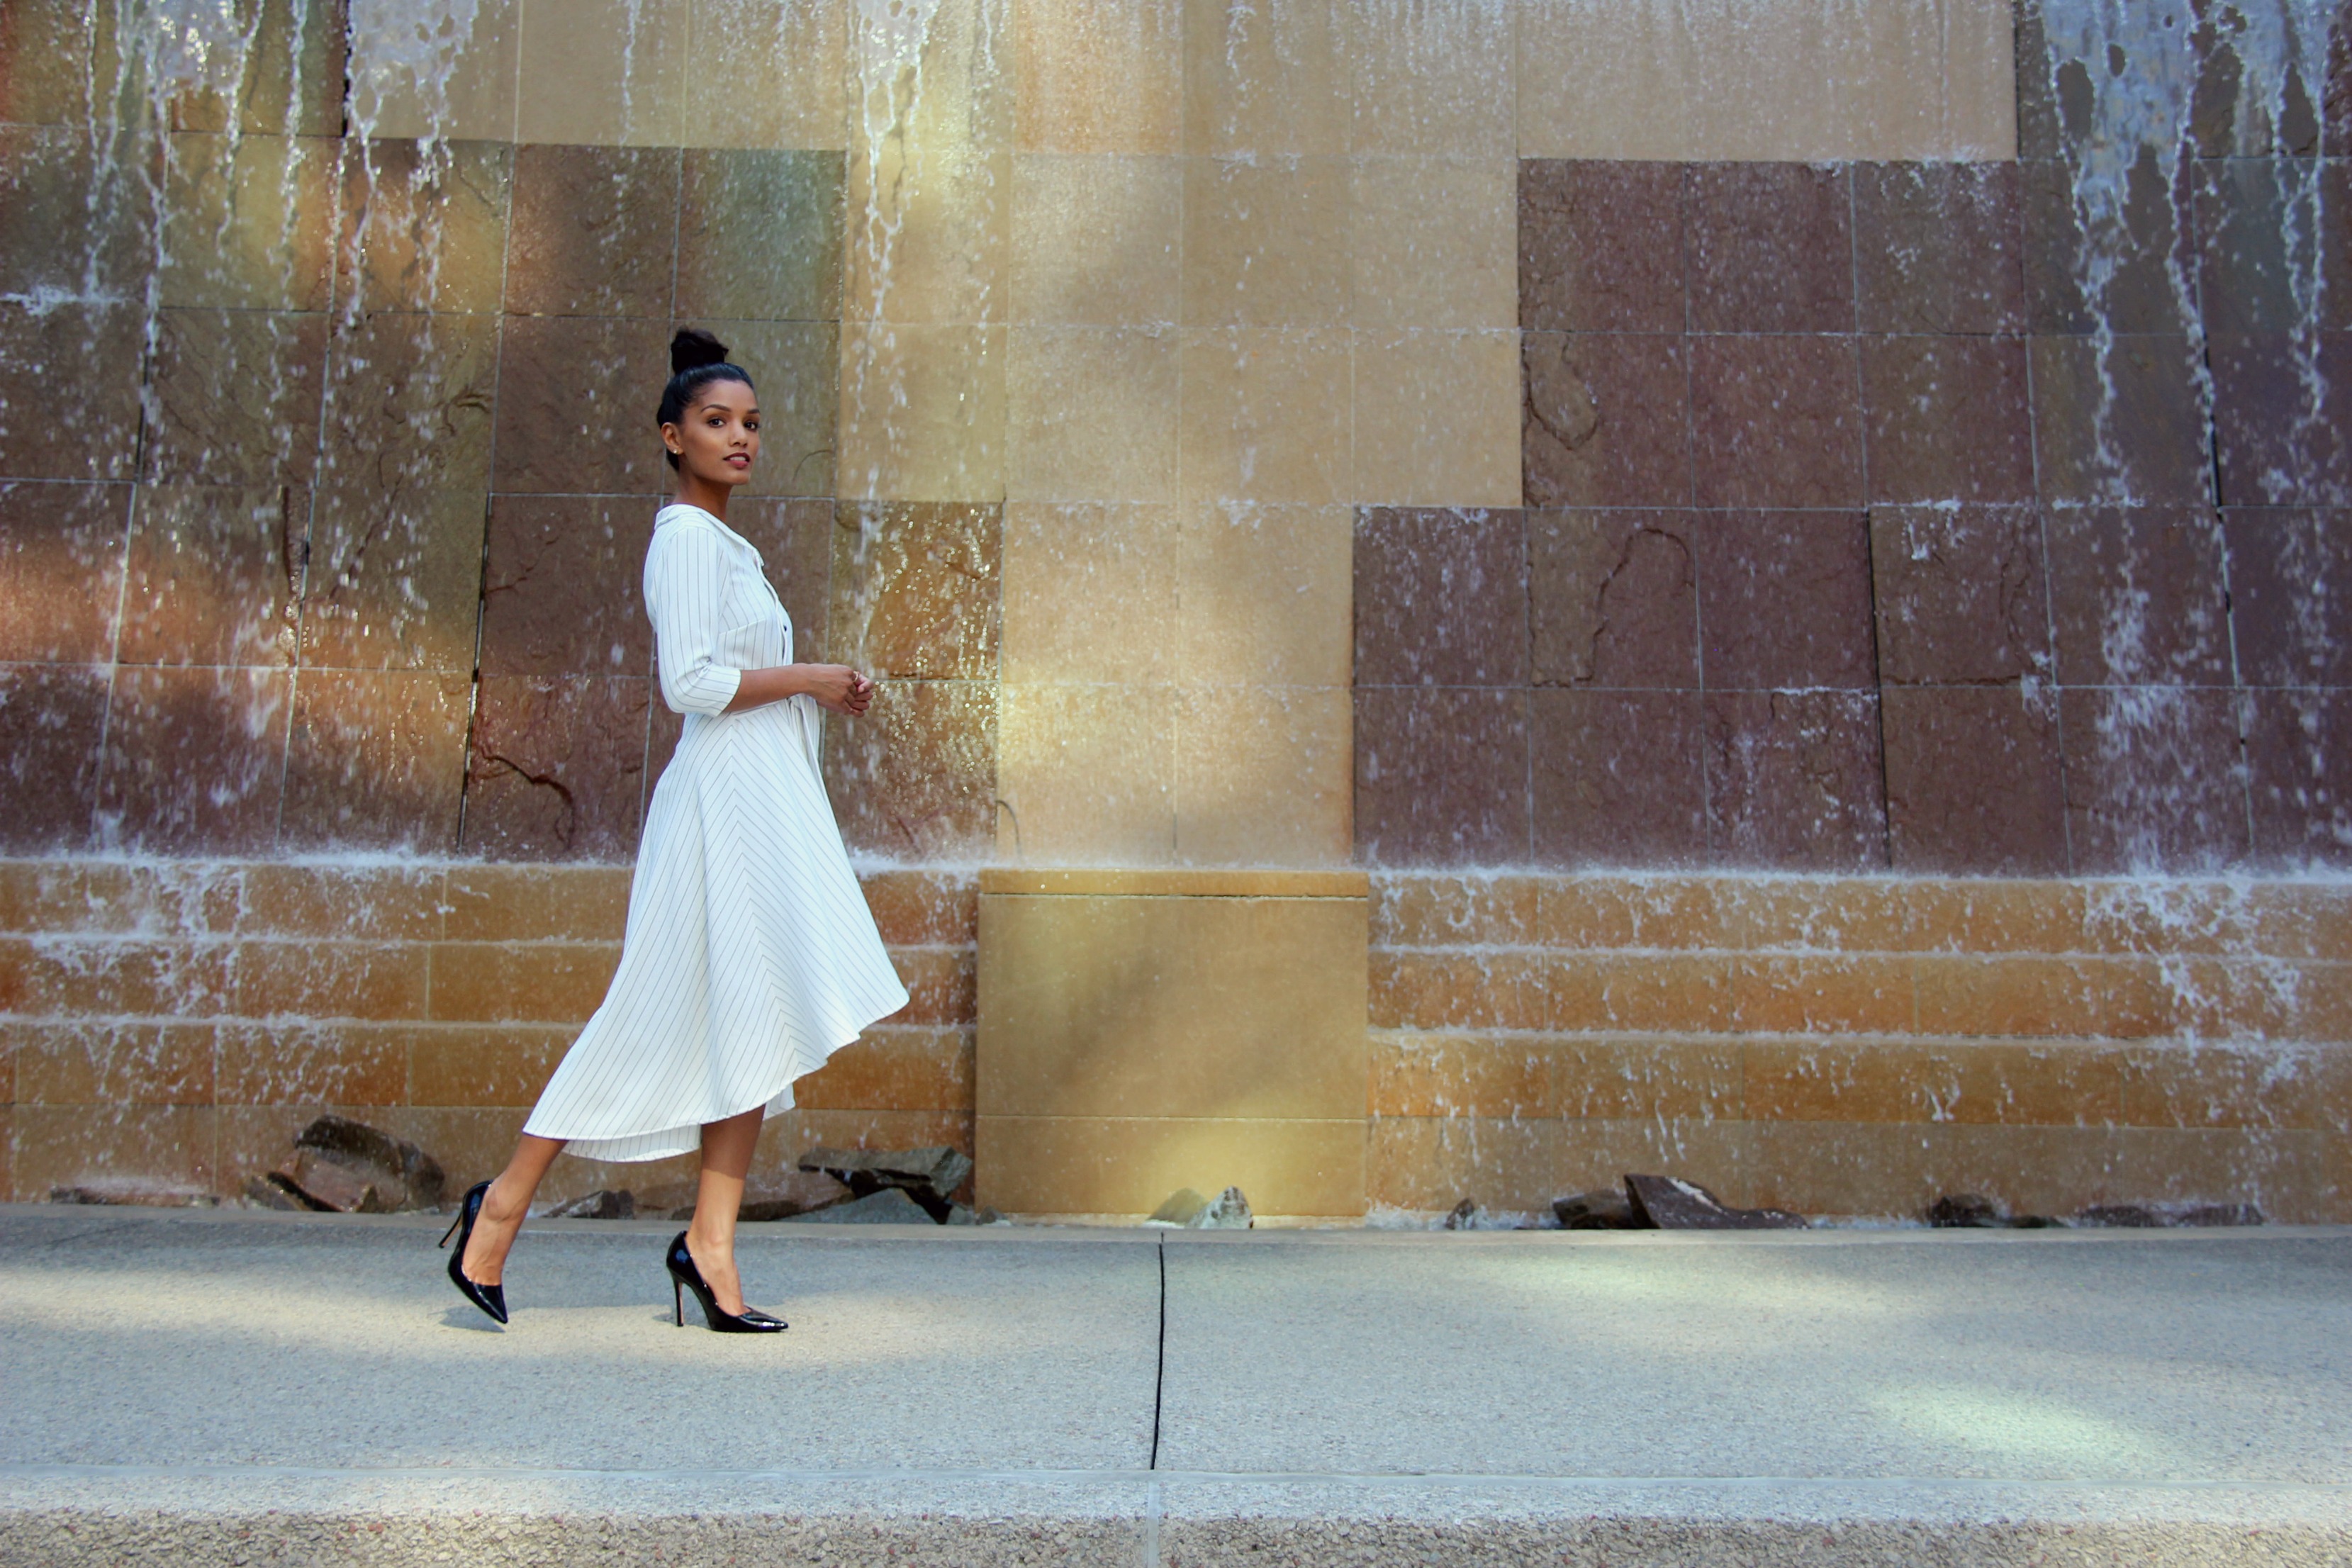
This is is 04/2018 #117 from BurdaStyle. I just thought it was so chic and had to try it out! There are definitely some things to keep in mind with this shirtdress pattern. Here are my notes and alterations:
- The difficulty level is listed as advanced. In my opinion, this shirtdress should probably be listed as intermediate instead, especially if you have an idea of how to make a button-up shirt. Do NOT be afraid of this pattern!
- Online, the pattern comes with 2 variations: #117a and #117b. However, they are the exact same thing.
- This pattern only comes in Tall and is not clearly indicated on the site. But, now that I look at the photos on the BurdaStyle site, those models definitely have height! Anyways, this brings me to my next point…
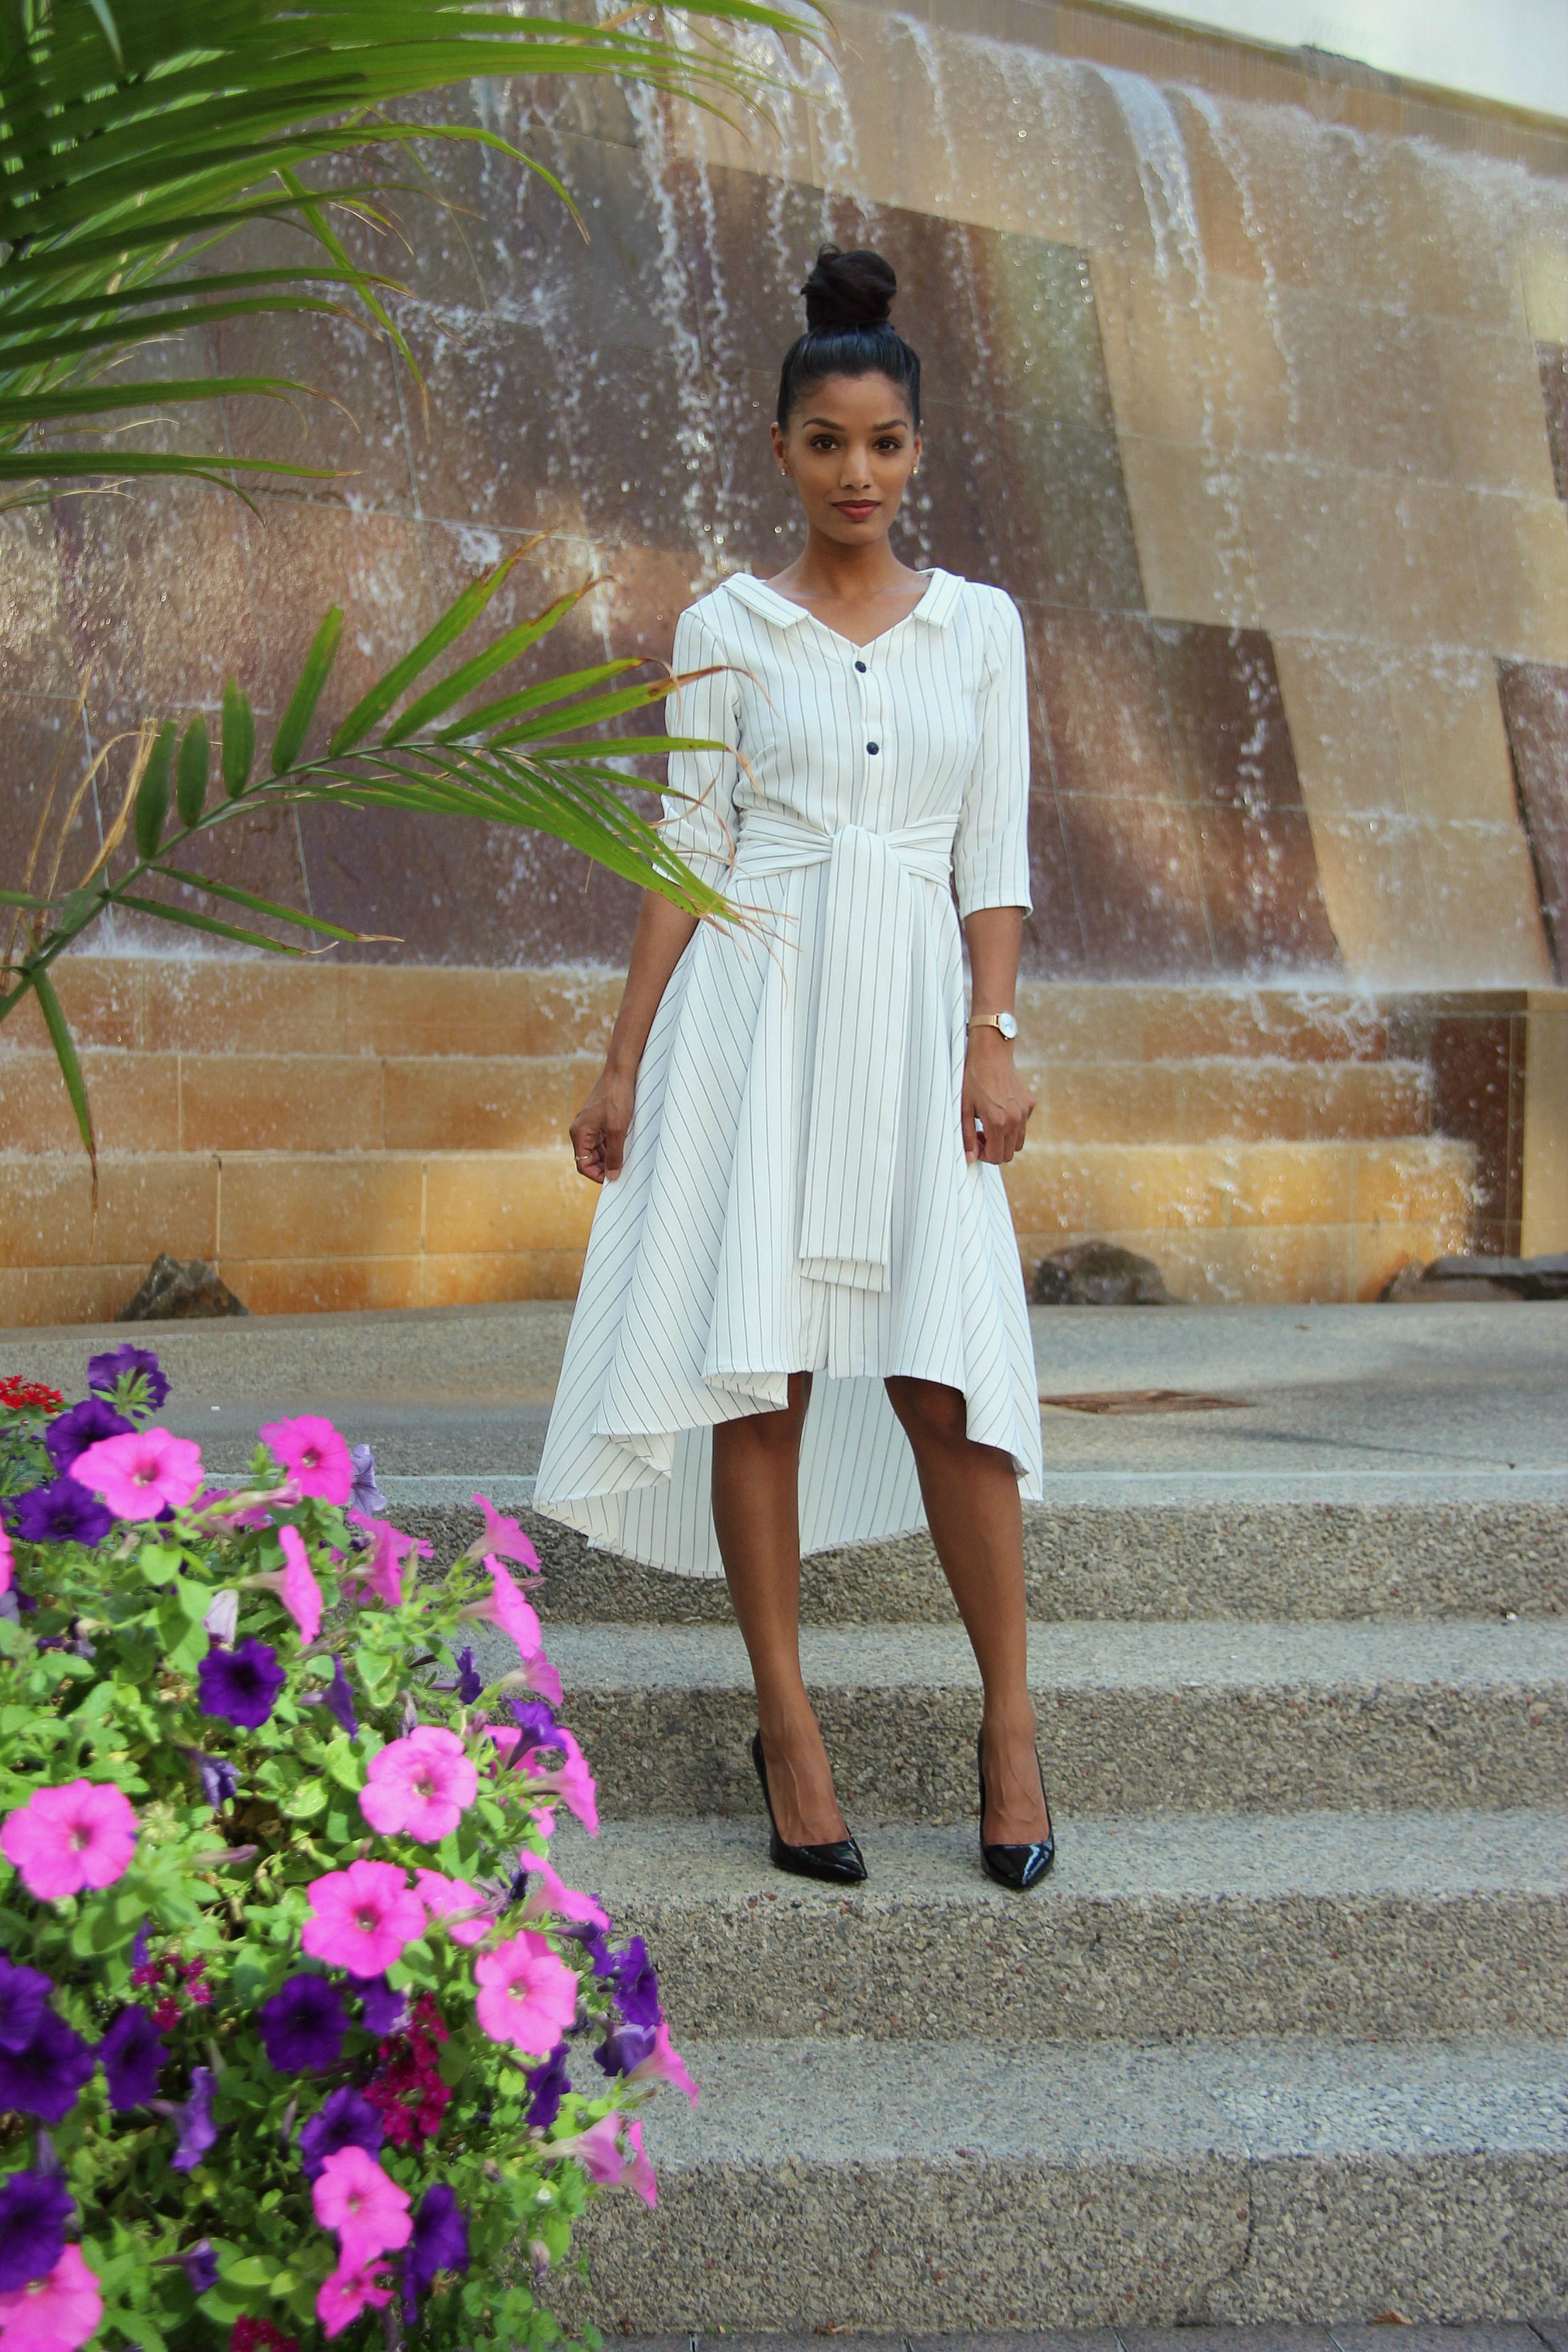
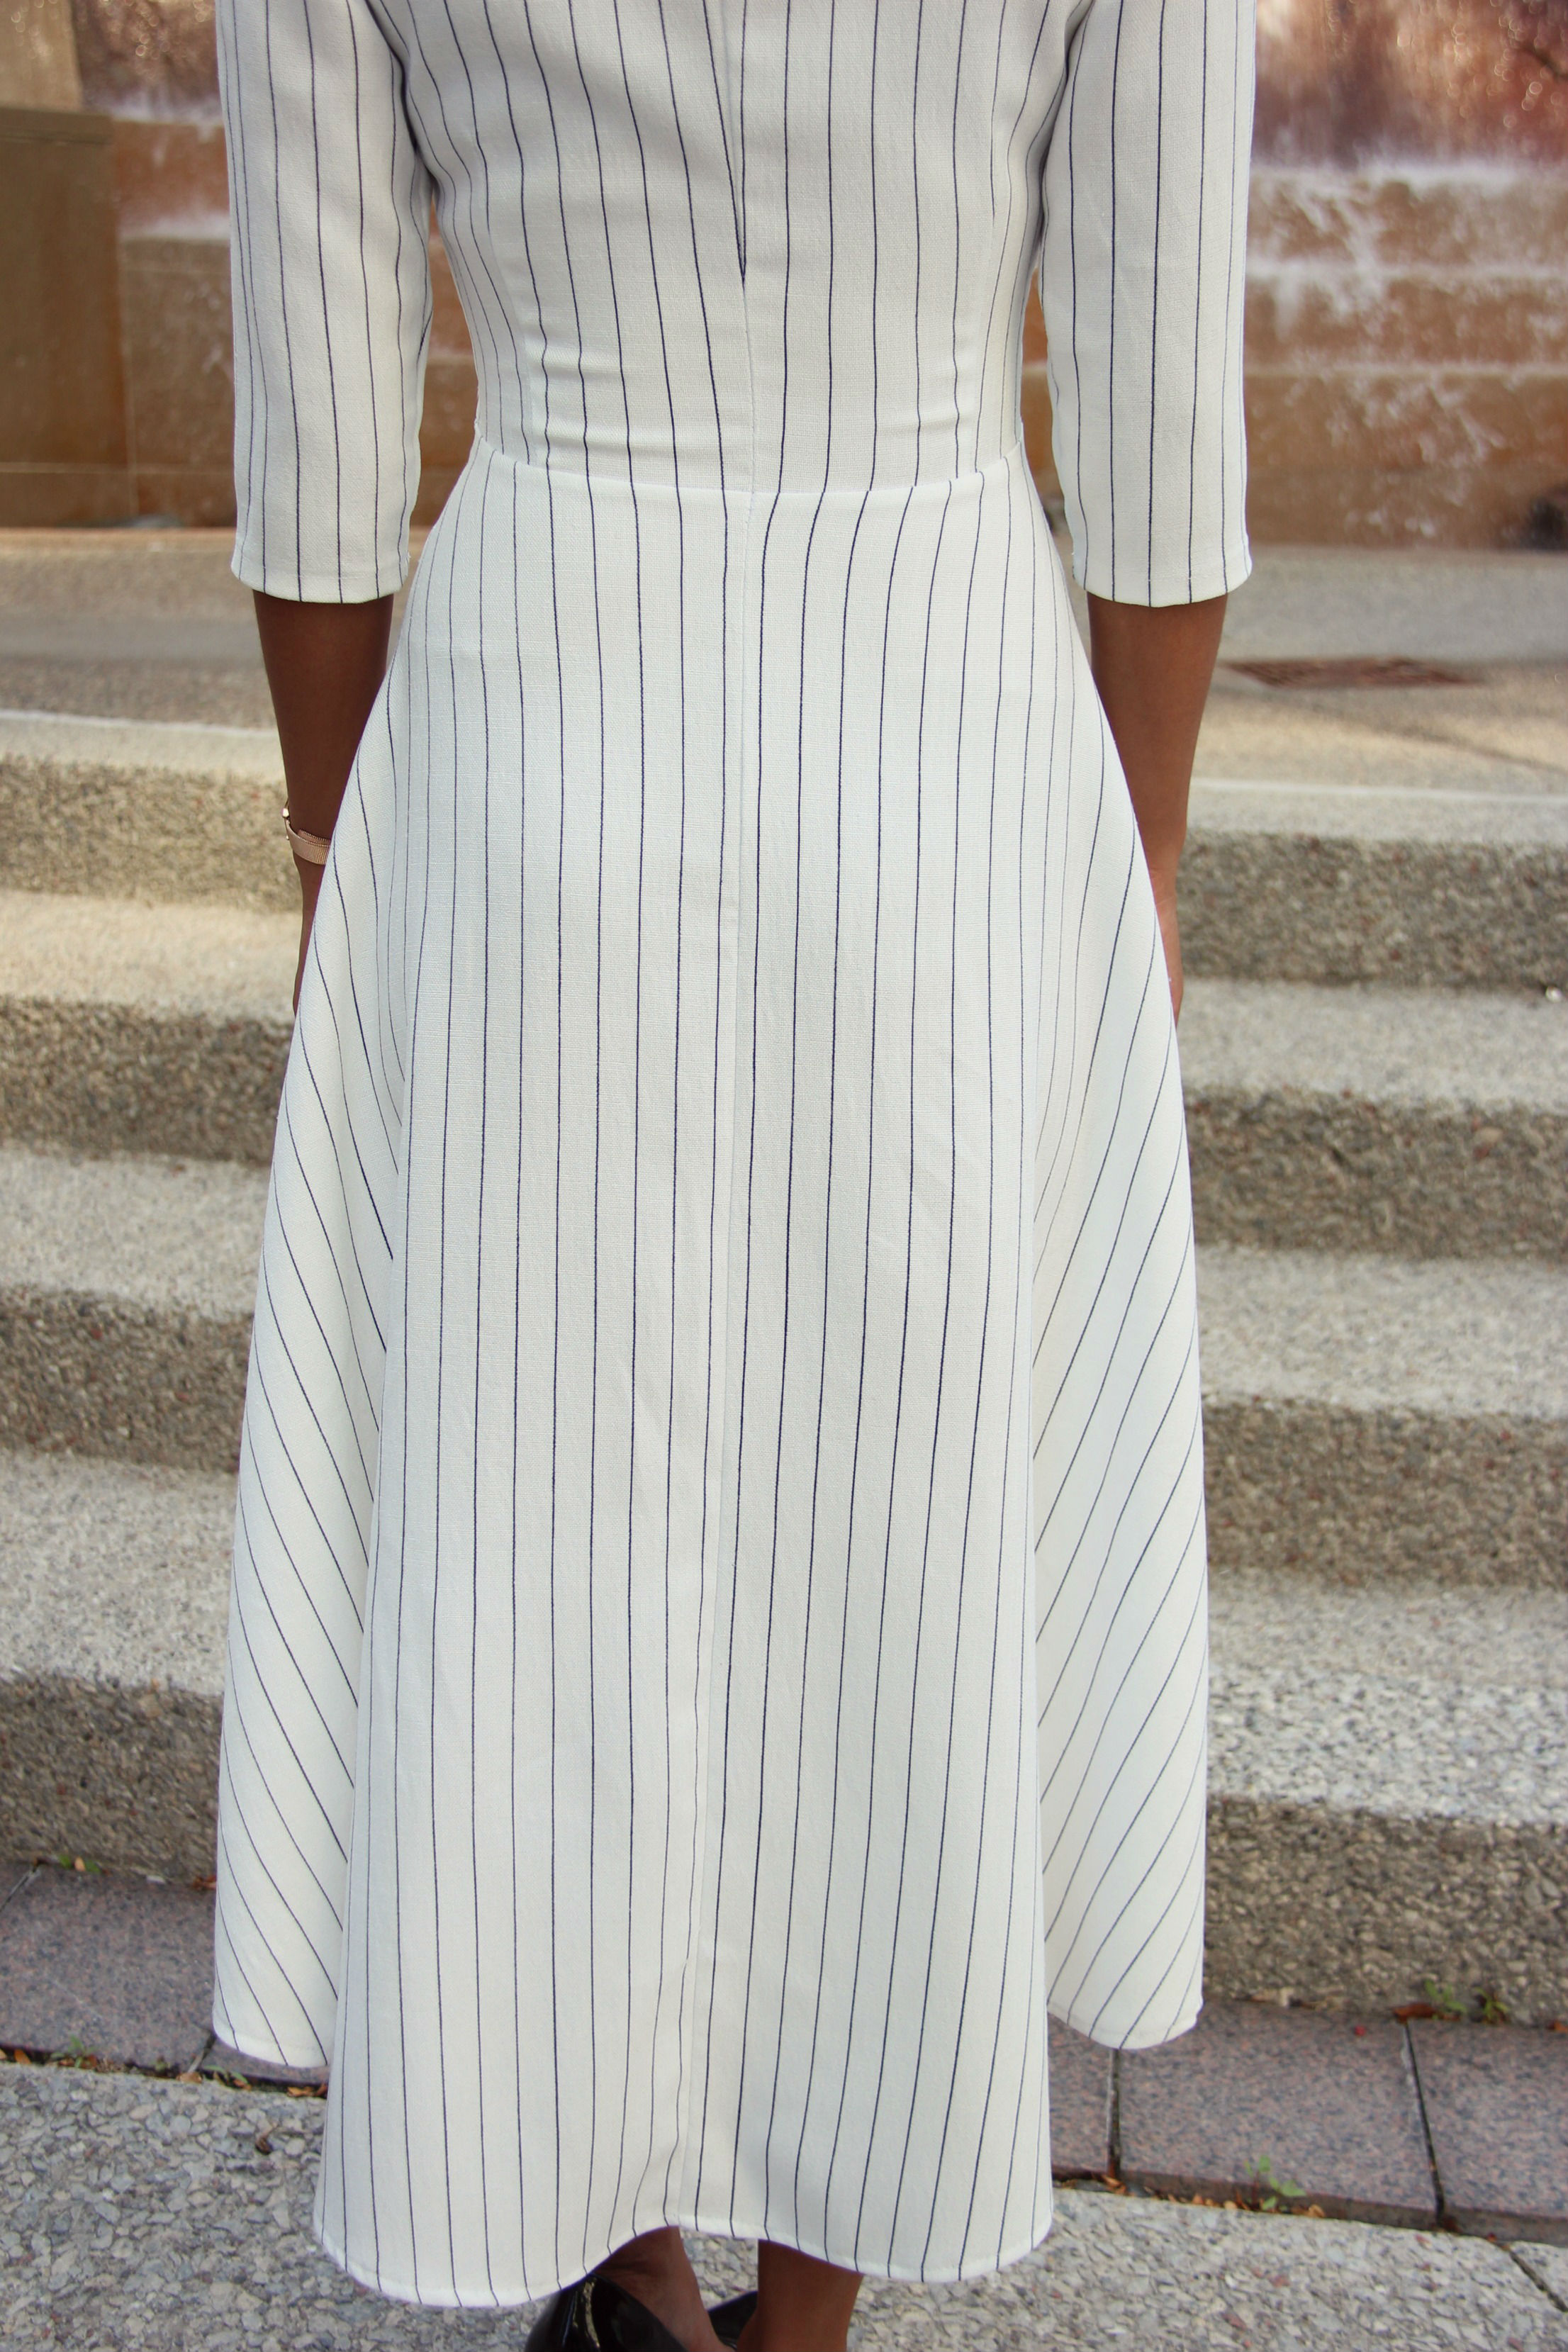
- Resizing length! Meg from BurdaStyle sent me a resizing sheet with details on how to adjust accordingly. Very helpful! But after studying the pattern and comparing it to my other makes, I ended up not having to resize it at all! This is a big deal, you guys! The pattern doesn’t have seam allowances included, but I treated it as if it did. That means after sewing it with a 5/8″ seam allowance, I took off 1 1/4″ from the length of the bodice and skirt, leaving it the perfect length! FYI, I’m 5’4″.
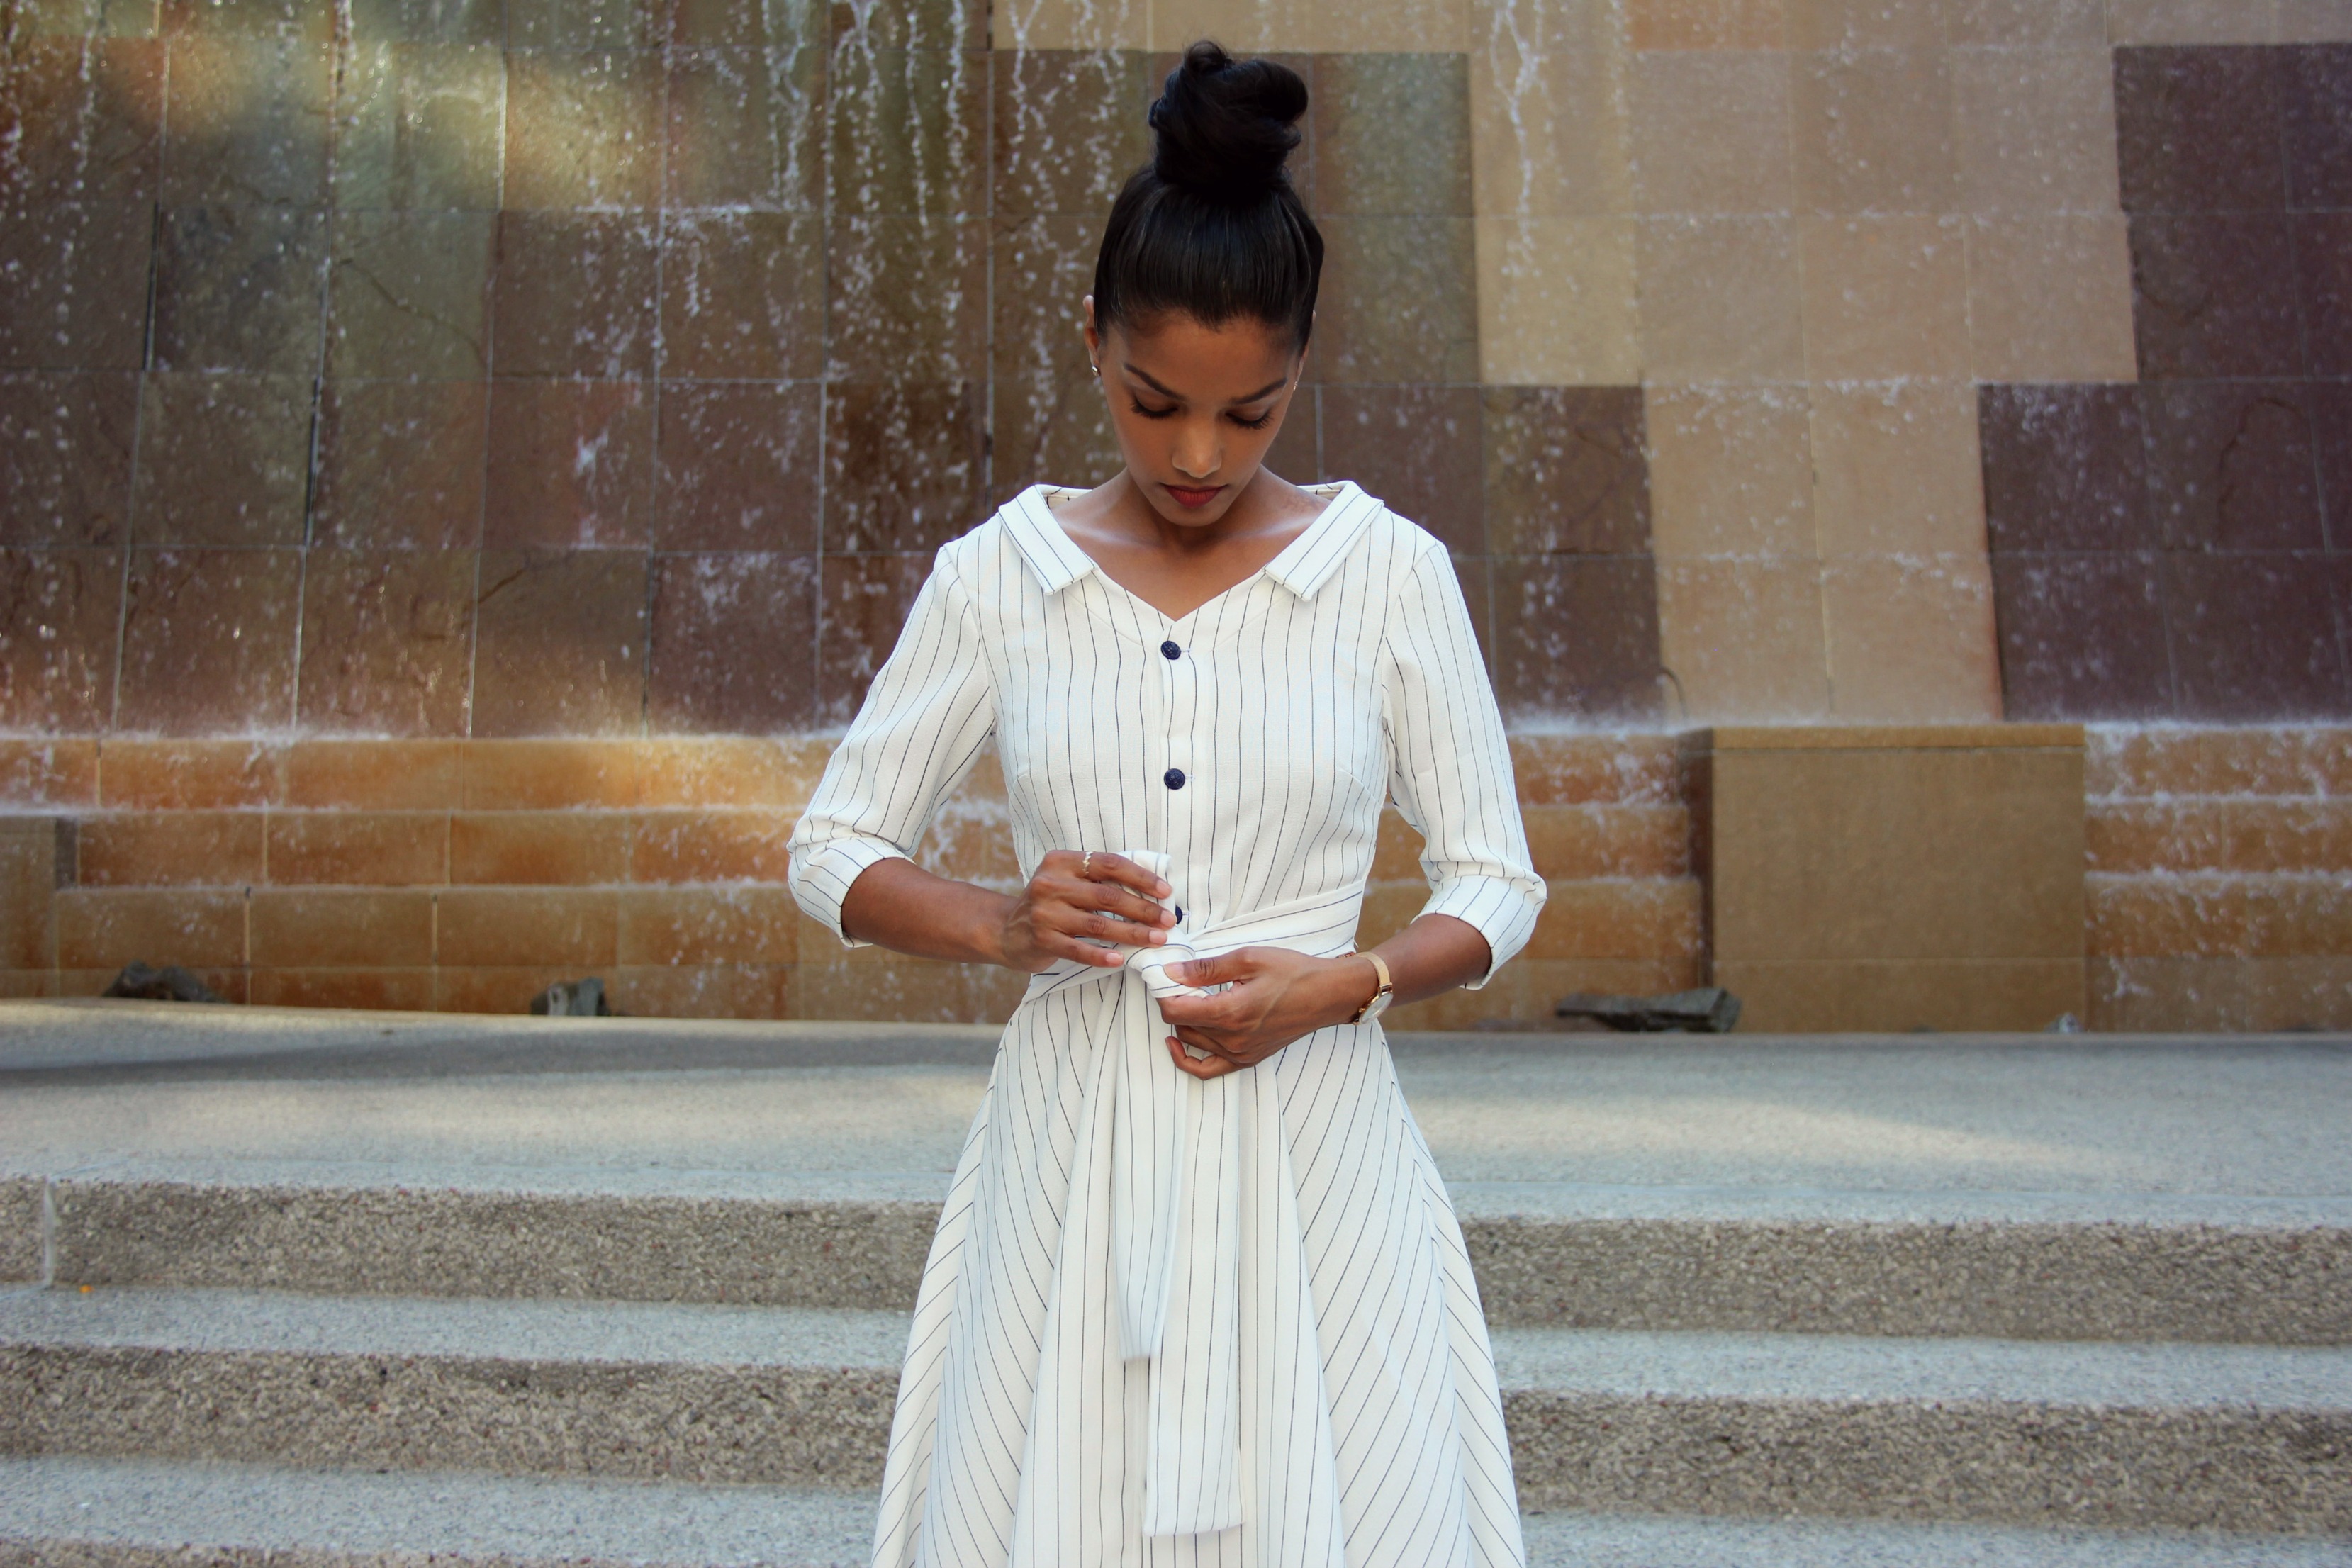
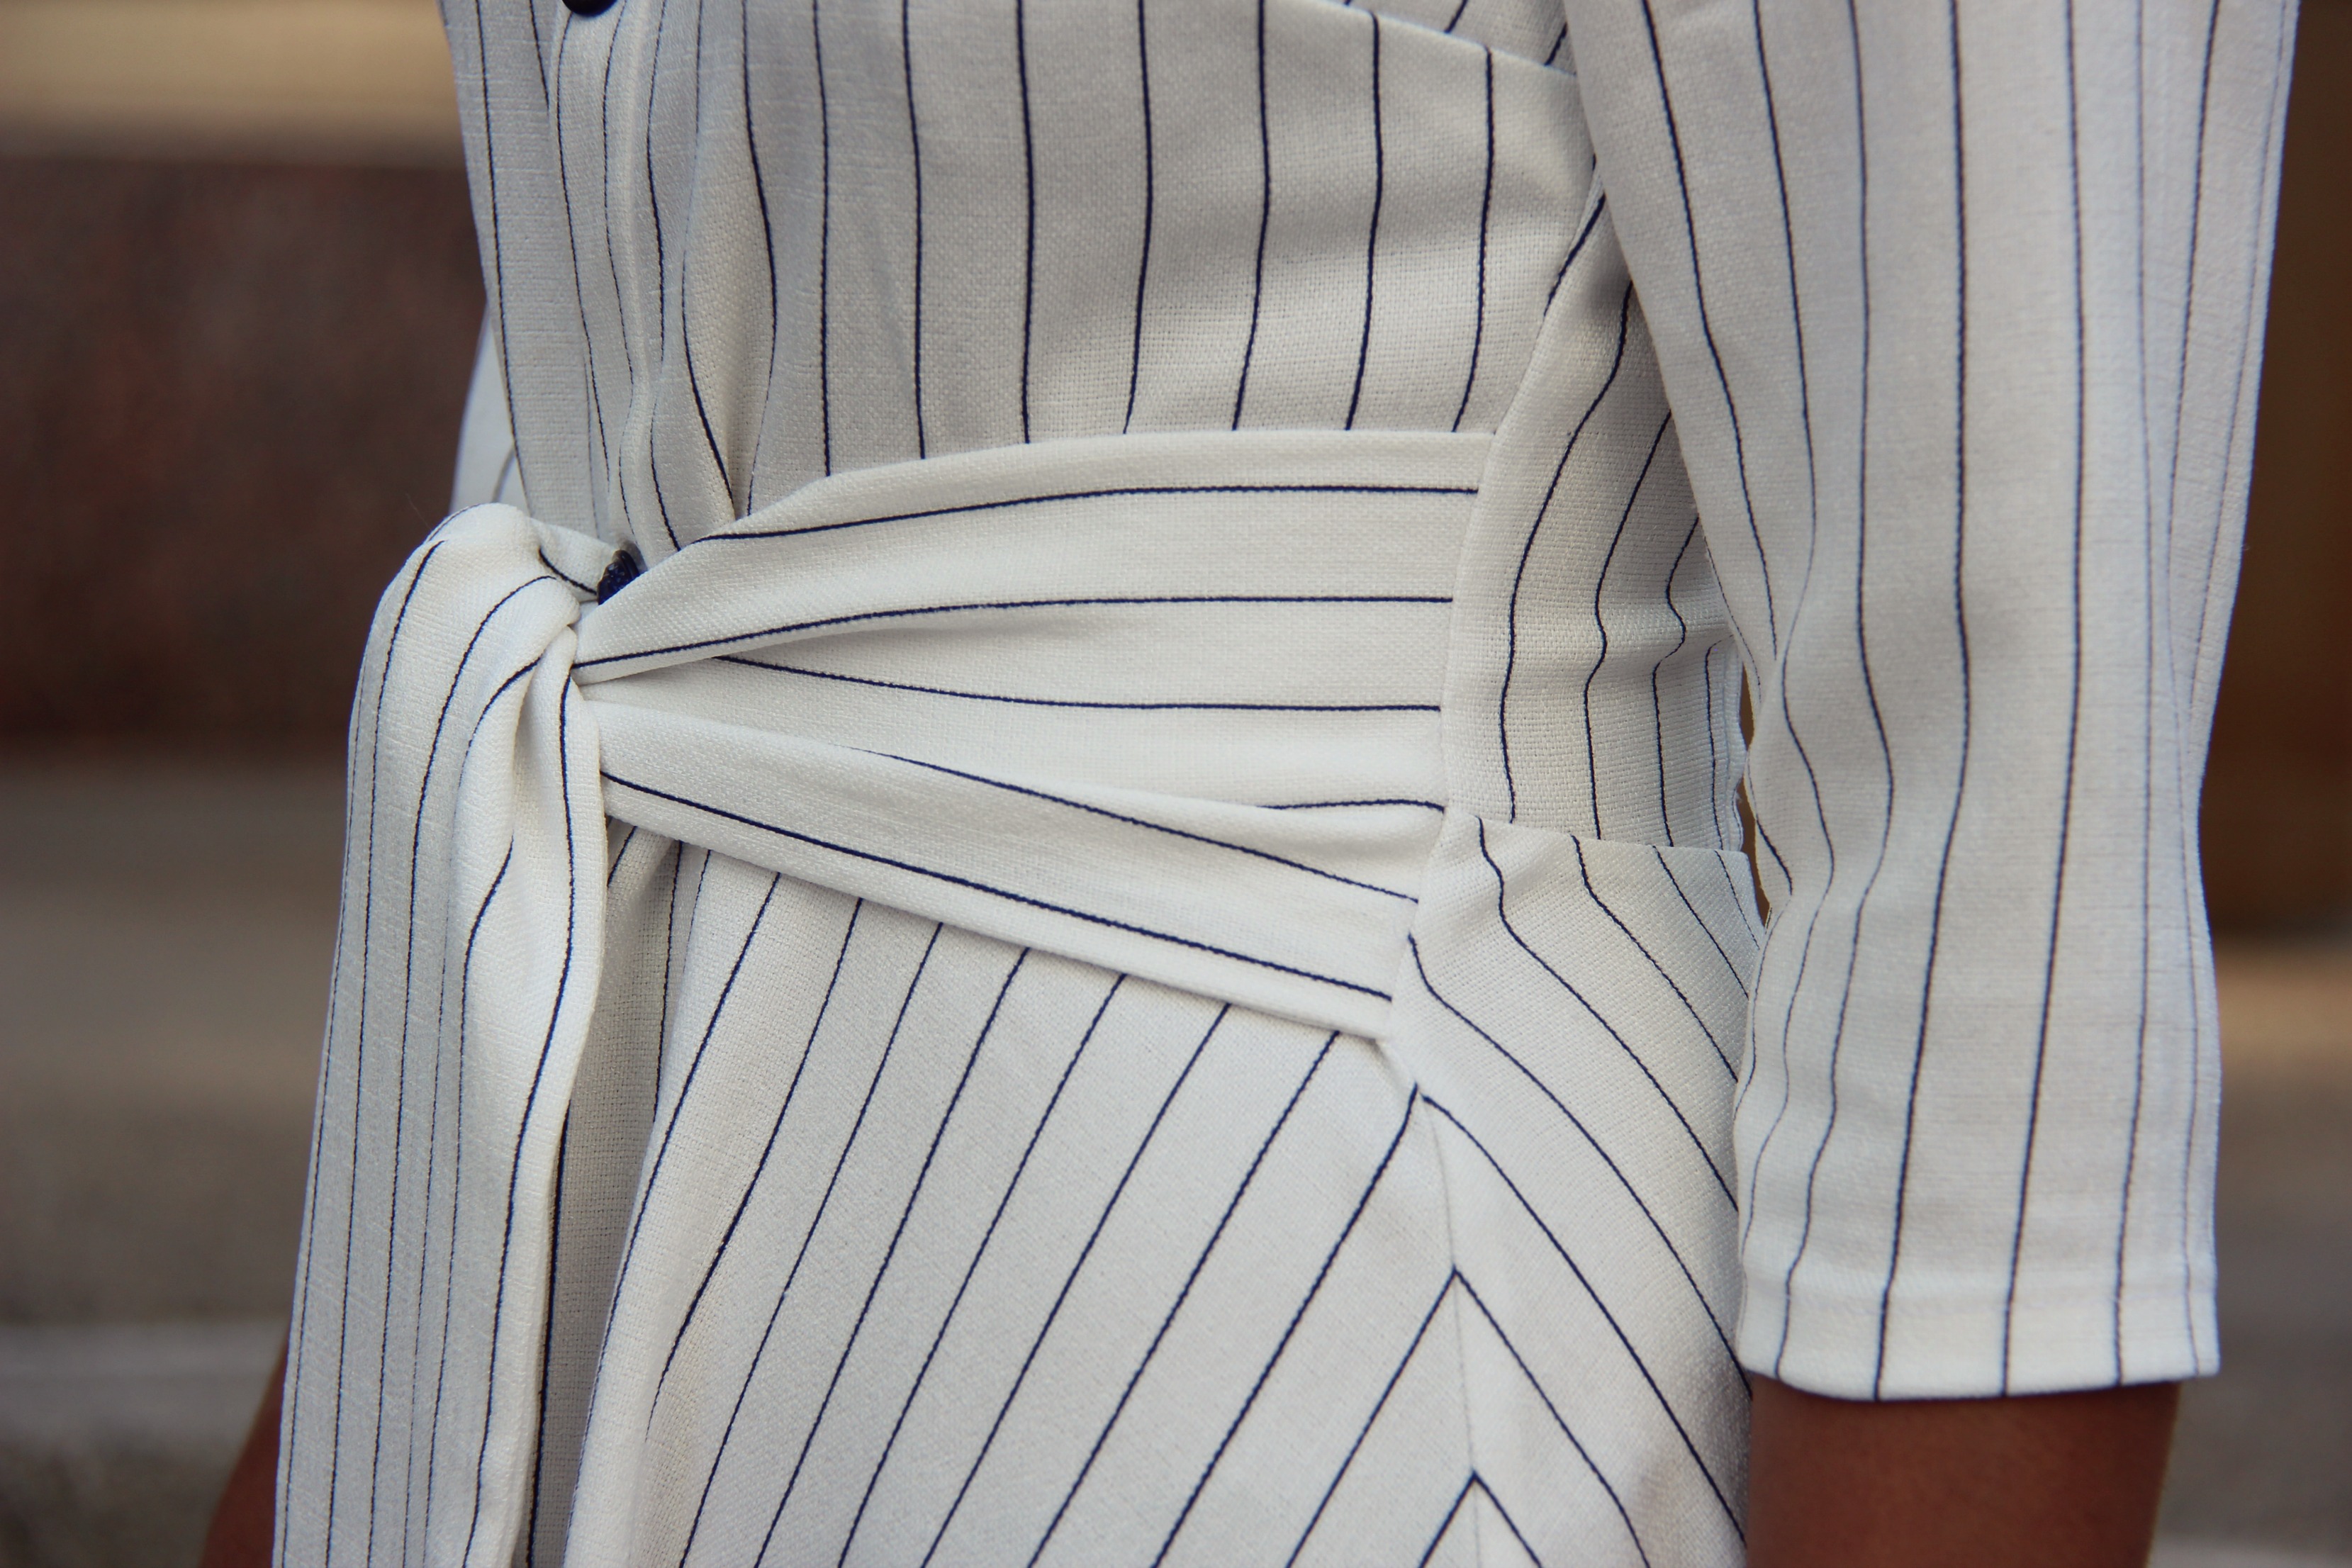
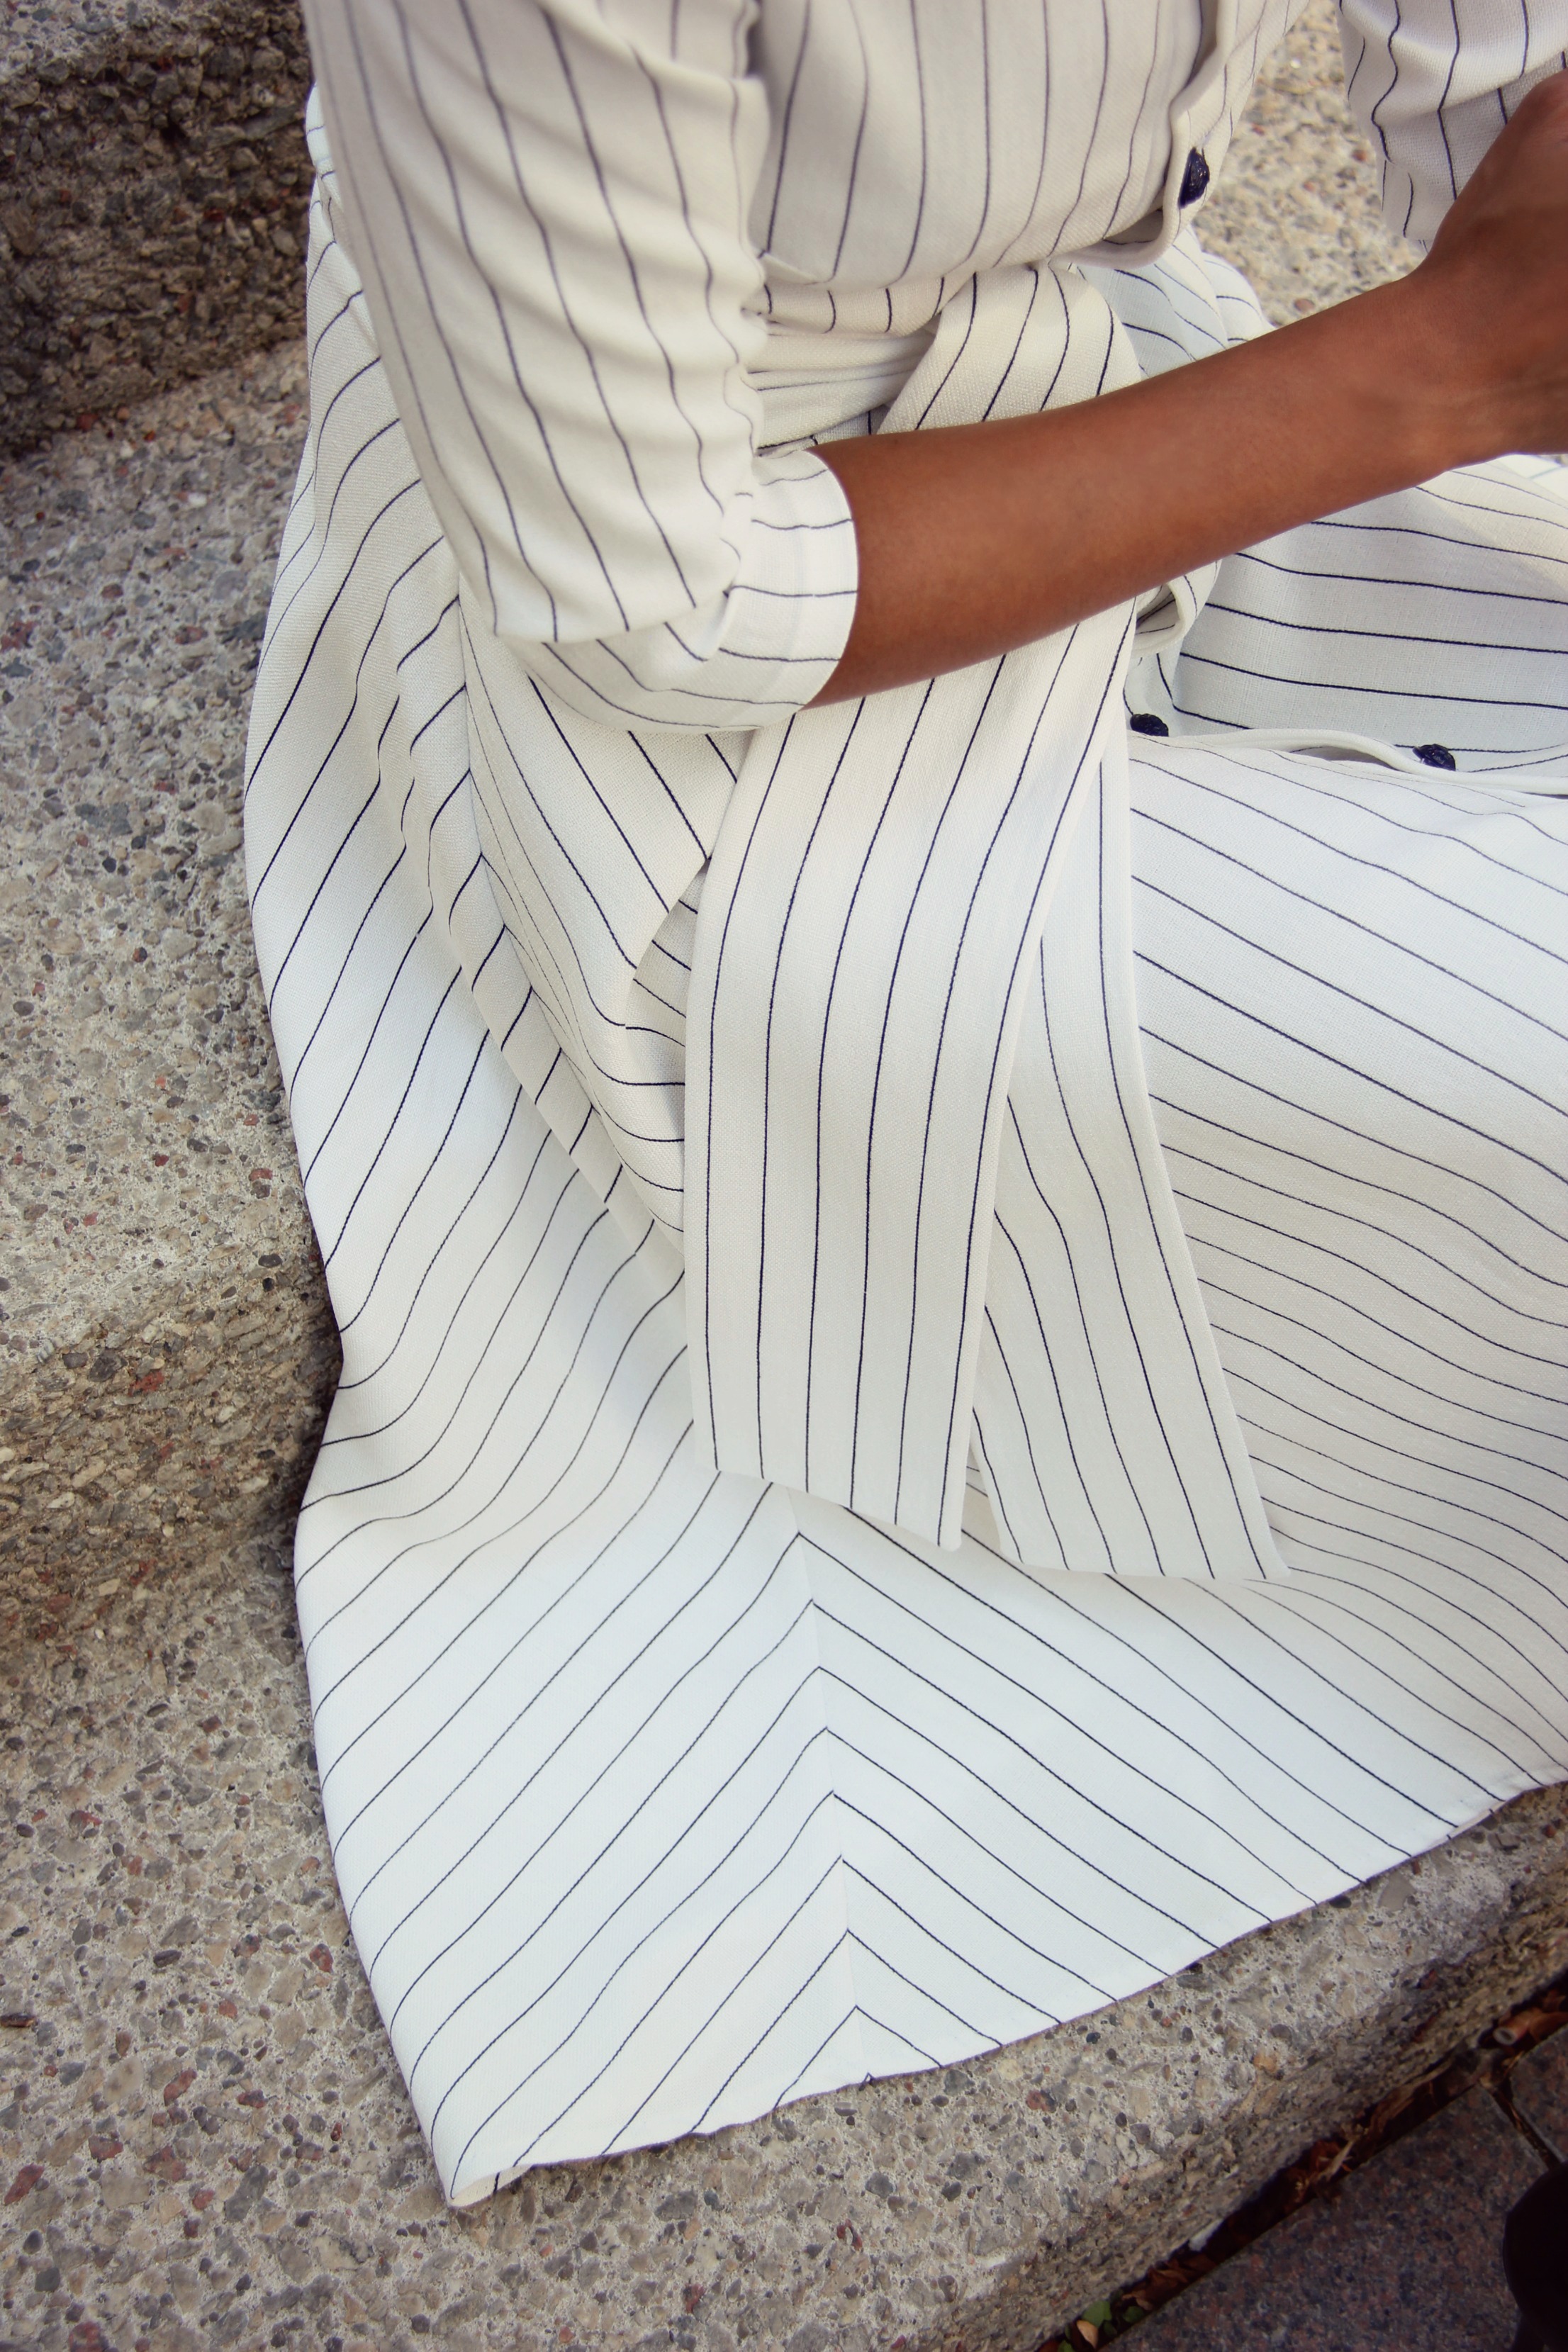
- There is a side panel to the belt that attaches to the side seams at the waist. I found it difficult to put together, so I left it off. I made up the length by just extending the belt approximately 6”.
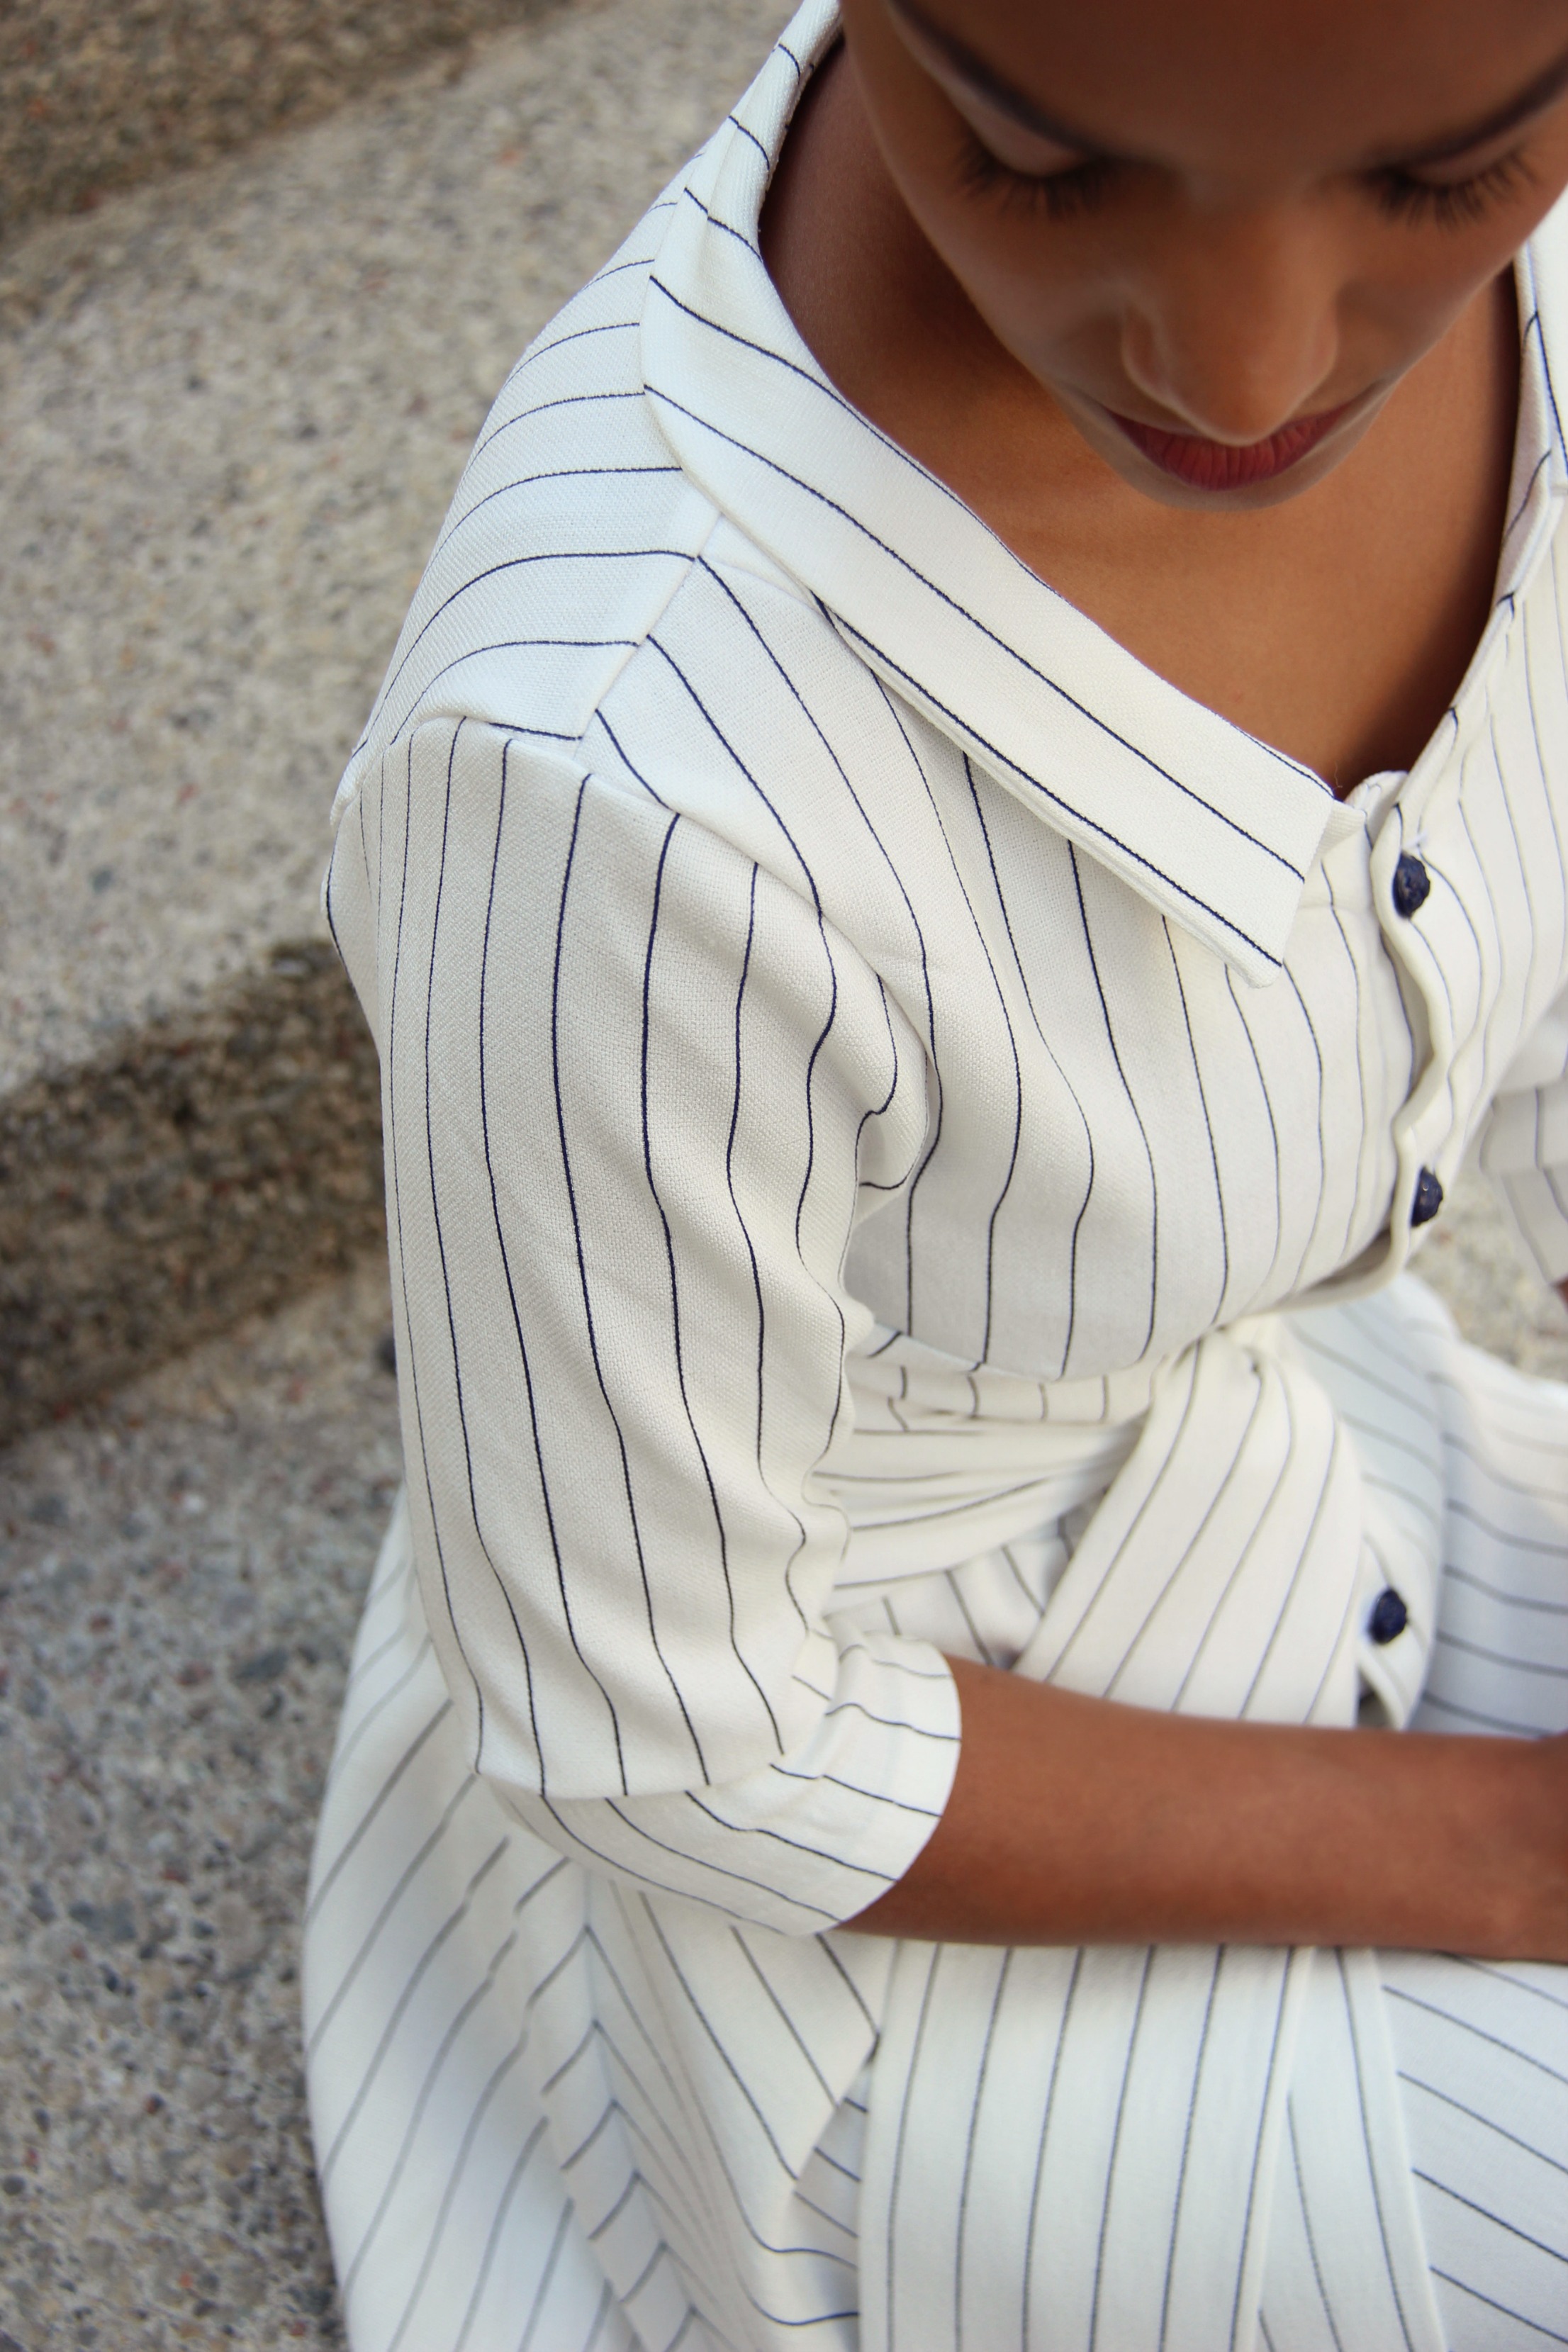
- I left the cuffs off because it was too tight around my forearm and looked a little bulky.
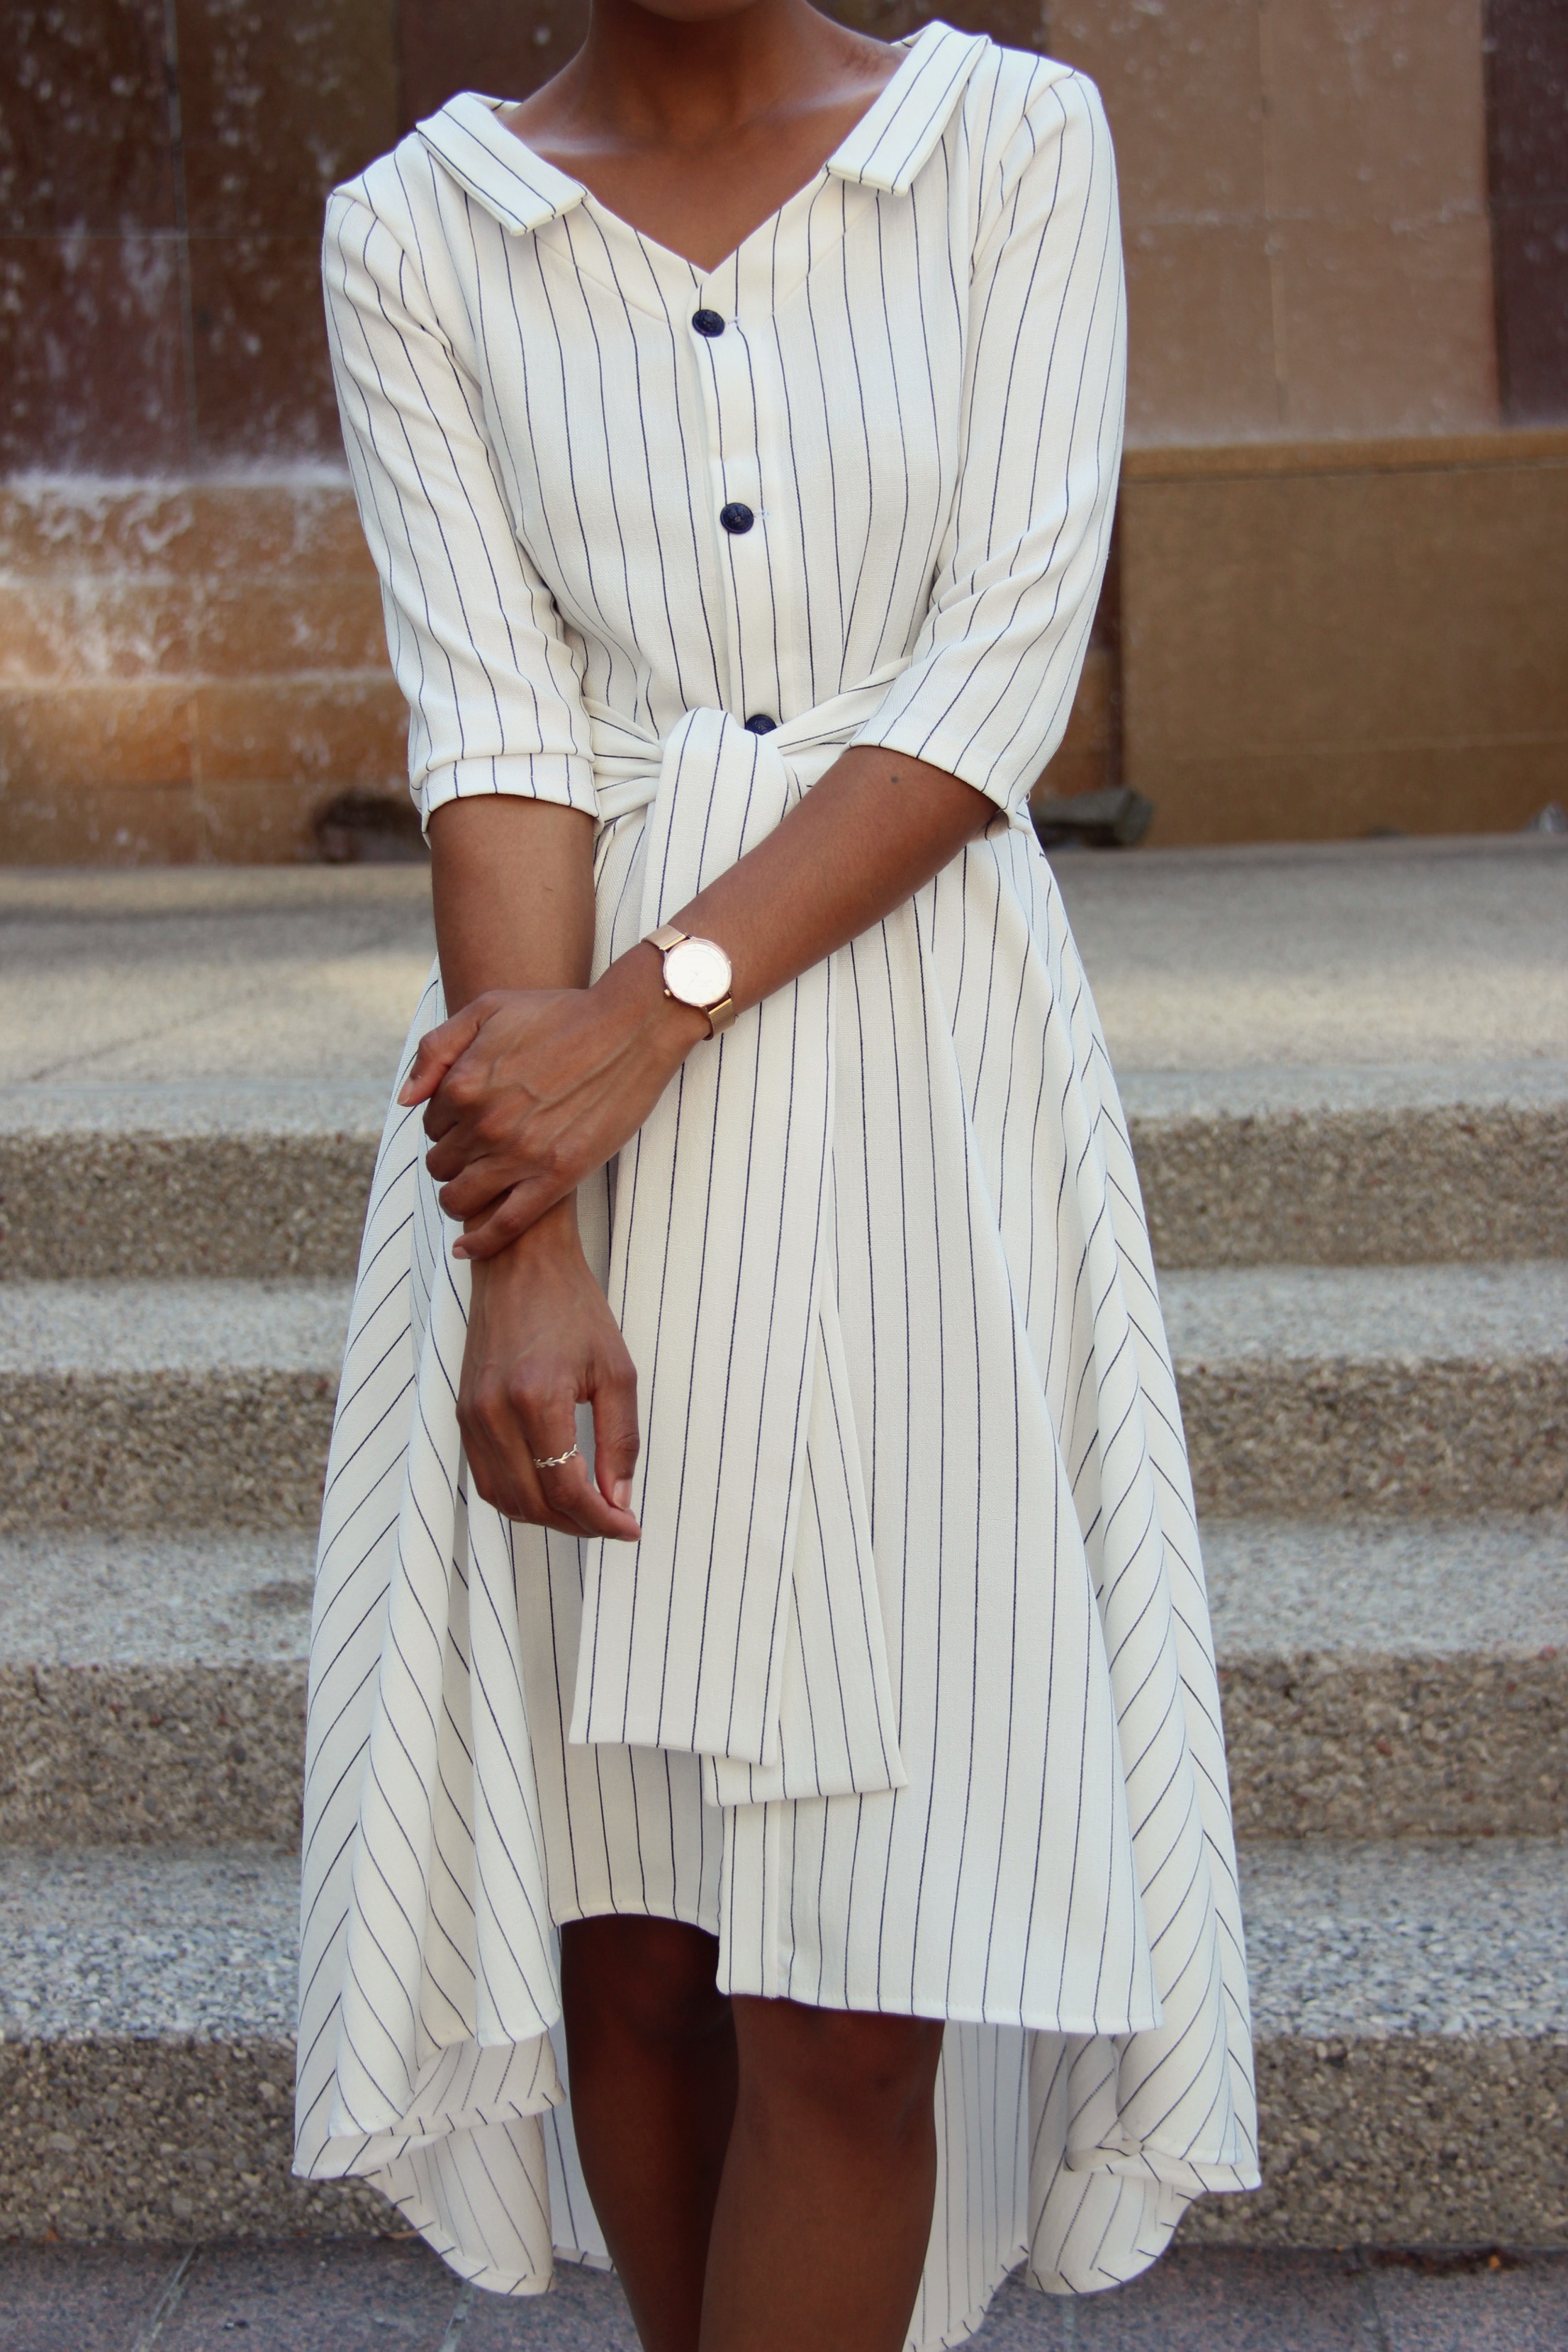
- In the future, I would add many more buttons (maybe 2 between each one) because it keeps puckering down the bust and I need to pin it down. Snaps might be a good option as well.
Fabric:
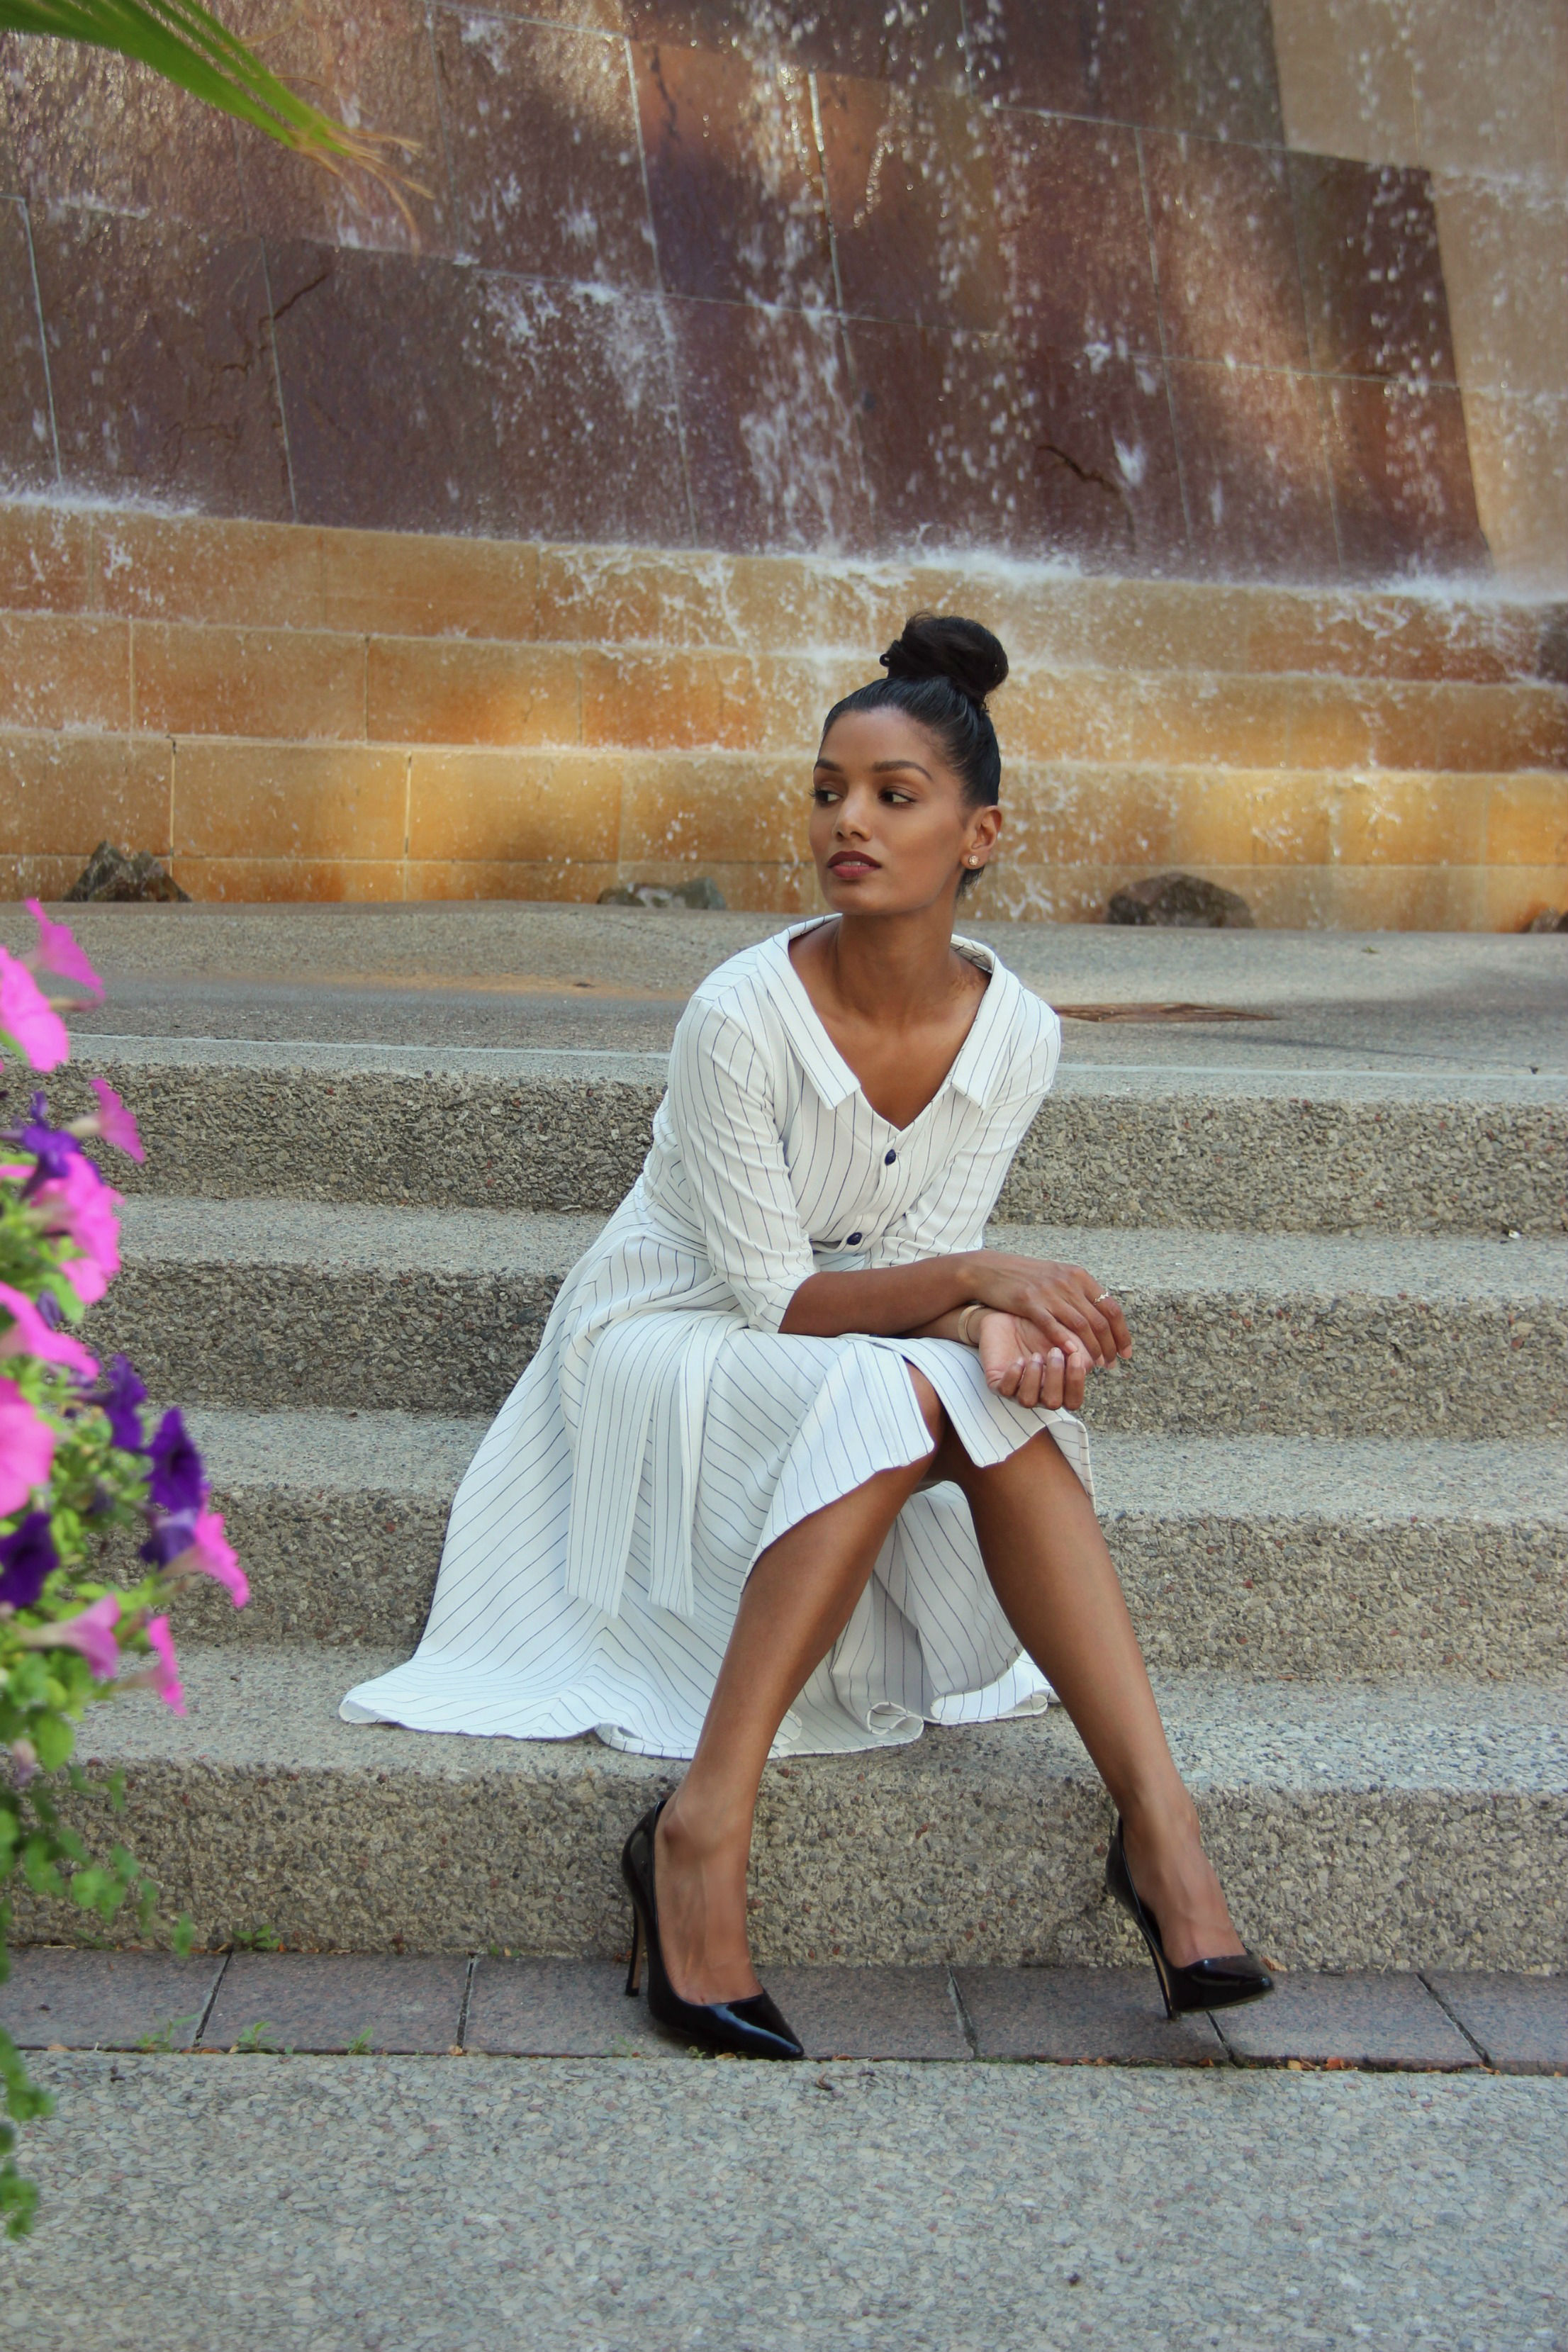
My intention was to create a more casual dress to wear with sneakers and flats, not realizing how dressy this fabric is. It’s also heavier than I thought it would be. That being said, I’m happy to know that this pattern can churn out a fancy dress! I’m really not too sure what material this is…I got it on sale and sometimes when the deal is just too good, I get excited and don’t bother looking at those details. However, I can certainly say that I bought 2m and had enough left over to re-cut the bands, collar and one side of the bodice back. Keep reading, you’ll see why!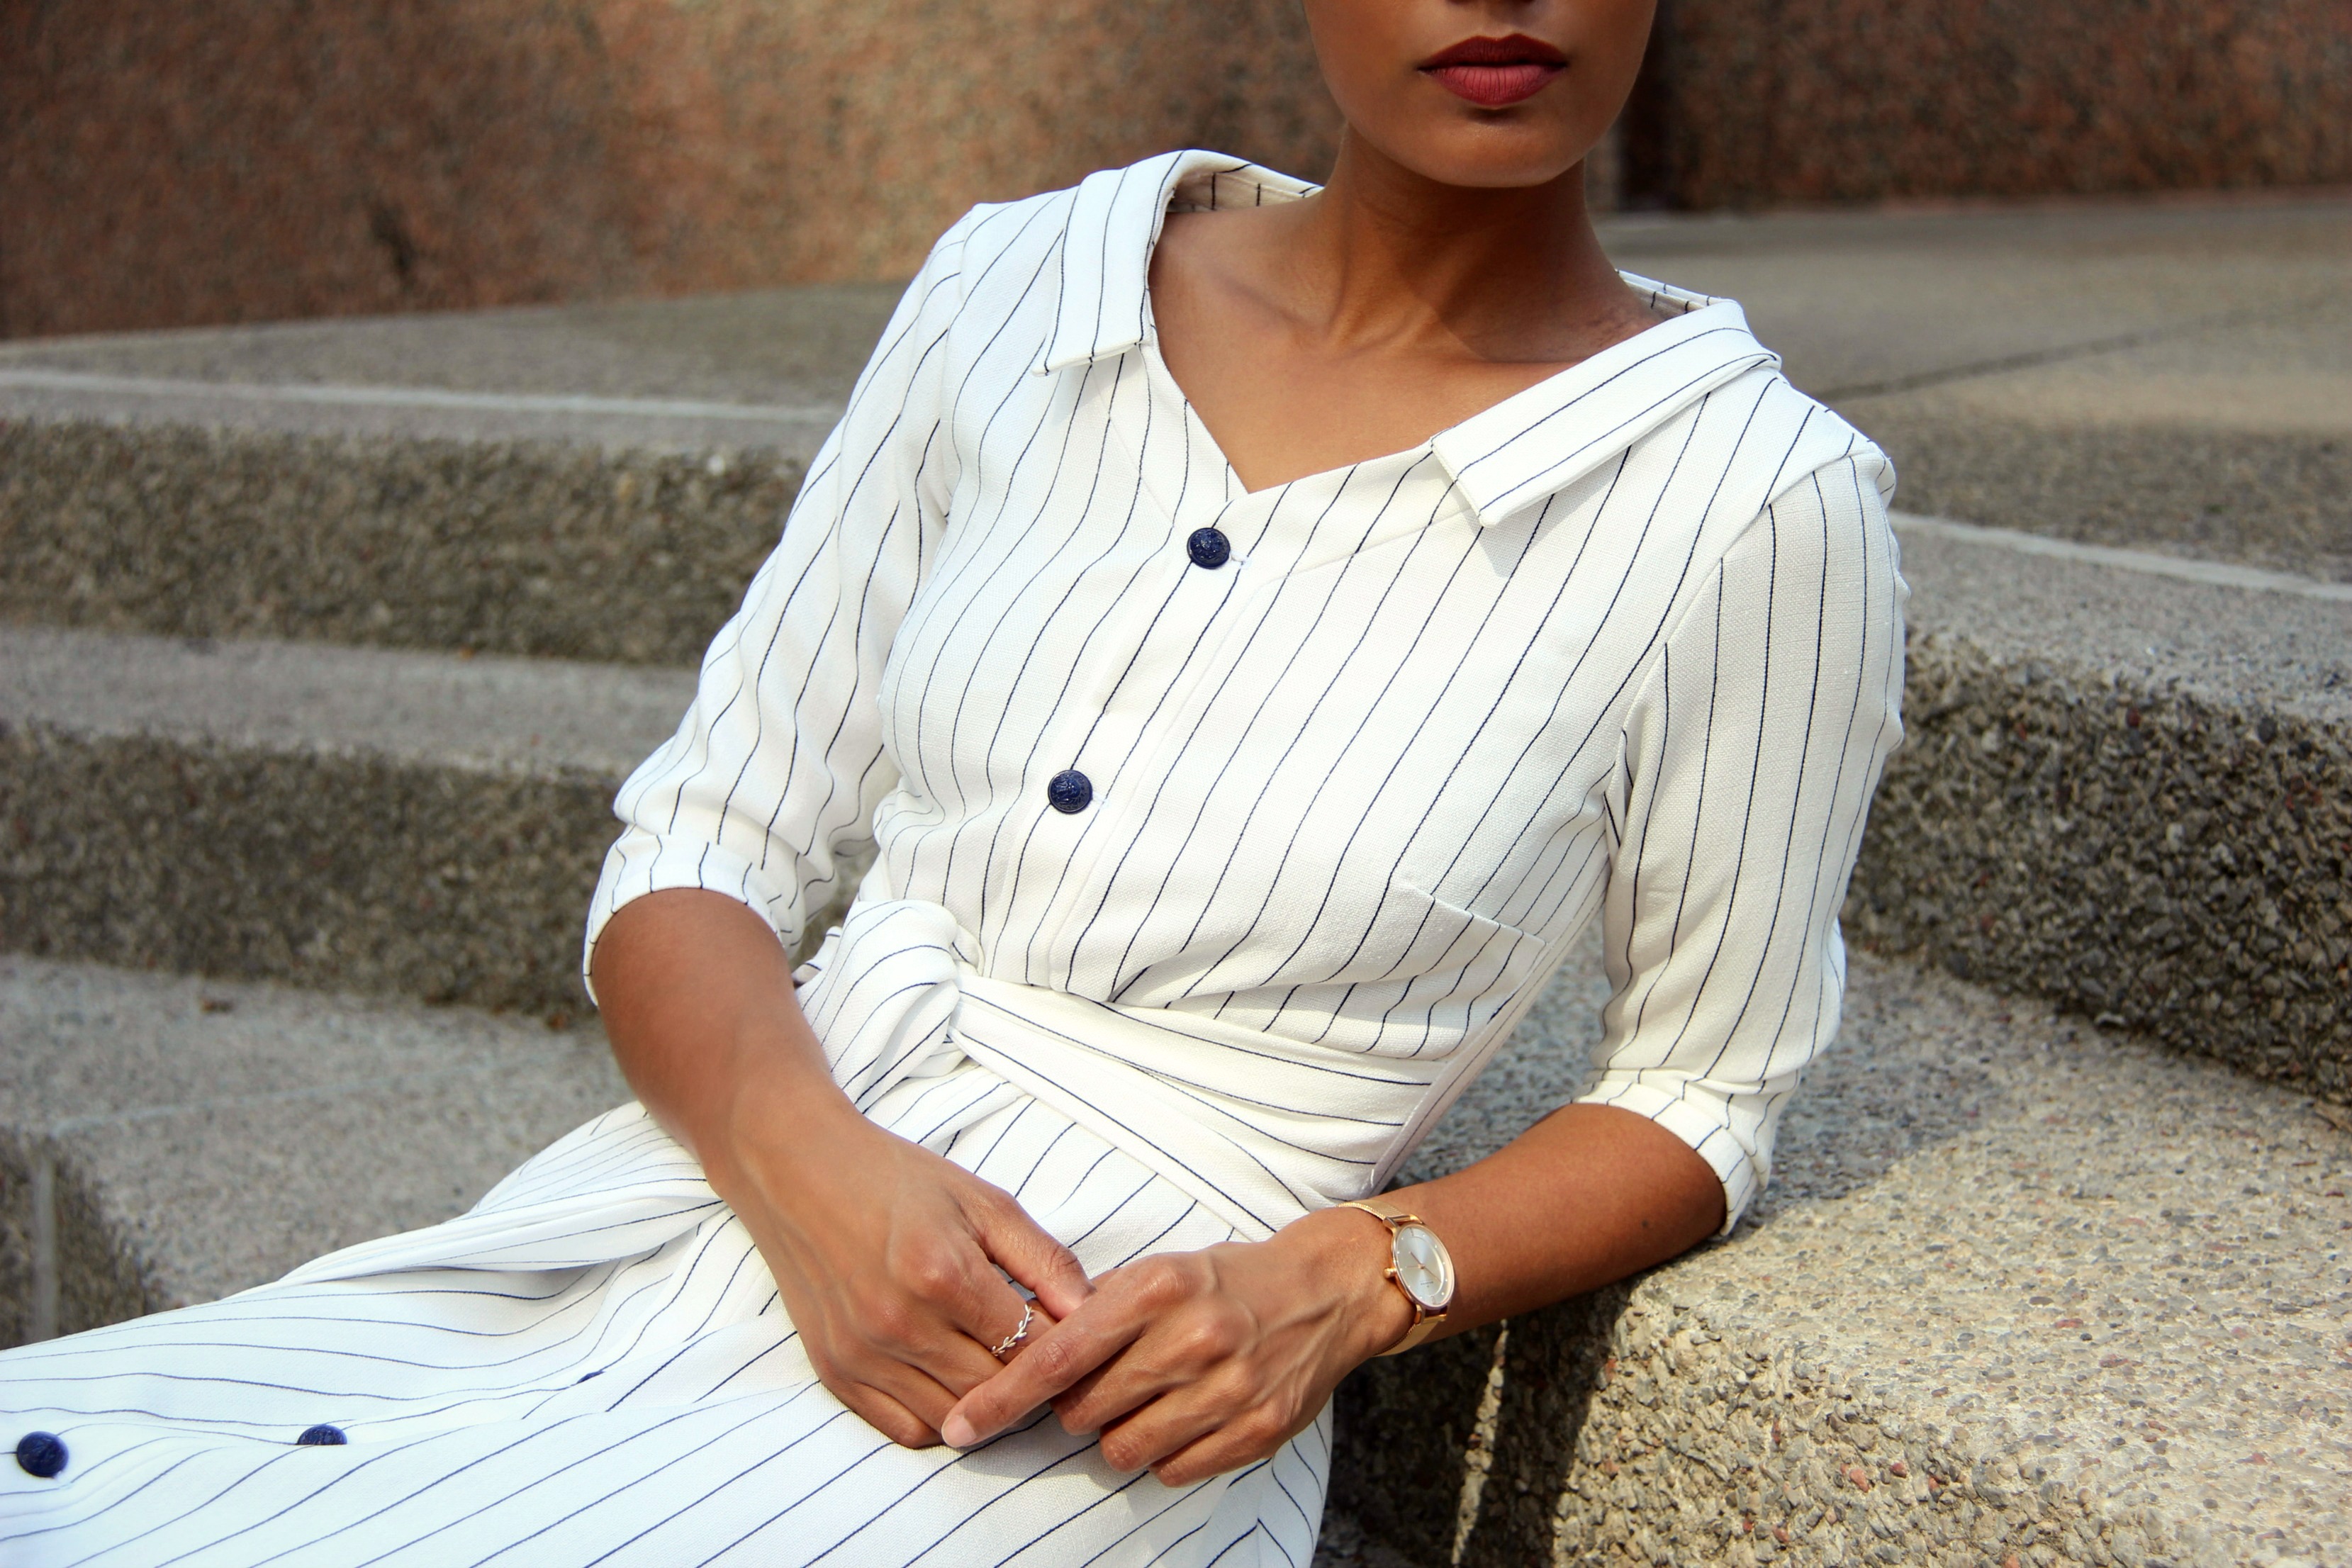
The Struggle was Real:
Guys, I can’t even tell you how much work went into this shirtdress…
- I cut the back bodice pieces the exact same and had to re-cut one side.
- I spent quite a bit of time analyzing the length (because it’s a tall pattern), only to realize that it’s actually the perfect length, as I mentioned above in Pattern & Construction. This was a bittersweet feeling – “hurray! less work!” but “ugh, the time I spent trying to figure this out.”
- Then there was the actual fit: I miraculously managed to easily pattern match all of the lines perfectly the first time around, but … then I wasn’t sure if the bodice was supposed to be fitted or loose. I took it in, only to just take it all out, which felt like it took forever to do!
- I also spent time pattern matching the cuffs to the sleeves, which I ended up removing. Womp.
- And when I finally had everything perfect, I went back to serge it all, only to slip and serge right through the collar. GRR….but the show must go on. So after a few deep breaths, I took the shoulder and neckline apart, re-cut the collar and installed it all over again.
- Oh, and the injuries! Seam ripper straight into the cuticle, pricked my hand 3 times with pins and I managed to snip my finger with brand new scissors. It was a bloody mess. Pun intended.
In all, I spent over 30 hours on this bad boy. Insanity, I tell ya! BUT I can confidently say that it should have been sewed up in just an afternoon. Don’t let my woes fool you, friends…this dress is actually a very EASY make. So this mess is on me! But lots of learning here.
This is also a good reminder of the ebb and flow of life…some days, I’m like…
Yassss! I’m a sewing QUEEN.
Then other days, like this past week, I wonder if I have any business even owning a sewing machine. In the end, I just have to put my ego aside, stay focused and keep moving forward!
Final Thoughts:
I adore this dress. It’s so cute! And though it took me a lot to get to the finished product, I can say for sure that I’m going to make this again in a lighter weight material so that I can wear sneakers with it. I’ll probably play around with the length and try this out in a maxi.
My final note to anyone trying this out, don’t be afraid of the “tall” sizing of this pattern. Measure each piece, compare them to your other garments and think about everything without the seam allowance. It can still work out!
xo!
Shard.
Photos: Tasmia R.


14 Comments
I actually would not have given this pattern a second look….Great job! Sorry you had so many mishaps 🙂 it happens to the best of sewists!
Thank you! You know, sometimes it really is hard to see past the image of the pattern that’s presented. I know for myself, I’ve had think “ok…hopefully this turns out!” 😀
Good you powered through cause the dress looks great! I’d still be curious interested in Meg’s instructions on how to “un-grande” a Burda pattern, if you care to share!
Love this dress. Yours looks so much better then the original one!
Fabric is so cute and your stripe matching impeccable.
Great work!
Love your website.
I am also a burdastyle member so I really enjoy when you make a Burda, very inspiring.
From a fellow GTA’er
Frenchy-C
Thank you!! Such kind words! Ohh GTA! nice 😀 our community here is really growing!
You did an outstanding job on that dress. You look stunning in the dress!!!
Thank you so much!! 😀
Really beautiful dress. It looks great on you and you wear it really well.
One for my sewing list…
yes! do it! and tag me in your photos, i would love to see how it turned out!
I love this dress! You did a great job with it! Thanks for keeping it real with your struggles!
Thank you!! 😀
Love your version. I made the same dress and did not have to alter at all for the tall pattern either, and I’m 5’6″ ish. I got lots of compliments wearing mine to a bridal shower and am wearing it again to a wedding tomorrow morning.. in the GTA as well! Not sure I would make it again, as it had lots of pieces and parts, and took much longer than I usually spend on a project as well, but it did come together nicely, which can be unusual for my sewing !
That’s so awesome that we’ve discovered that tall patterns aren do-able! I didn’t find there to be too many pieces, but I’ll probably stay away from lines so I don’t have to spend any additional time having to match them up.
Pingback: Burda Influencers: July Projects – Sewing News